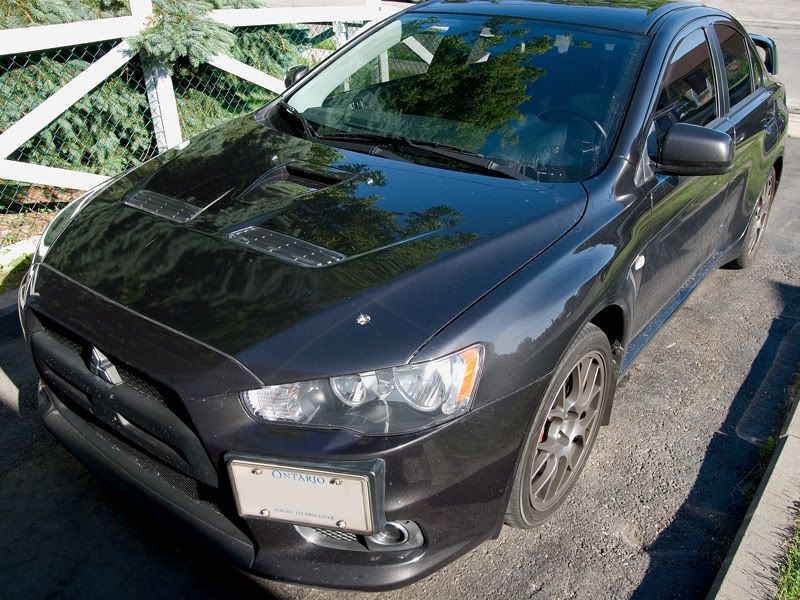
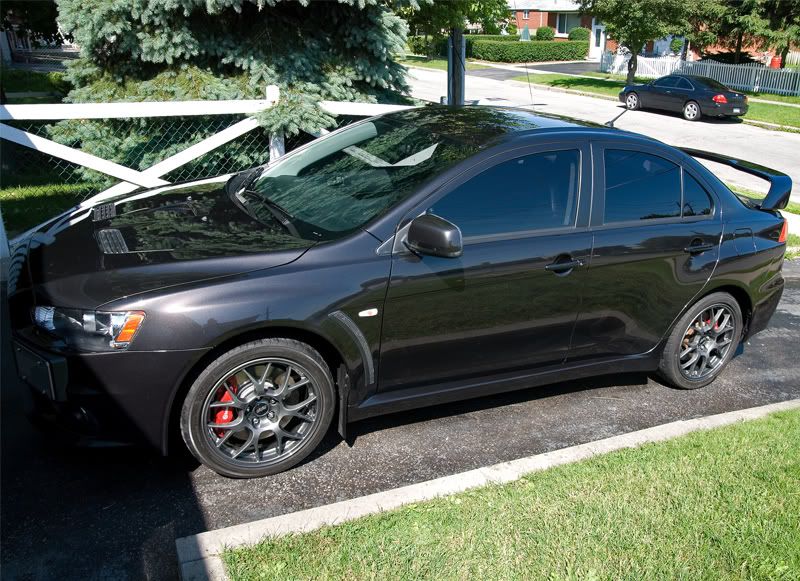
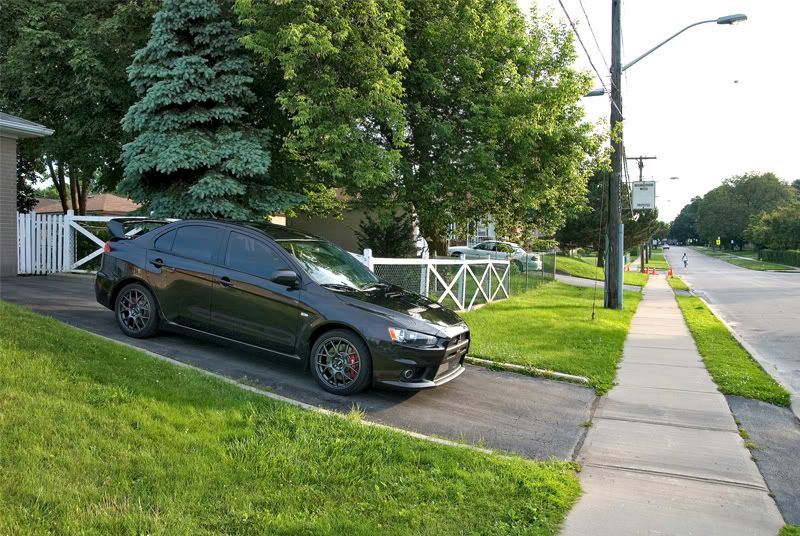
I had a chance to work on the 12th Evo X in Canada which was colored Phantom Black and located here in the Toronto area. The owner had seen one of my other write ups and contacted me about taking care of the swirls on his paint. Upon inspection we came to the conclusion that it would only need a 1 stage polish but that when going into the initial work if it would need to be a 2 stage correction then we would go that route.
Anyway onto the write up. I hope you guys enjoy it and are able to learn some things in keeping your car in top shape.
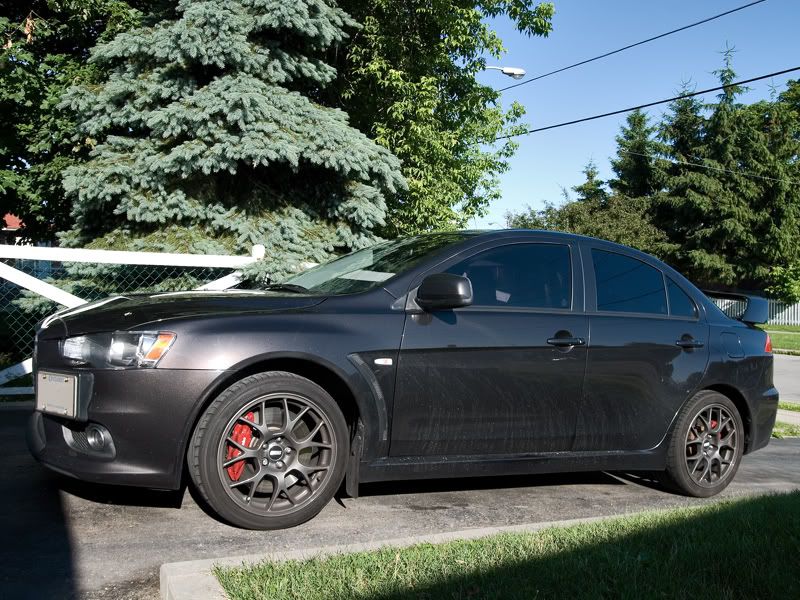
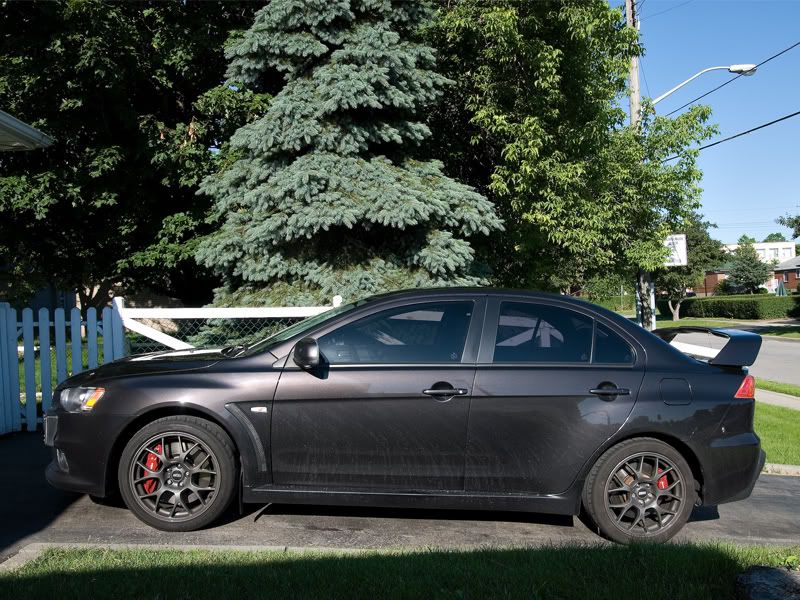
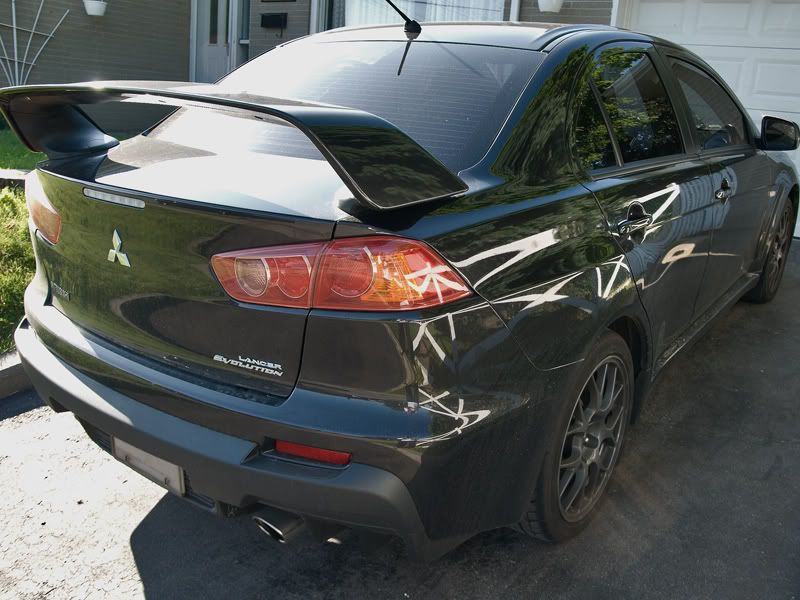
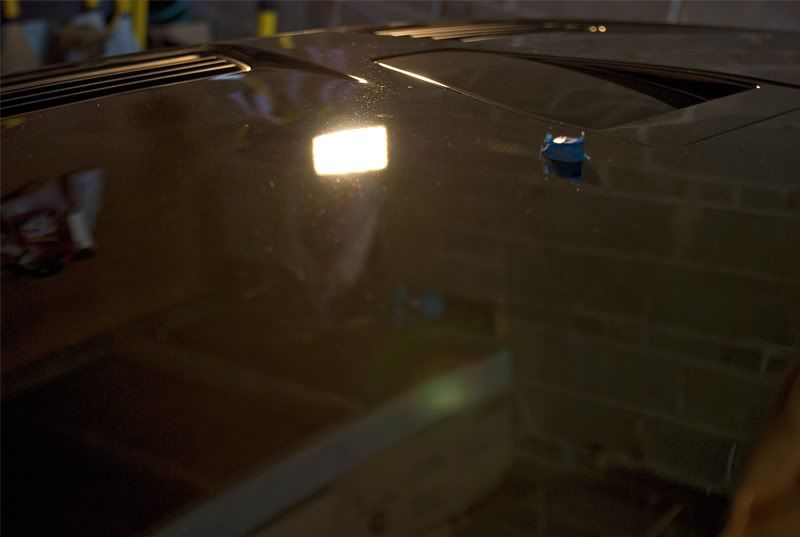
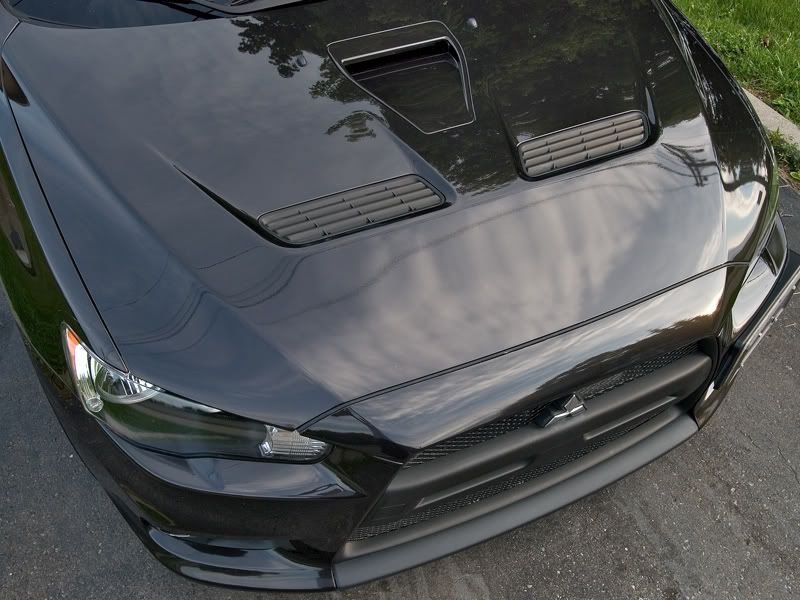
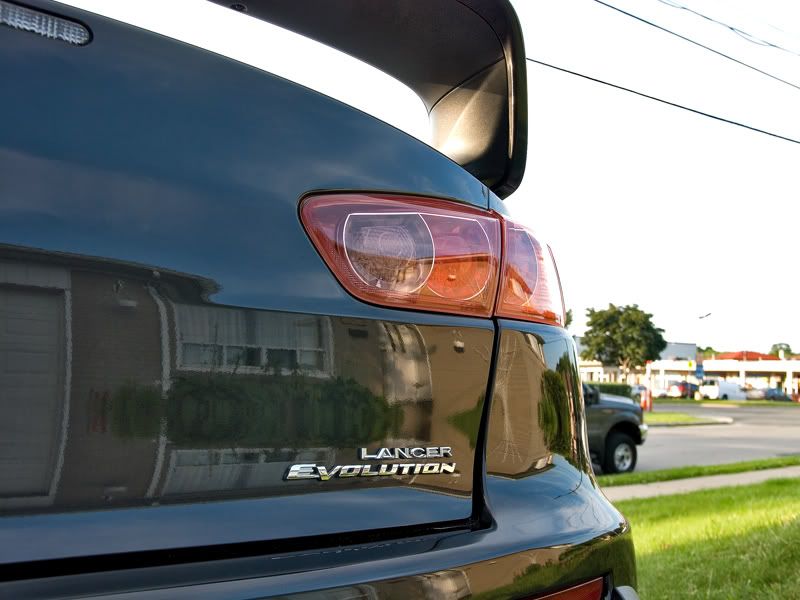
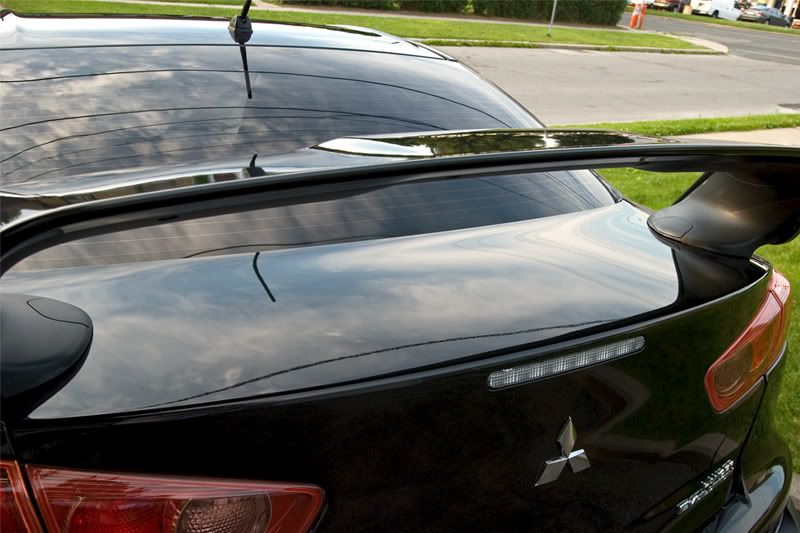
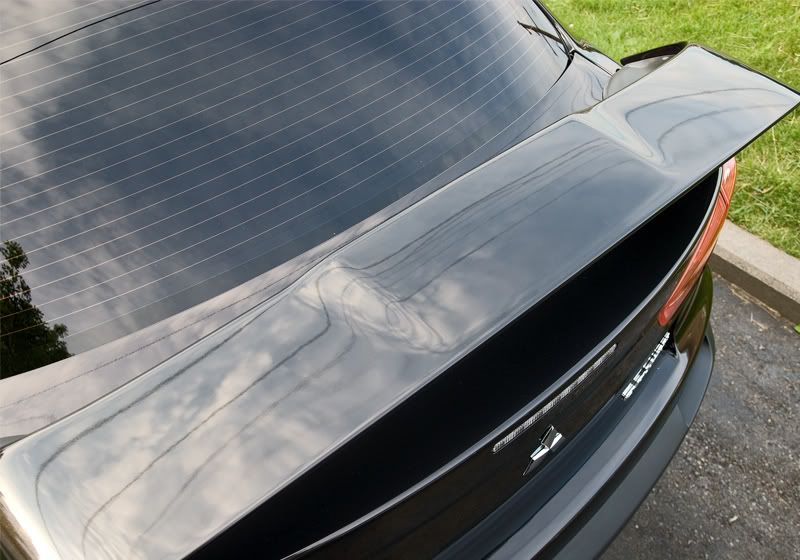
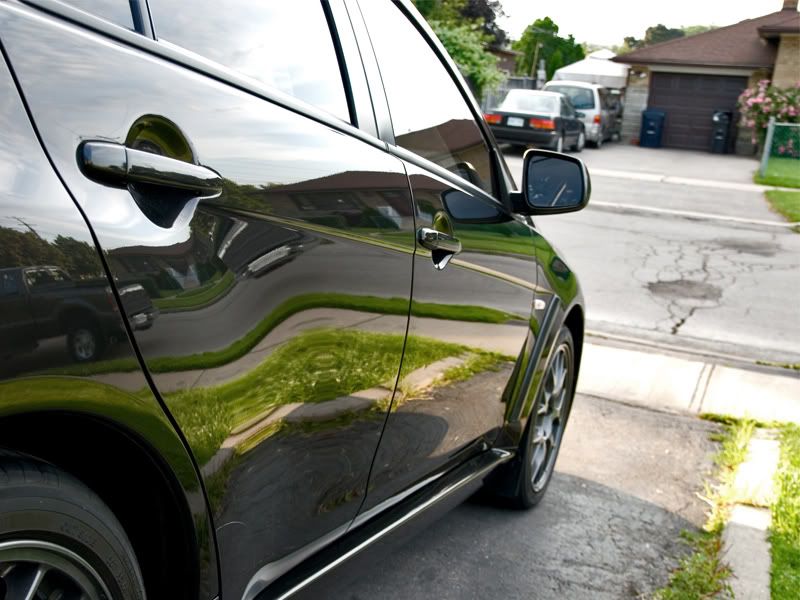
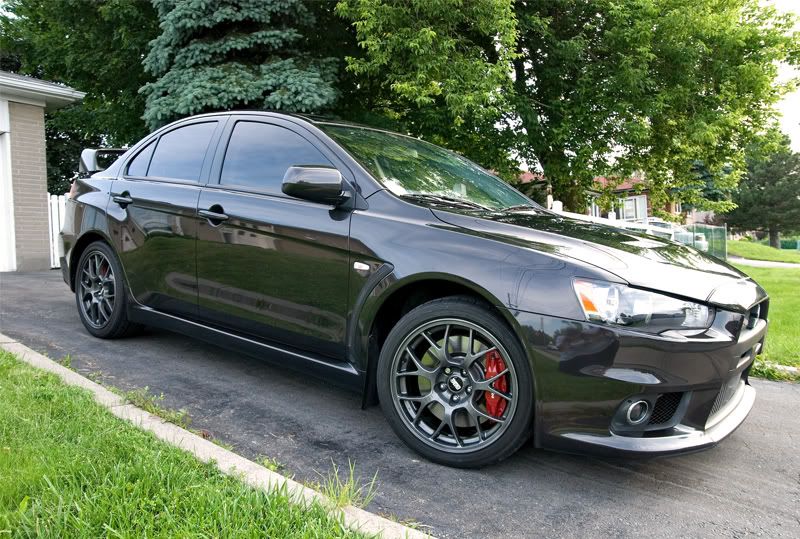
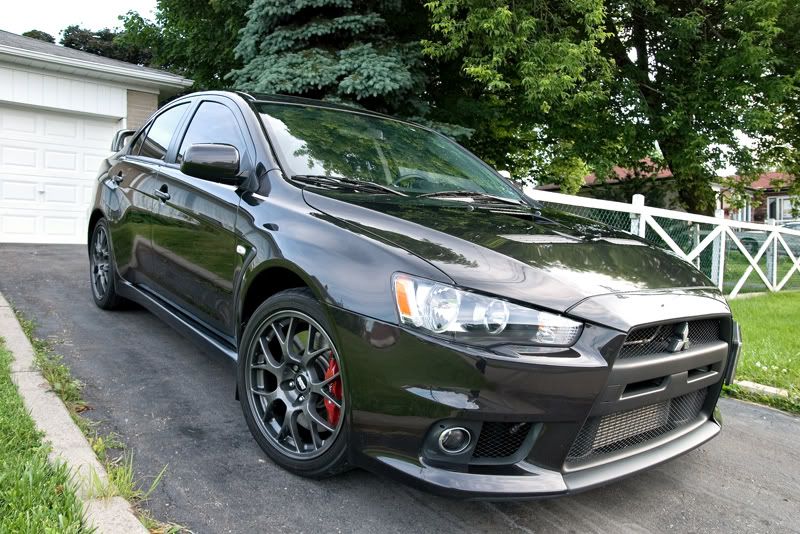
So here she is.
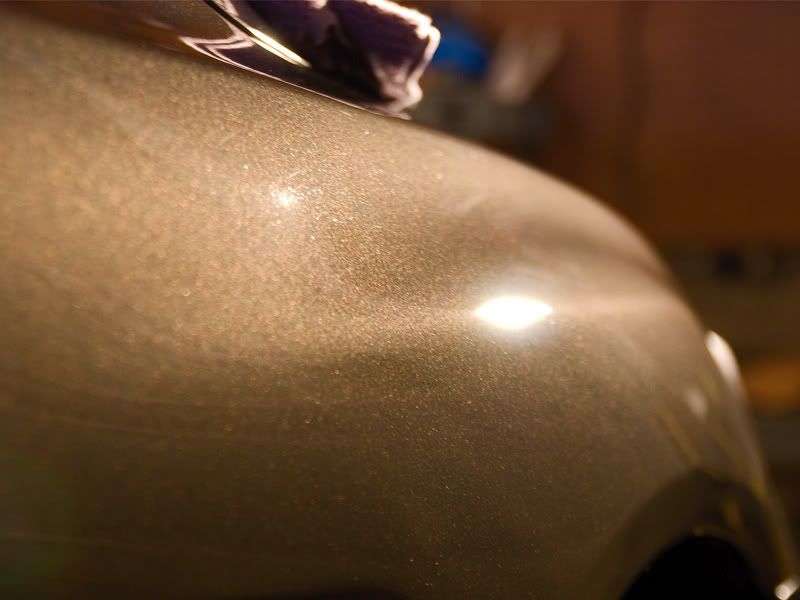
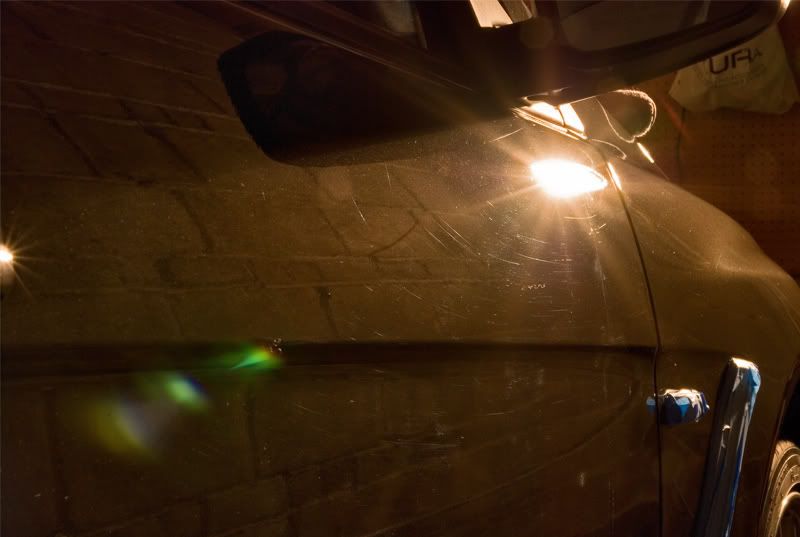
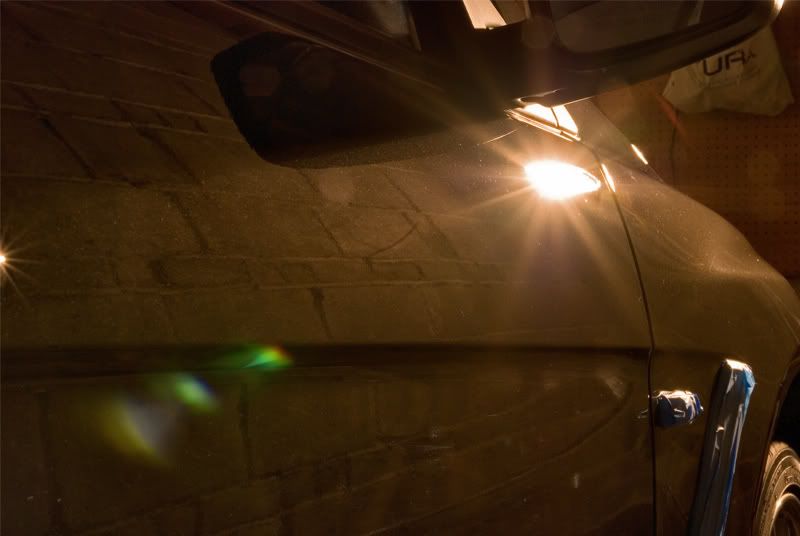
I find the shine was still very strong but none the less the swirls were still distracting.
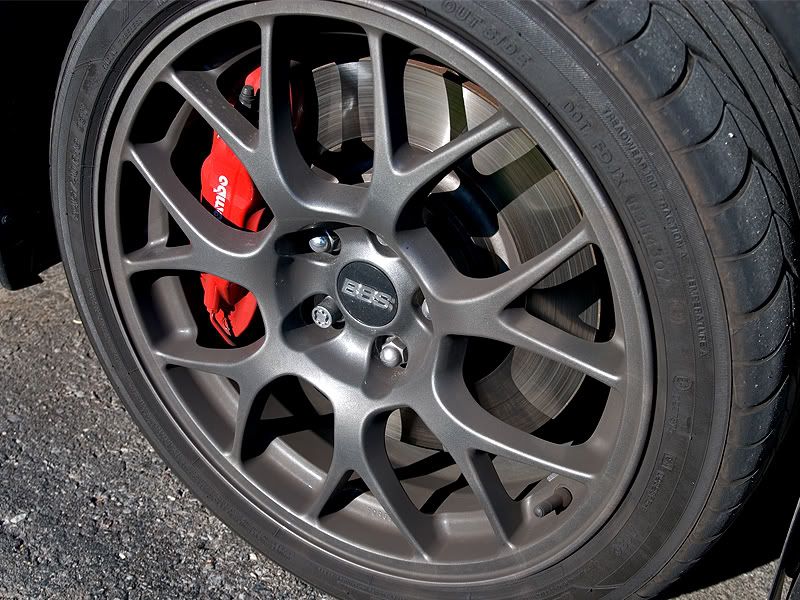
Powdercoated MR rims all dirty.
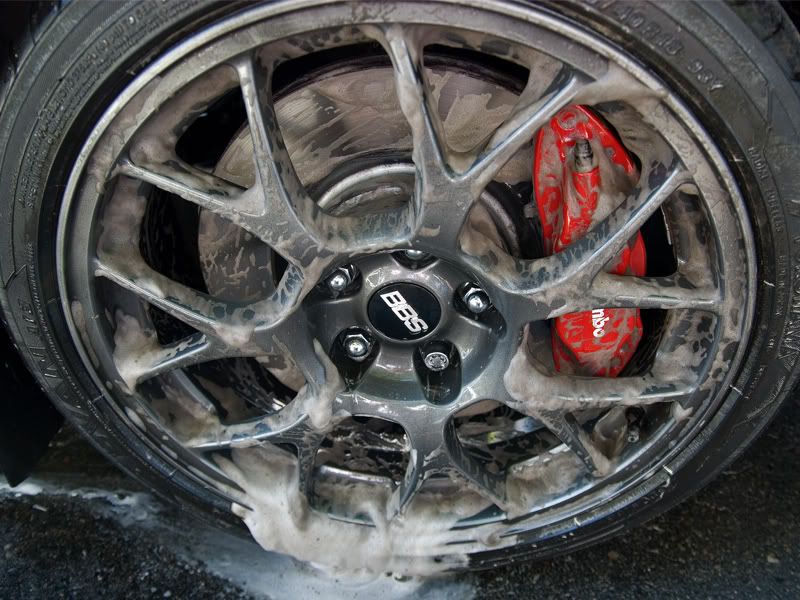
Usually I start with the rims and just let them soak while I clean the engine. Wheel cleaner was P21s wheel gel which is non acidic and is safe for ceramic brakes and powder coated rims and won't damage them like how a acid based wheel cleaner would.
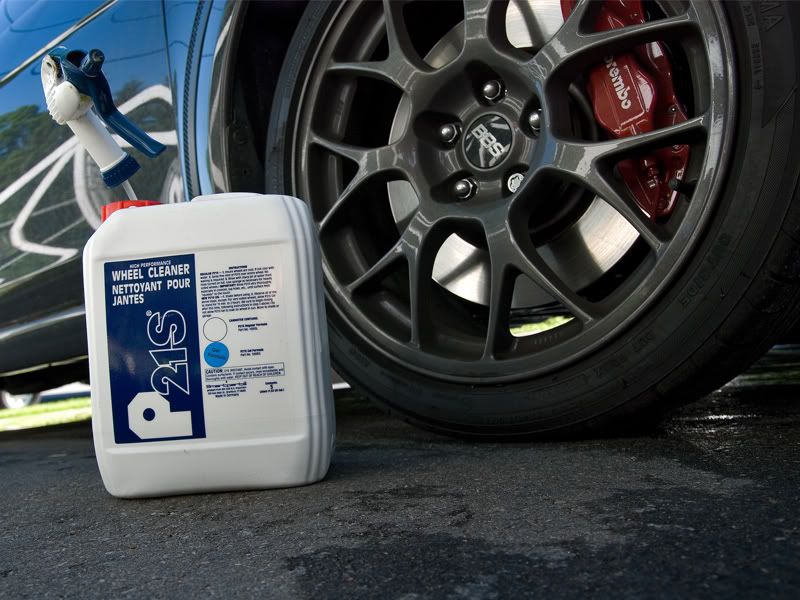
Letting them soak.
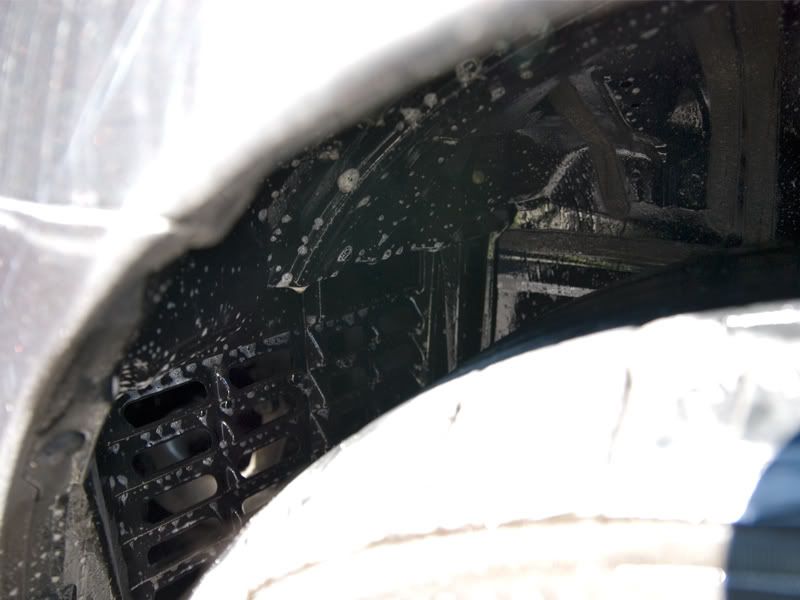
Also sprayed Meguiars All Purpose Cleaner in the wheel well.
Now with all of that soaking I moved on to the engine which was not that bad at all just a little dusty.
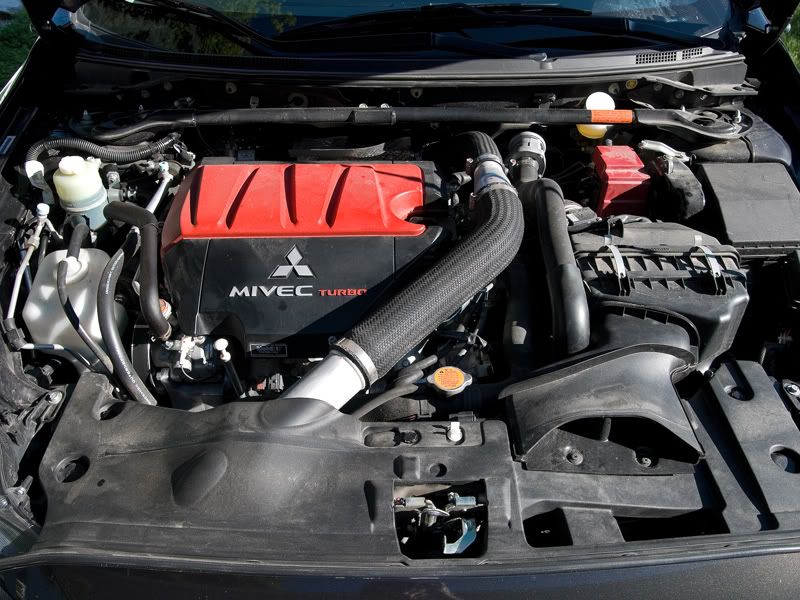
Process for the engine was spray on Meguiars All Purpose Cleaner, agitate some areas with my Meguiars Slide and Lock brush, then a light rinse off with not to much pressure.
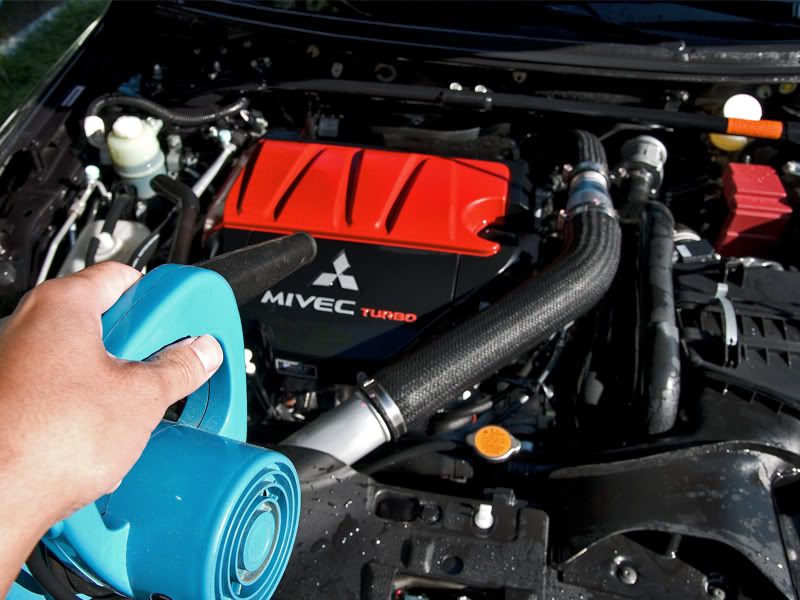
Blow drying the engine with my Chemical Guys air dryer.
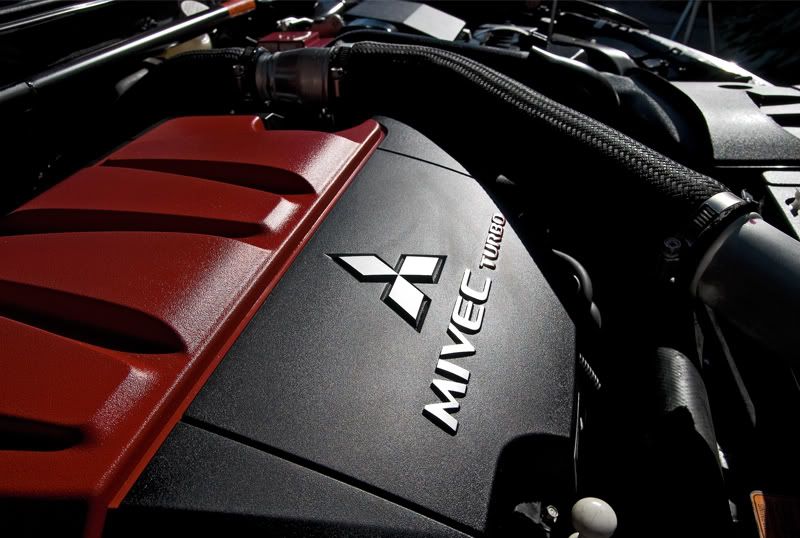
Dressed the engine with Meguiars Hyper Dressing cut 20/80 water for a nice satin shine. And here are the afters.

Turned on the engine and let it warm up for a little bit, to let it fully dry out.
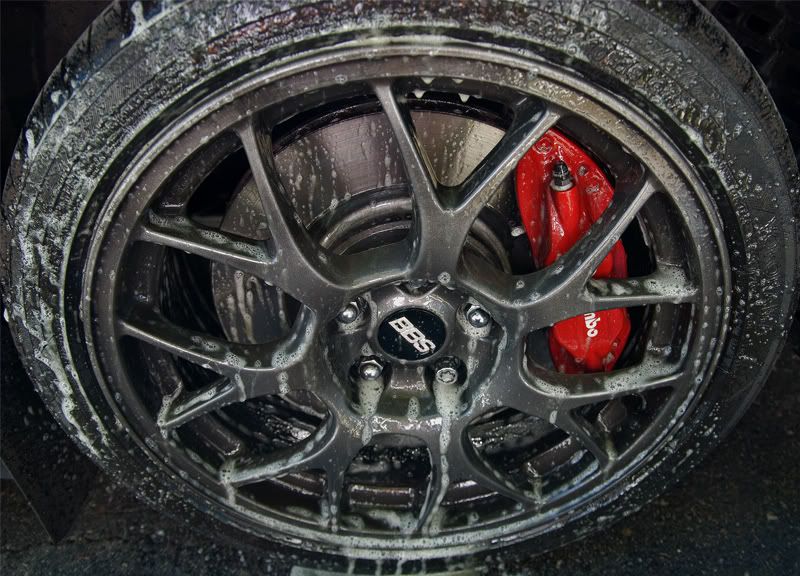
Moved on to the rims with my trusty EZ Brush and some yellow dishwashing gloves on.
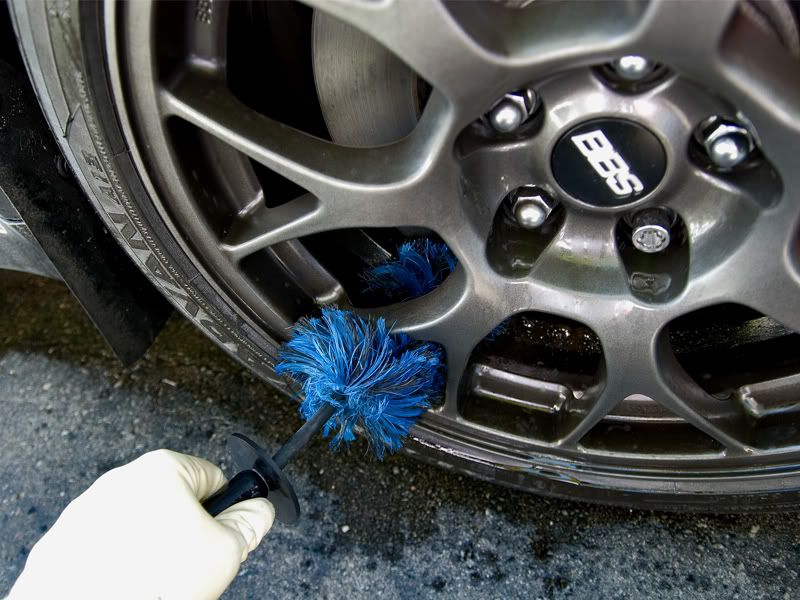
The one thing I love about the EZ Brush is it is bendable which helps to get into some awkward spots. I just put a curve on it so that I could get to the back of the rim.

This is what cleaning your rim should look like.
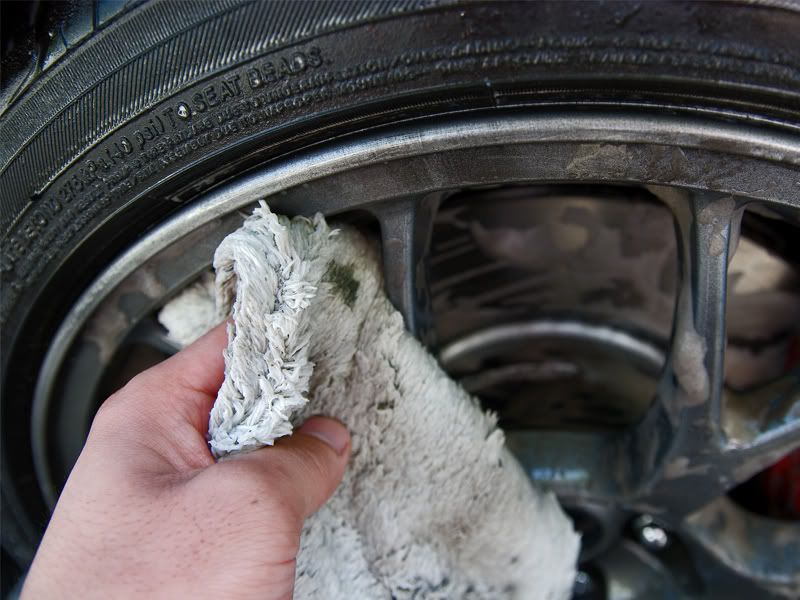
Did the rim face with a dedicated microfibre mitt .
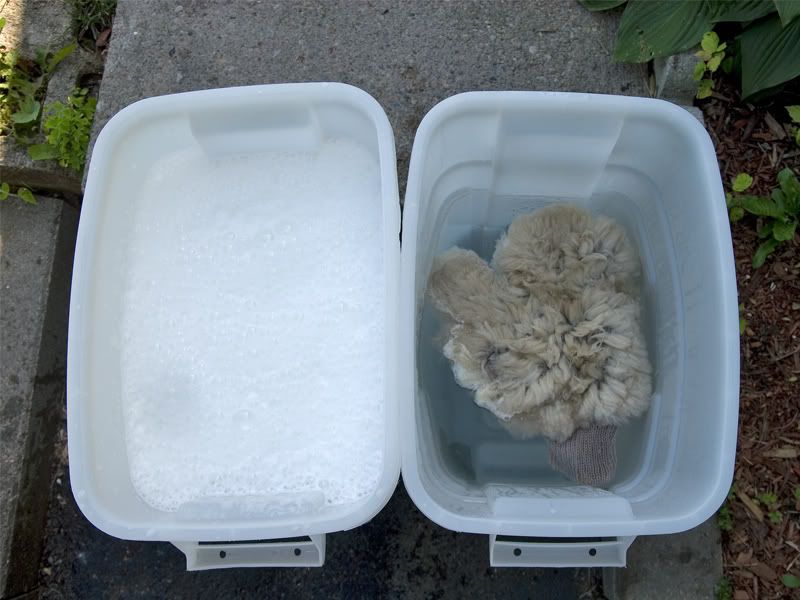
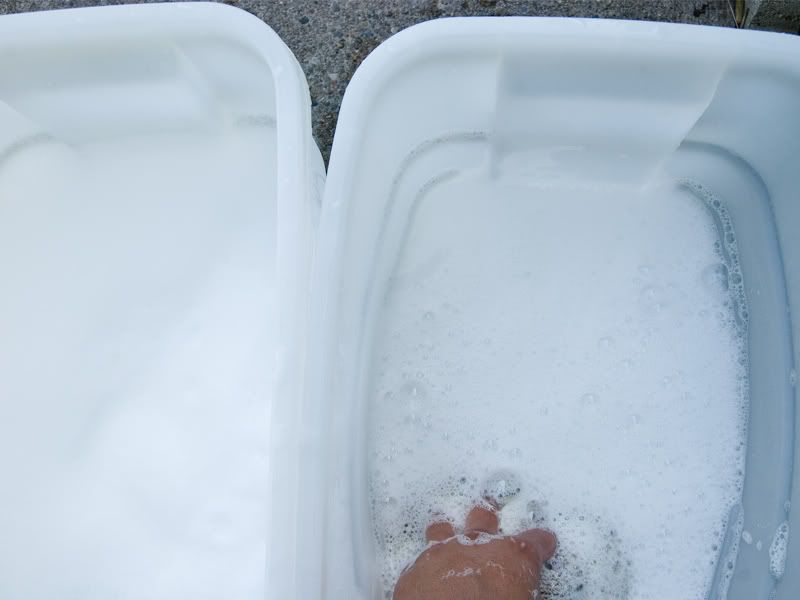
Now onto washing the car using the two bucket method which is simply having 1 bucket for soapy water and the 2nd bucket full of plain water for the sole purpose of rinsing off the dirt off of your mitt.
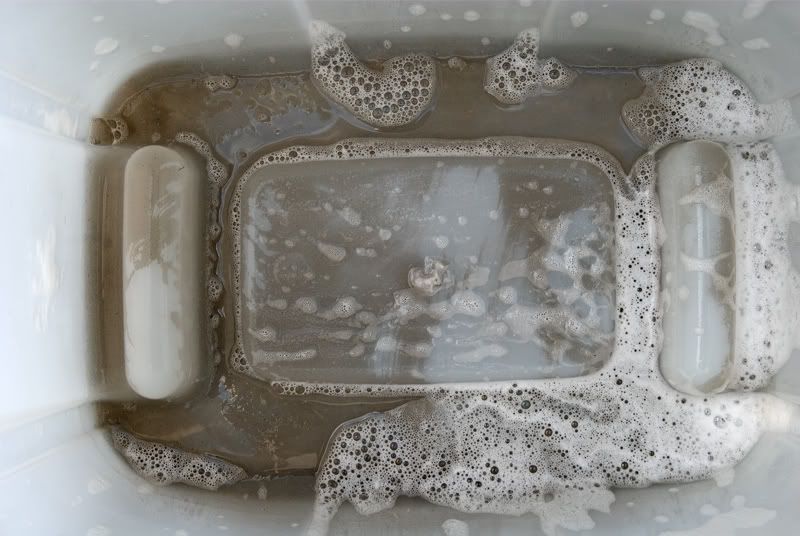
Here is the rinsing bucket from the last car. Imagine if your just washing your car with one bucket your dragging all of this dirt all over your paint and ruining a perfect finish.
Two bucket method. Clean water and new soap. (I know I missed a piece in the corner when rinsing it out). Soap being Chemicals Guys Citrus Wash and Gloss mixed at dilution of 2oz/gallon to strip any previous wax on the car.
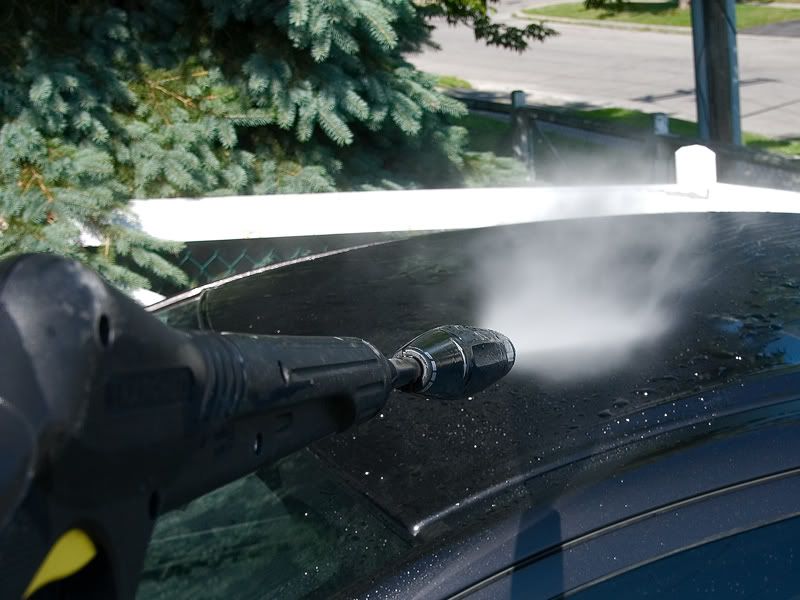
Started rinsing off the car and spraying off any loose dirt.
And started washing with a soft lambs wool mitt.
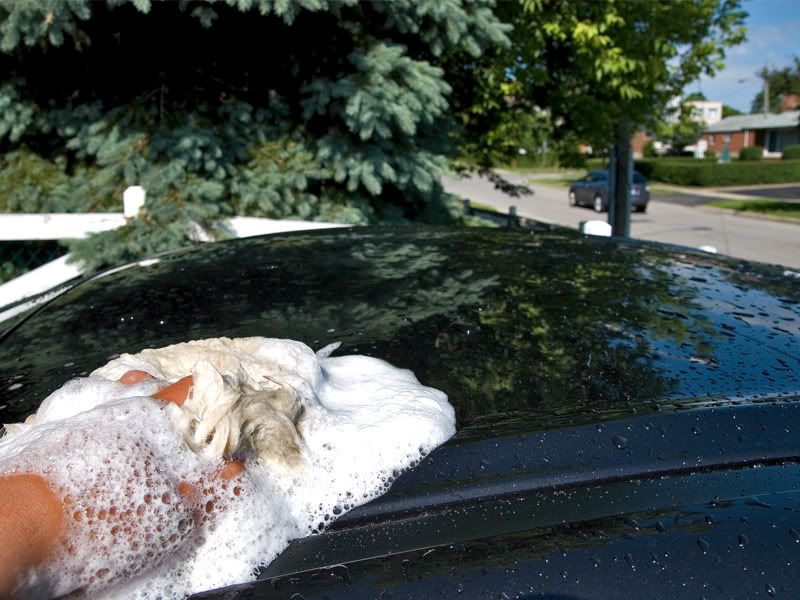
After every panel or even half a panel I rinsed off my mitt.
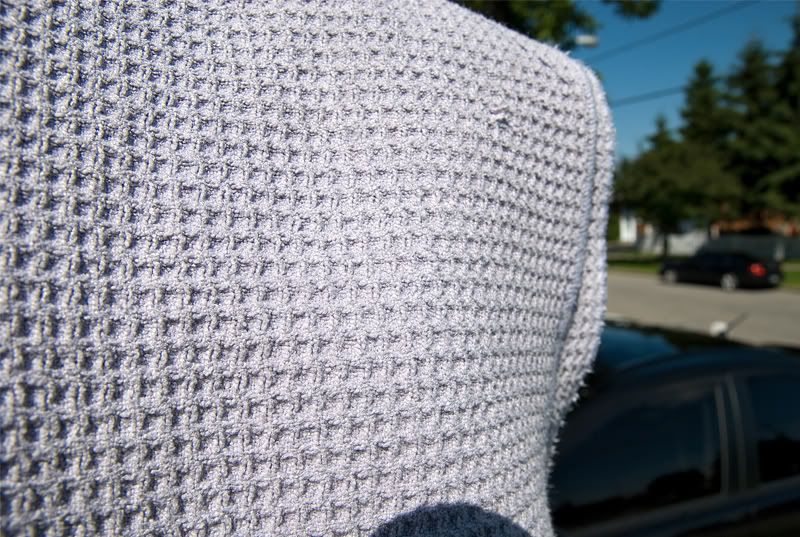
Then finally dried it off with a waffle weave towel.
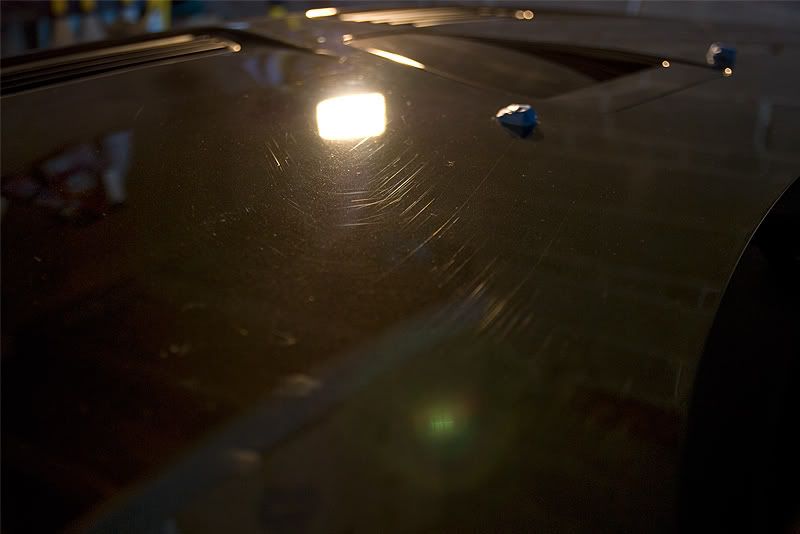
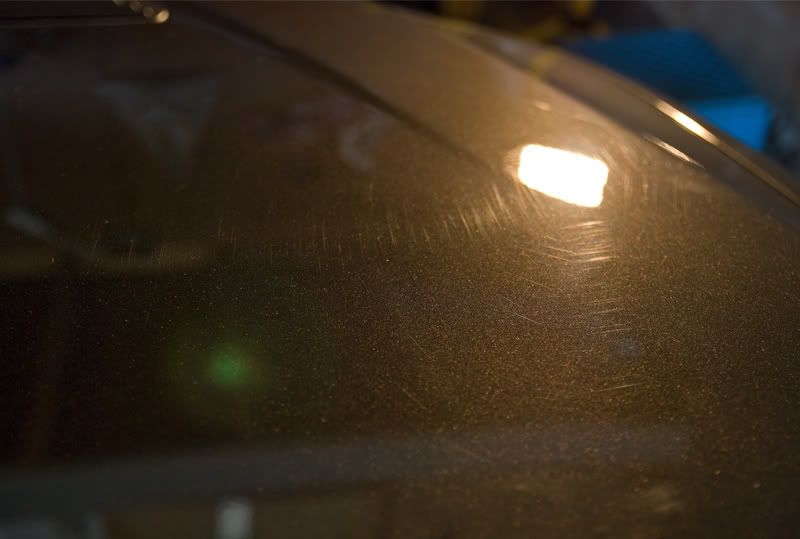
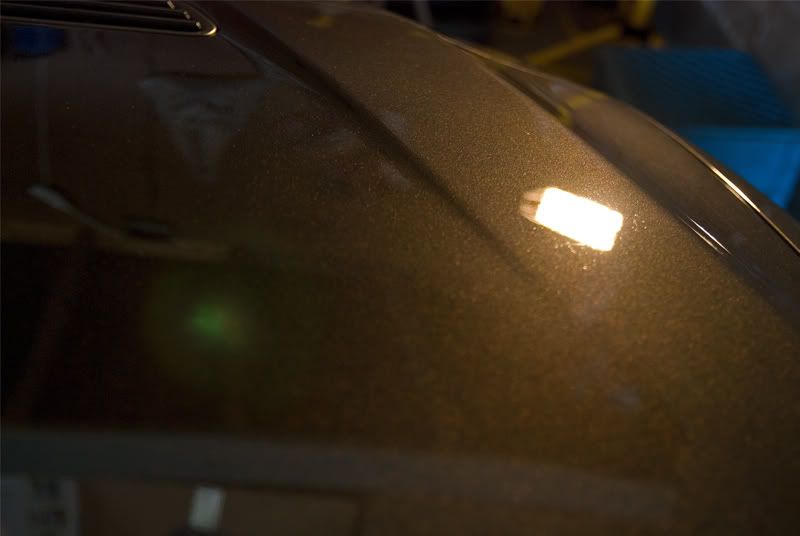
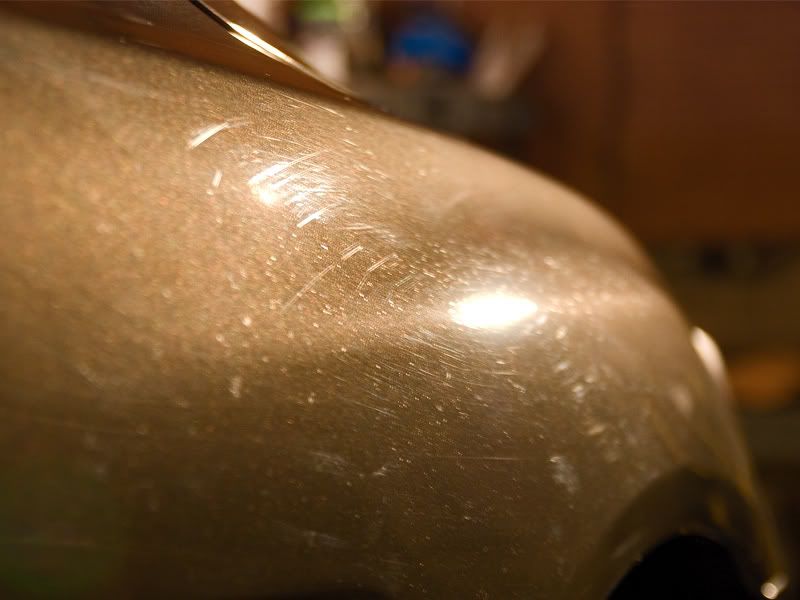
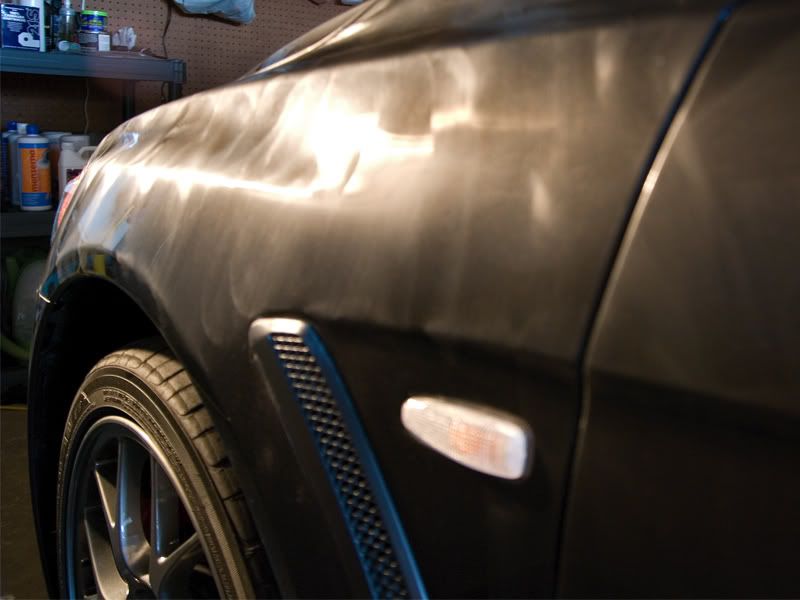
All cleaned up. Again I say the shine was still definitely there and out of the sun it looked amazing but when you take a closer look at the right angles...
you could notice the swirls.

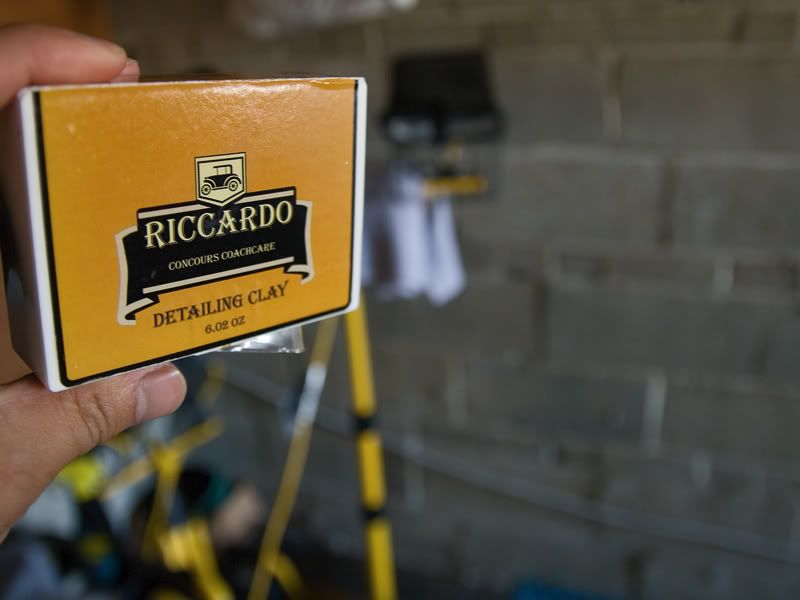
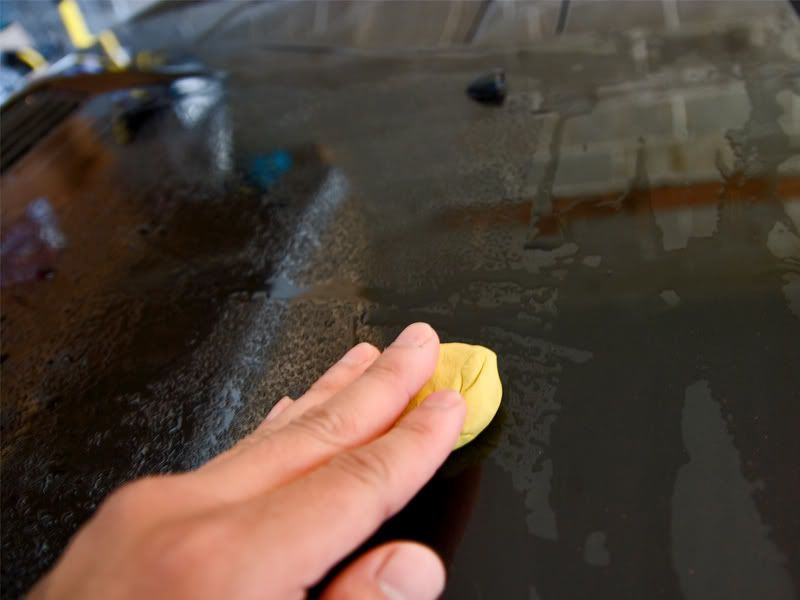
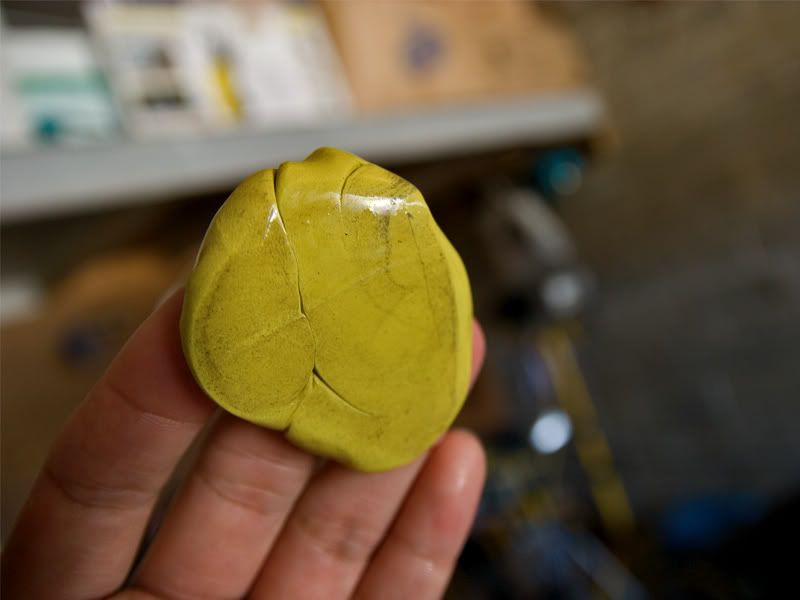
Pulled into the garage and got ready to clay with Riccardo yellow clay. The whole purpose of claying is to sheer off surface contaminants embedded in the clear coat that washing cannot clean off. When you get a chance, right after washing and drying your car run your hand lightly along your paint, the roughness that you are still feeling is the surface contaminants.
My lubricant was Meguiars Last Touch cut 50/50 with water.
The whole car was in rough shape and after claying the roof I realized that it was very likely that the car had been repainted in some areas as it felt like I was claying off over spray.
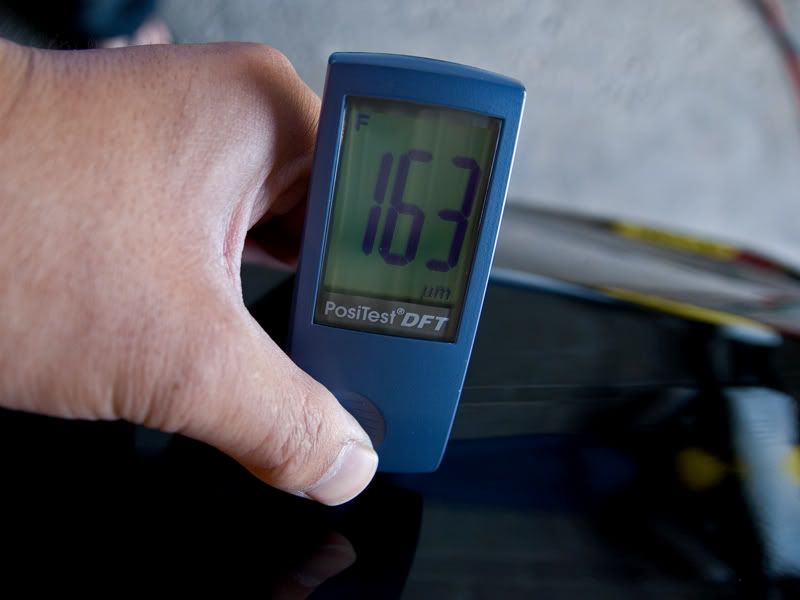
Now with the claying finished I was very interested in taking measurements of the paint to see if my suspicions were true. Measurements of the paint were taken with my DeFelsko Positest DFT paint depth gauge. Look for low spots to beware of and high spots to inform the customer of repaints they might not have known of. Measurements were taken in microns.
Just a little below the average of what I am used to.
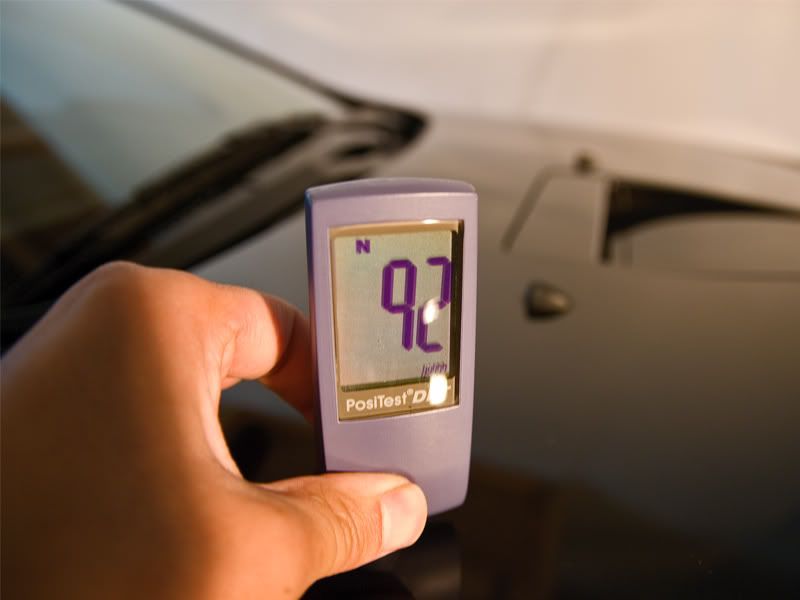
This is thin.
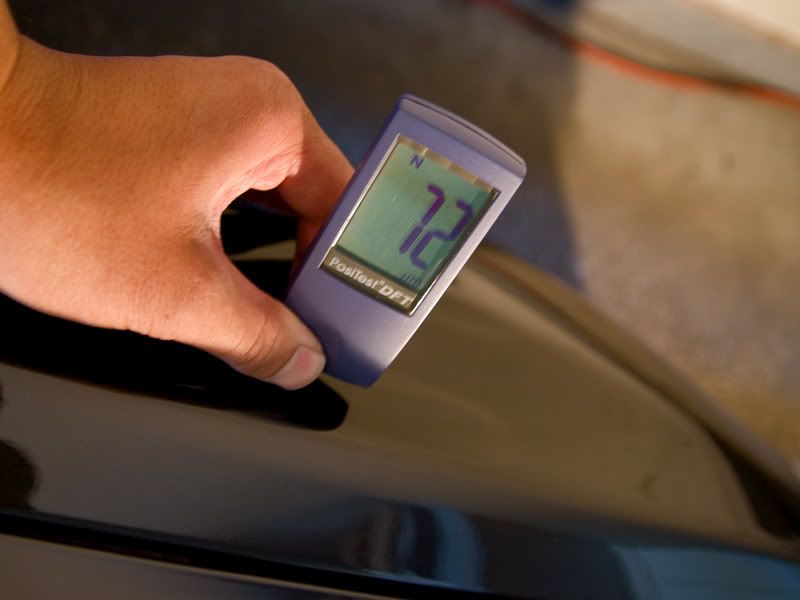
Most panels were around here.
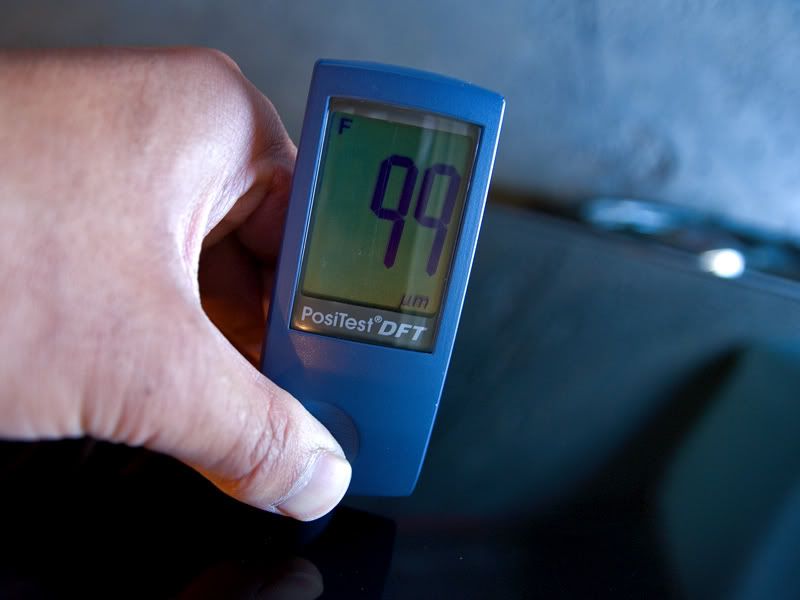
But a little thin again.
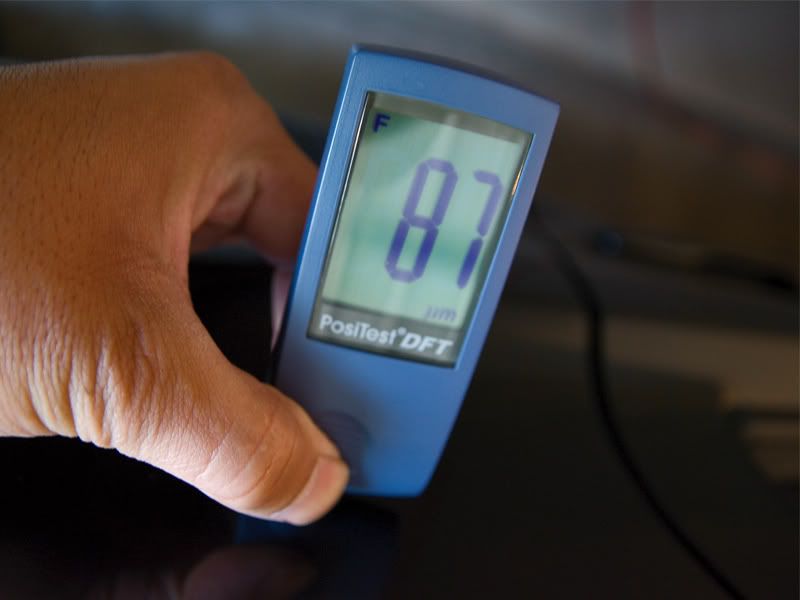
And ahah, the repainted panel. Which I was later informed was courtesy of the dealership because of a mishap while getting an oil change .... horrible.
After measuring the panels I decided that I would aim for making this a 1 stage polish as I wanted to preserve the levels of the paint.
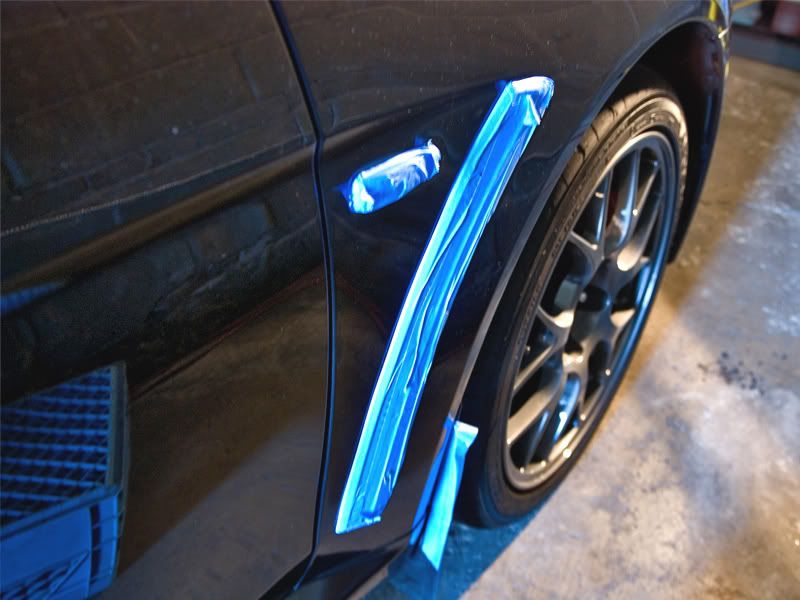
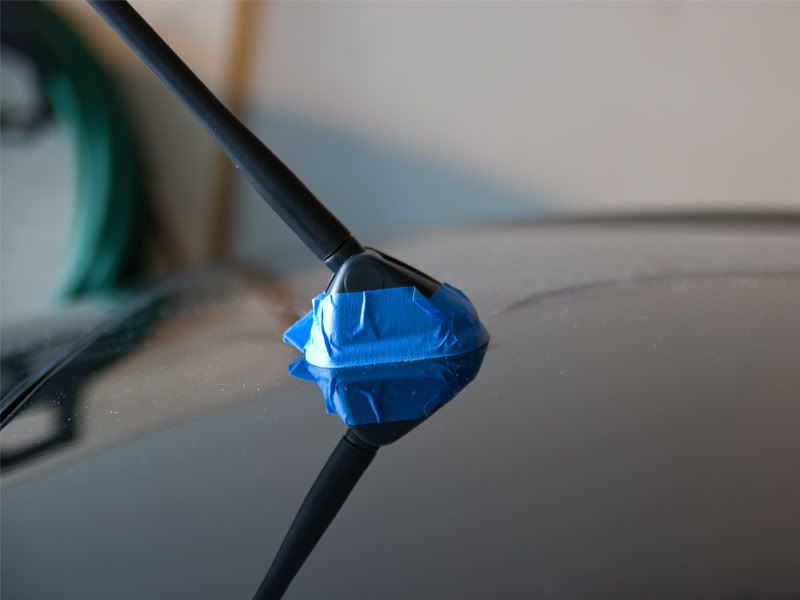
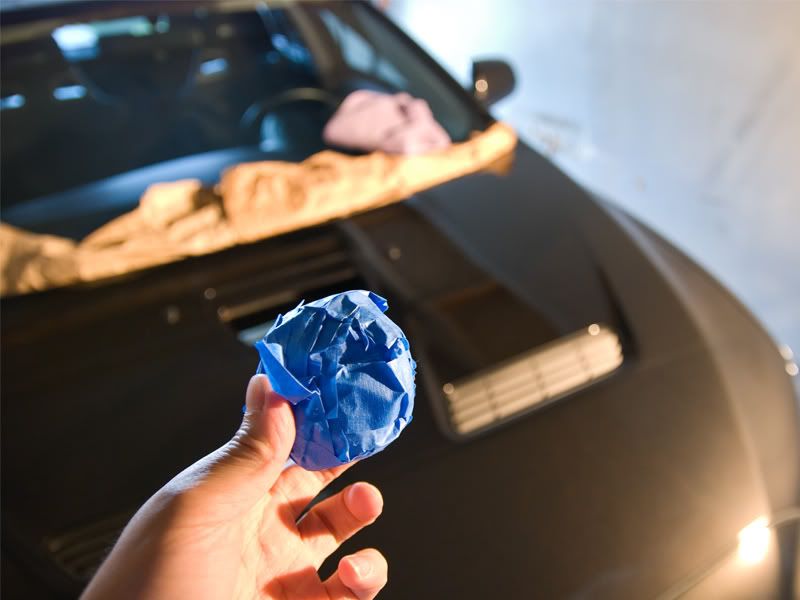
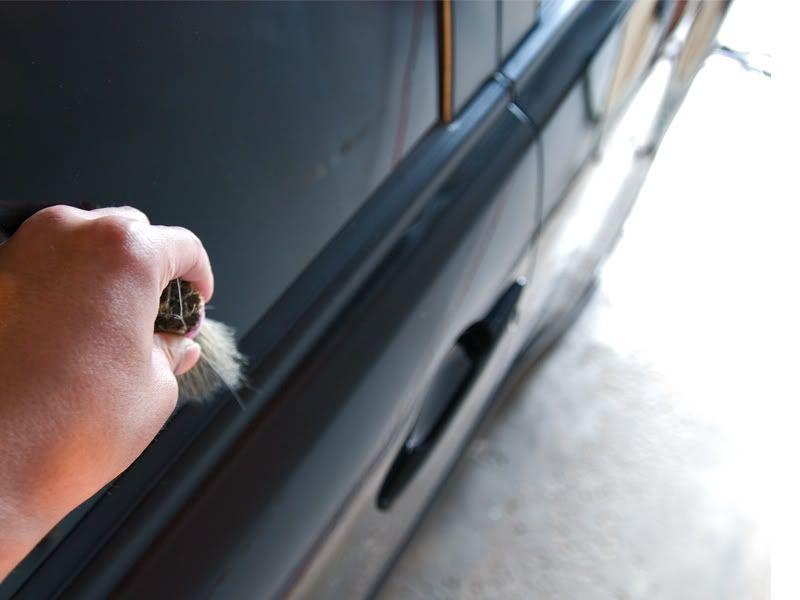
Next was to mask all the rubber trim cause 1 you don't want to risk burning anything and 2 if you don't burn the trim none the less cleaning off polish residue can be a real hassle.
After all that final prep work was done we can now finally begin the polishing.
My decided plan of attack was to use my Flex 3401 with a white 6.5" Lake Country pad and a mix of Meguiars M205 and a bit of Menzerna PO85RD.
I spread at 1 over a 12 x 18 inch area then bumped up to 6 and applied a little pressure on the first 2 passes then no pressure at all for the next 2 passes then bumped down to 5 for one last no pressure pass.
Here are some before and afters of the process just mentioned.
Before
After
Before
After
Before
After
Before
After
After polishing for a couple hours I finally finished up and demasked the car.
Dusted out dust from out of the crevices. My slide lock brush just gave out on me so I had to take what was left and wrap it in a rubber band, but it still worked out just fine.
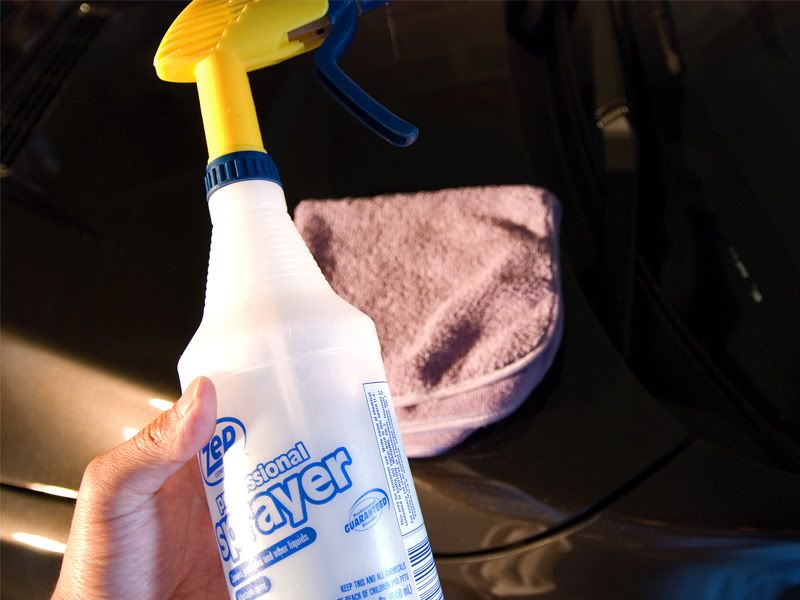
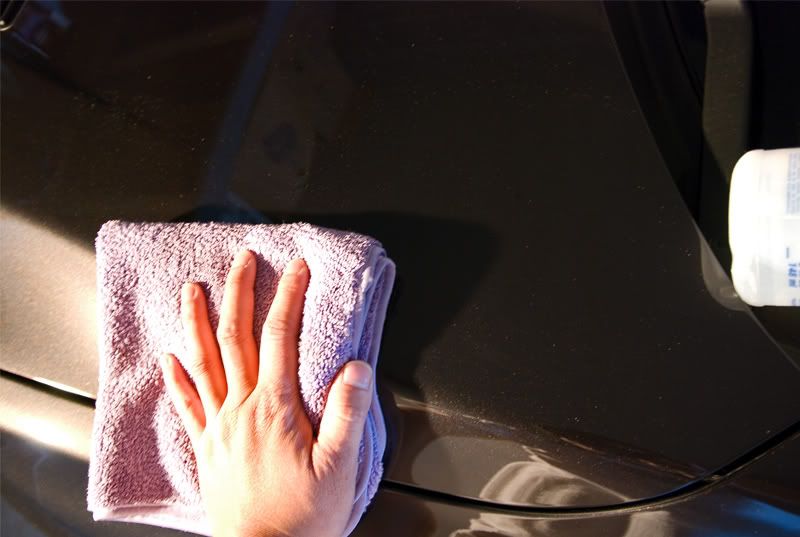
Now I got ready to put on the wax, but first an IPA wipe down which is for cleaning off oil residue left behind by the polishes. This wipe down also enables me to inspect my final work and provides a clean surface for the wax to bond to.
IPA cut 50/50 with water.
Wiping down with a plush micro fibre cloth.
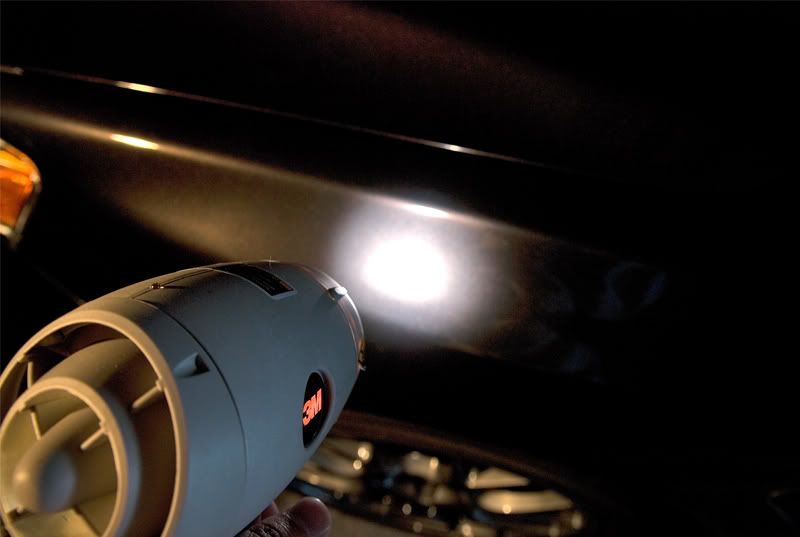
Then inspecting with my 3M Sun Gun which omits the same spectrum light as the sun. So basically what I am seeing here is what it will look like outside on a sunny day. And everything was checking out.
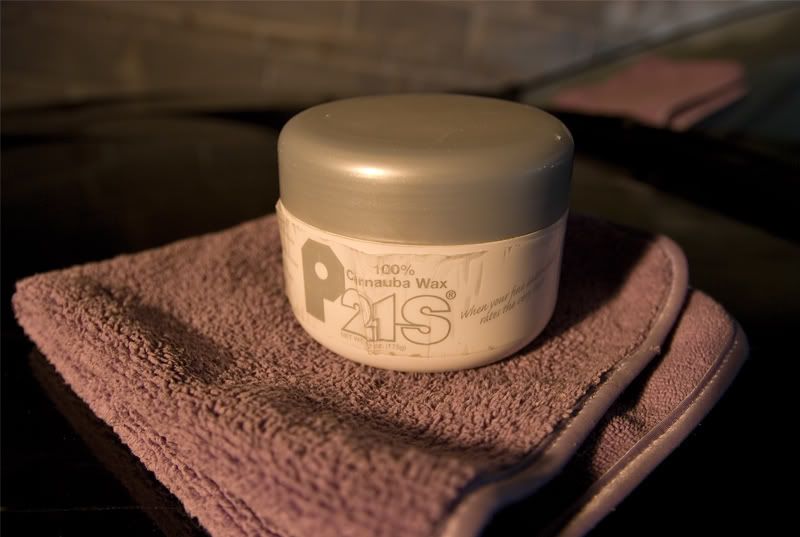
Finally ready to wax, and wax of the day being P21s 100% Carnauba Wax.
While the wax was curing I used Meguiars Hyper Dressing cut 40/60 water as the tire dressing for a not to shiny shine.
I honestly couldn't really choose the best of them all so I have pretty much used all of my after shots except for the ones that had defects in them such as to under or over exposed or were just blurry.
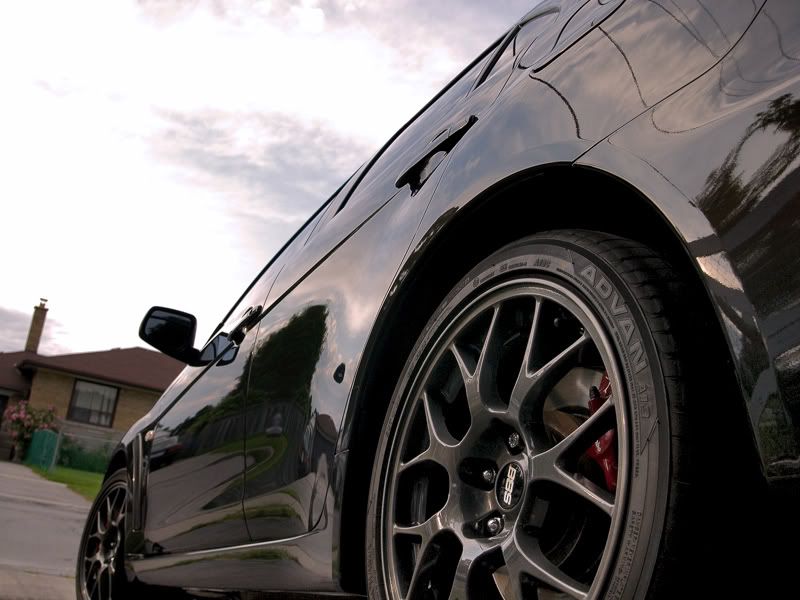
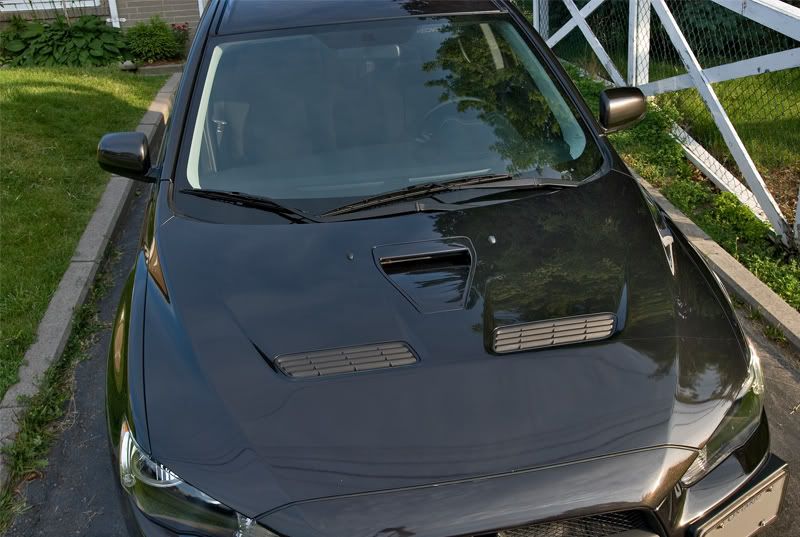
Anyways on to the money shots.
Cheers!
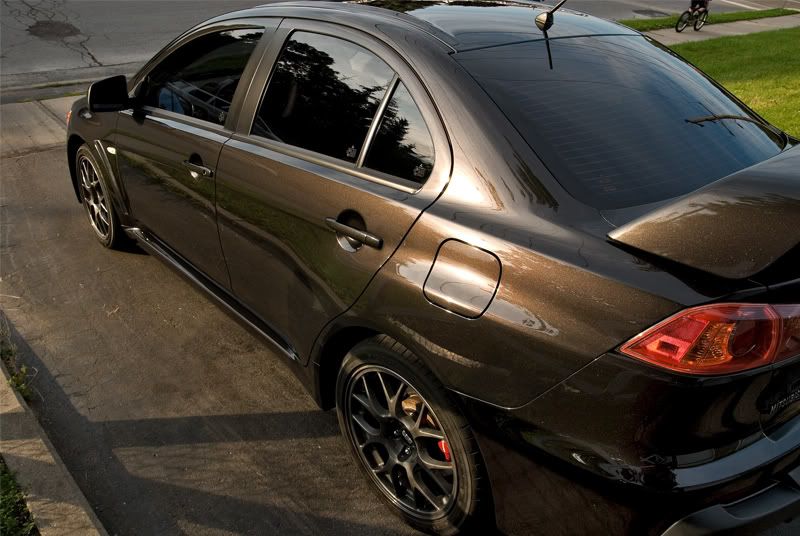
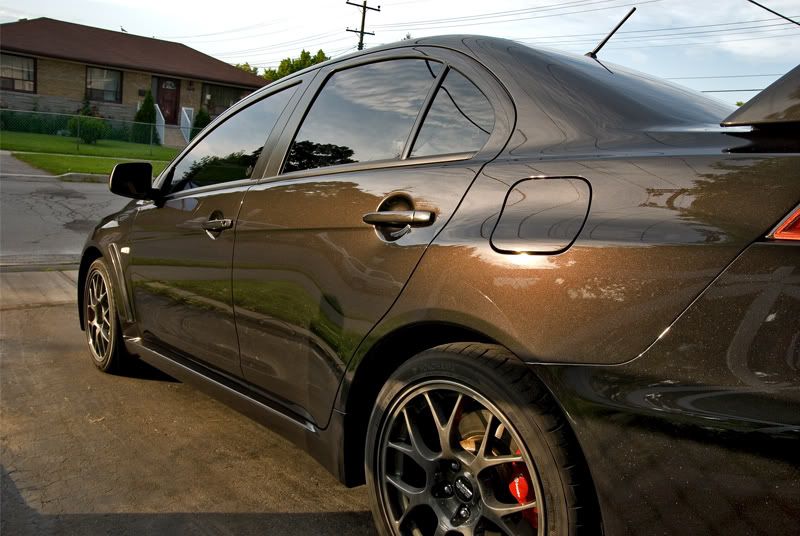
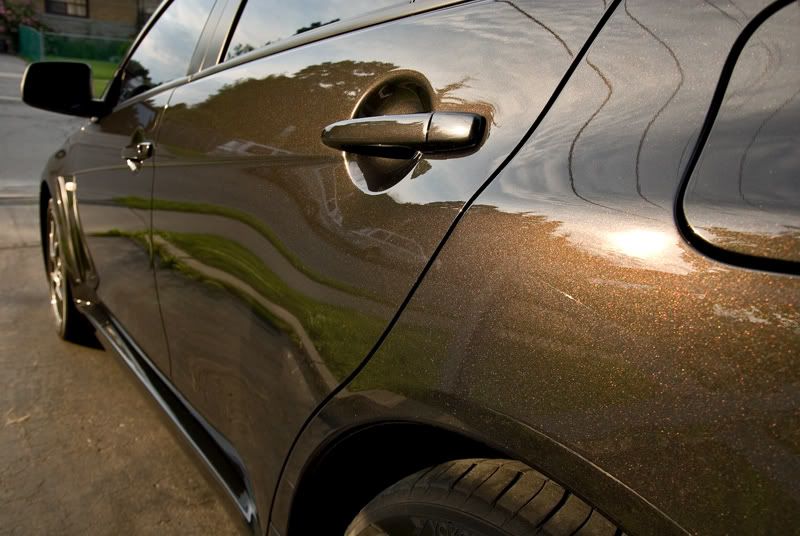
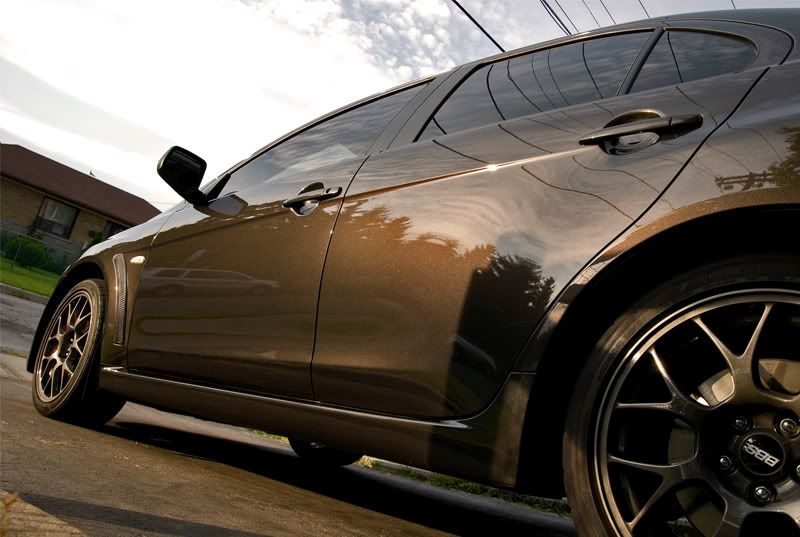
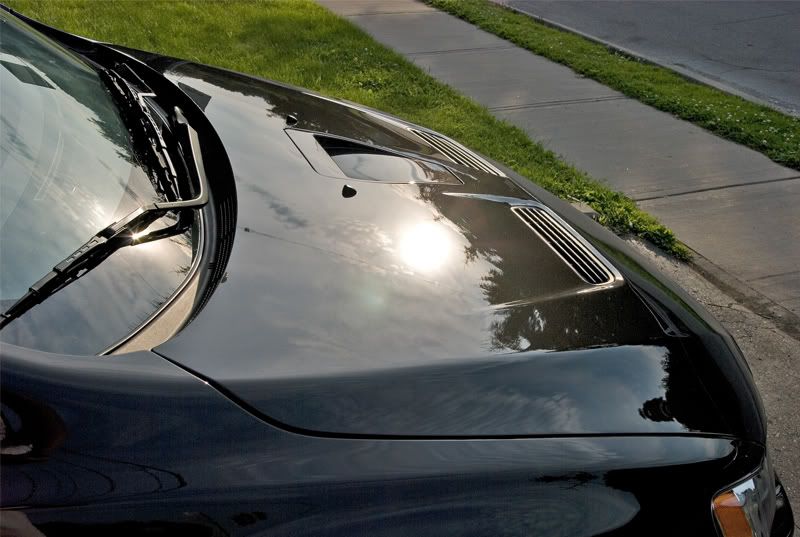
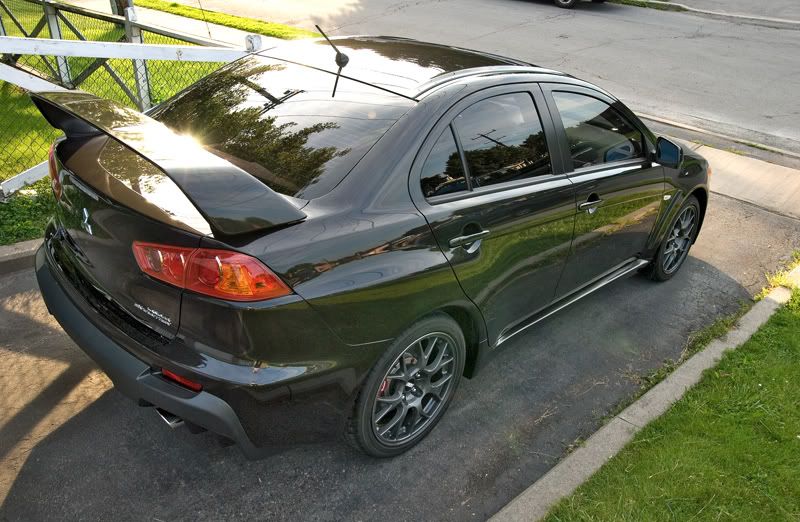
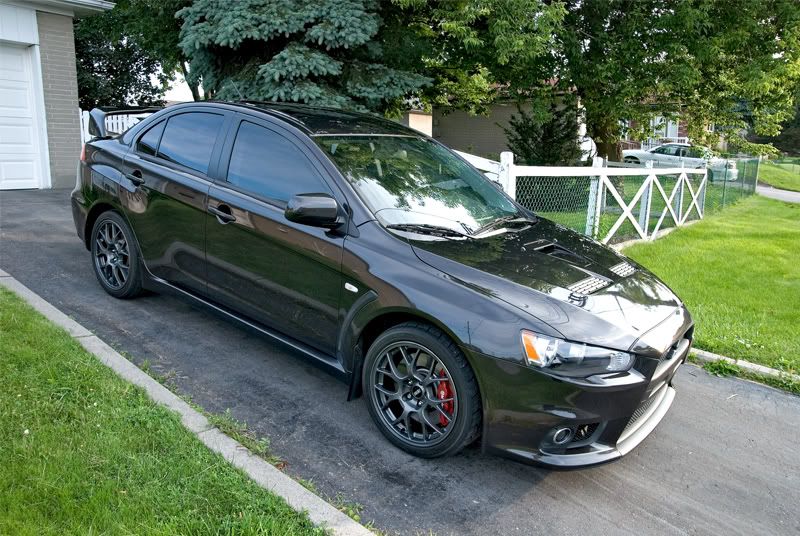
First off let's see how the panels turned out in the sun.
Perfect.
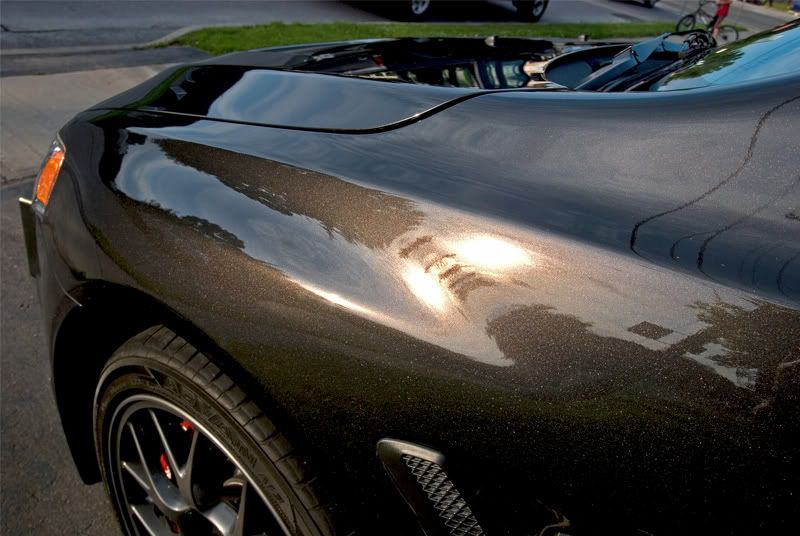

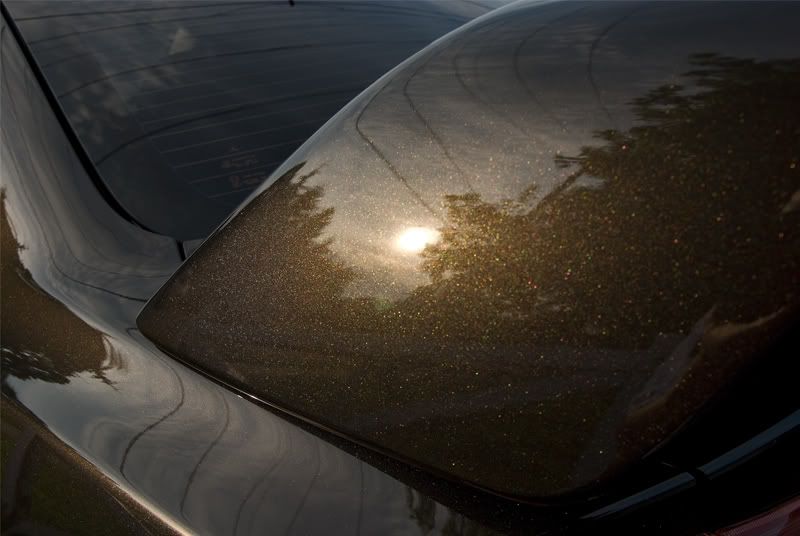
The flake was looking sexy.
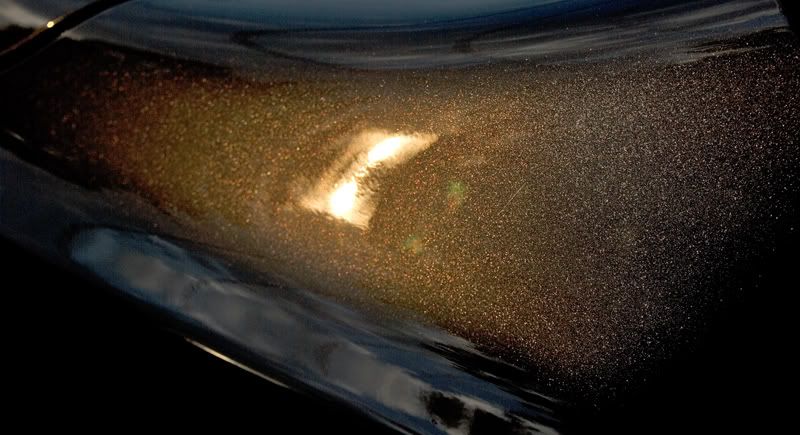
There is no purpose to this shot I just think it looks cool.
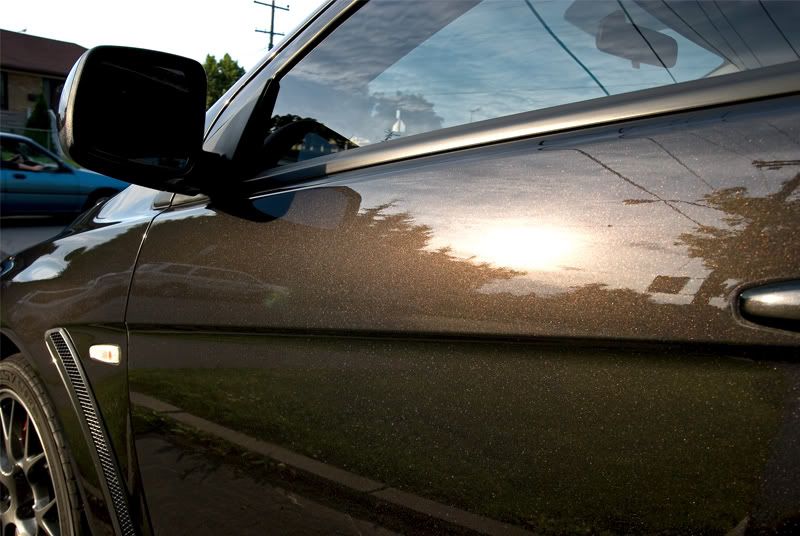
No swirls.
I think this reflection looks crazy.
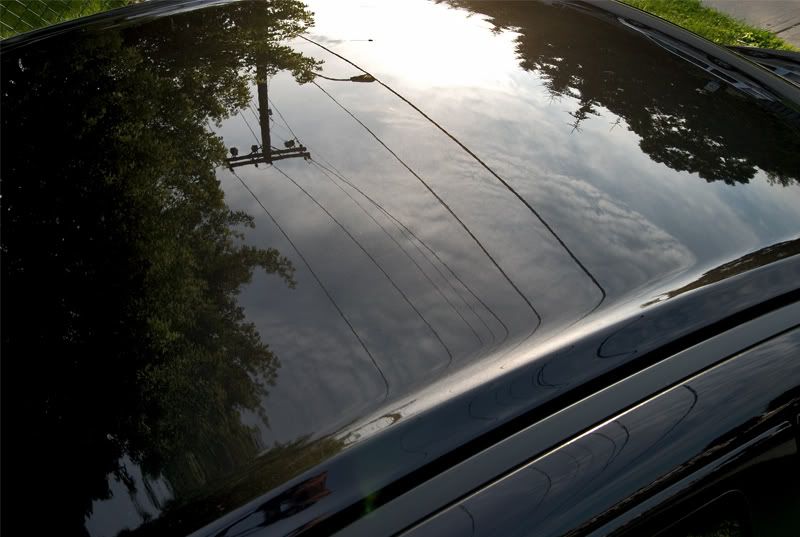
Believe it or not this looks better in person. No camera lens can replace the human eye and seeing this in person. lol feeling it to.

And finally the last shot.
I hope you guys enjoyed the show.
Wes
 You are currently viewing our boards as a guest which gives you limited access to view most discussions and access our other features. By joining our free community you will have access to post topics, communicate privately with other members (PM), respond to polls, upload content and access many other special features. Registration is fast, simple and absolutely free so please, join our community today!
The banners on the left side and below do not show for registered users!
You are currently viewing our boards as a guest which gives you limited access to view most discussions and access our other features. By joining our free community you will have access to post topics, communicate privately with other members (PM), respond to polls, upload content and access many other special features. Registration is fast, simple and absolutely free so please, join our community today!
The banners on the left side and below do not show for registered users!
![Wes_R + Evo X [75 pics]](https://www.revscene.net/forums/iconimages/automotive-detailing-car-care-tech-49/wes_r-evo-x-%5B75-pics%5D_ltr.gif)


 .
. .
. .
.
