Hey
I have decided on a set of SSR VIENNA KREIS for my BO '01 IS300. I bought a used set from vrwheels.com and I am going to rebuild them to my liking. This is how I am going to build them, keep in mind, there are many different ways of going about this. I am using my experience from helping build a set of BBS RSs. I'll update my progress with the wheels on here. Feel free to ask questions or make comments/suggestions.
Disclaimer: Sorry in advance for not so great quality pictures. All pictures will be from my Iphone. I am not responsible for you messing up your wheels by following my instructions. Like I said, there are many ways to build, this is just one possible way.
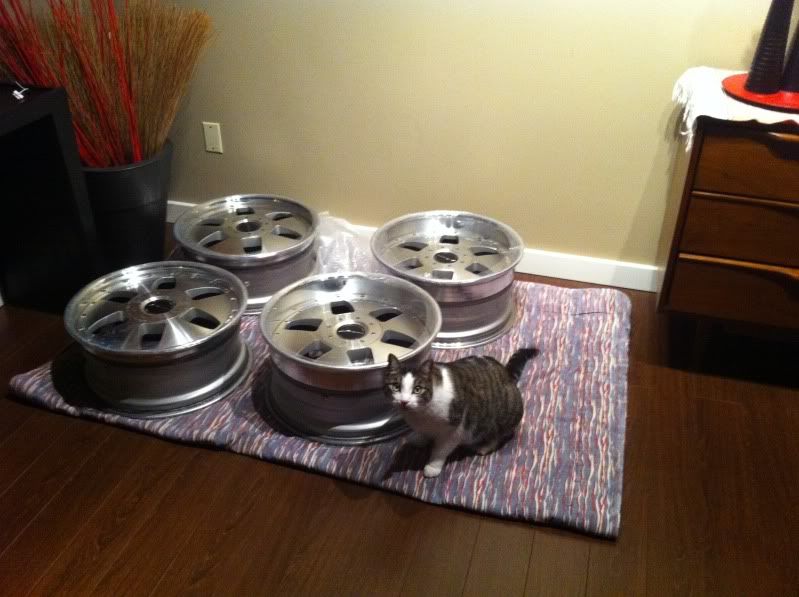
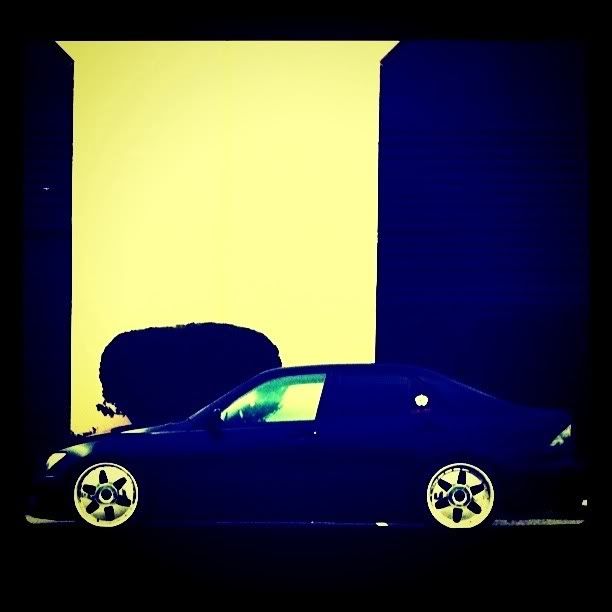
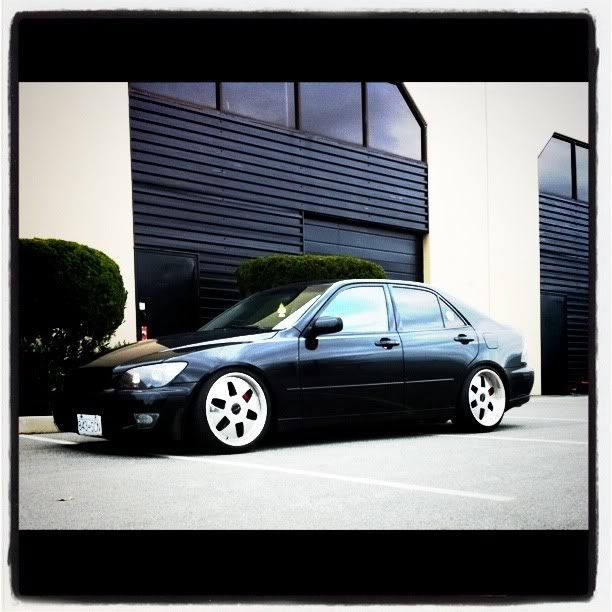
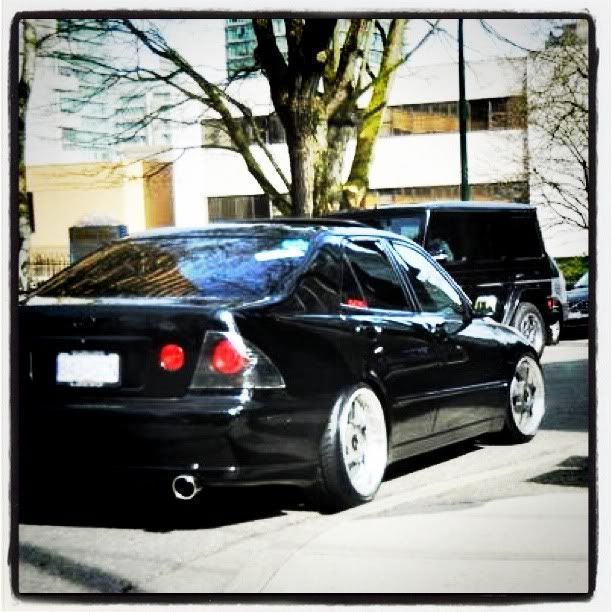
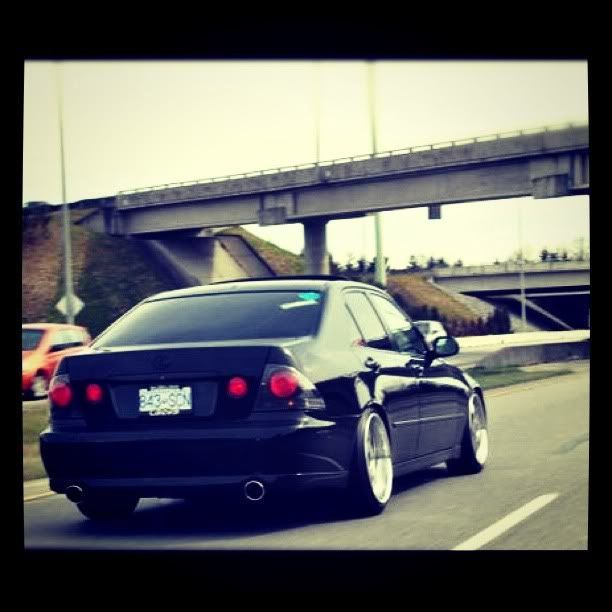
My old setup:
 Basic Info
Wheels:
SSR VIENNA KREIS 18x8 +31 18x9+37
Spacers:
H&R 15mm front and rear
Tires:
Nitto NeoGens 205/40/18 and 215/40/18
Tools for splitting:
12mm socket + extension
liquid wrench
air tools
one four square (12 point star)
heat gun
scraper (to take off weights)
1 elbow extension (when doing the 8" wheel, the barrel gets in the way to properly take off the nuts, use an elbow extension so you do not strip the nut)
oven and/or block of wood.
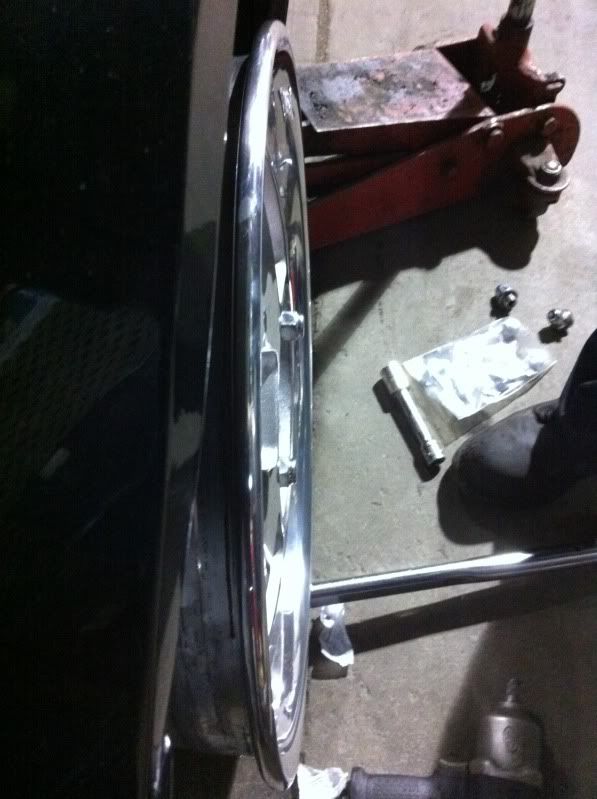
Step 1:
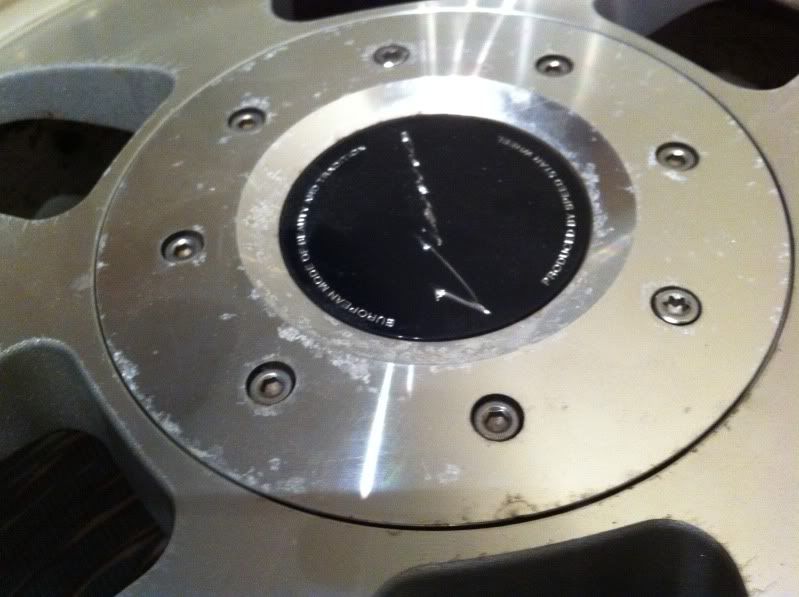
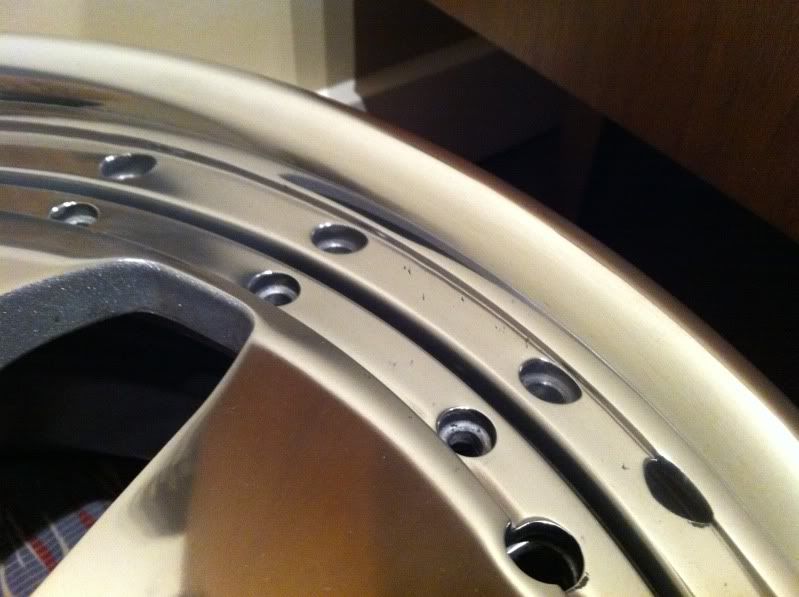
Take off bolts. I always thought these were 3pc wheels, but turns out this set is only two piece. It looks like the lips have been welded onto the barrel. I used liquid wrench to help me take the 20 bolts off. Using a buddy system makes it go by faster. I used a 12mm socket on the nuts, while he held down the heads of the bolts with a four square (12 point star). I used air tools to make things move along quicker. This is a good time to remove the valves as well. 
Step 2:
Heat. Using an oven would make the split much easier. I used an oven to split my fogs, and I am no longer permitted to use an oven to bake car goods. I used a heat gun instead. 10 mins on each side, and they should be ready for splitting. 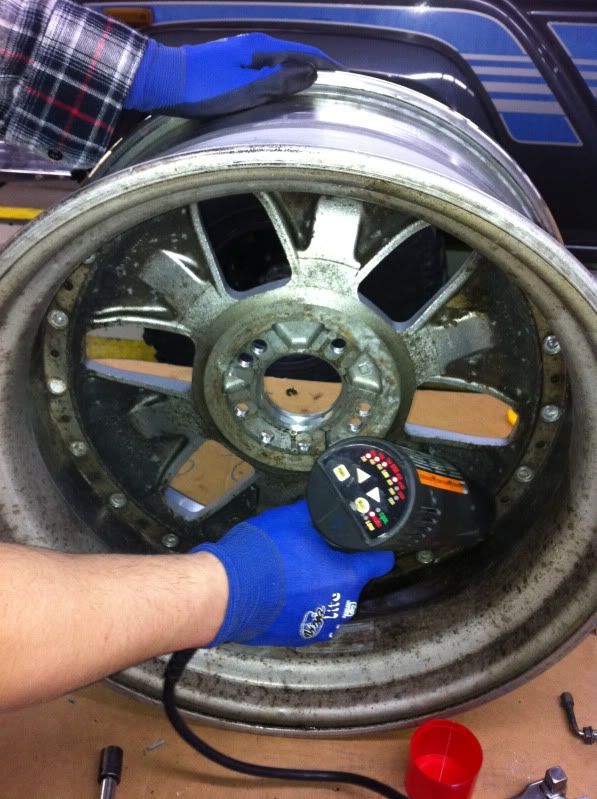
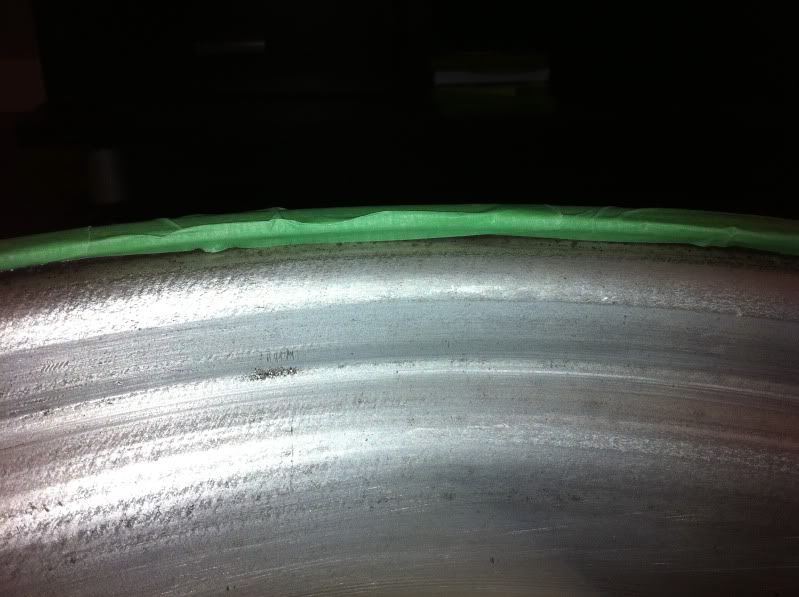
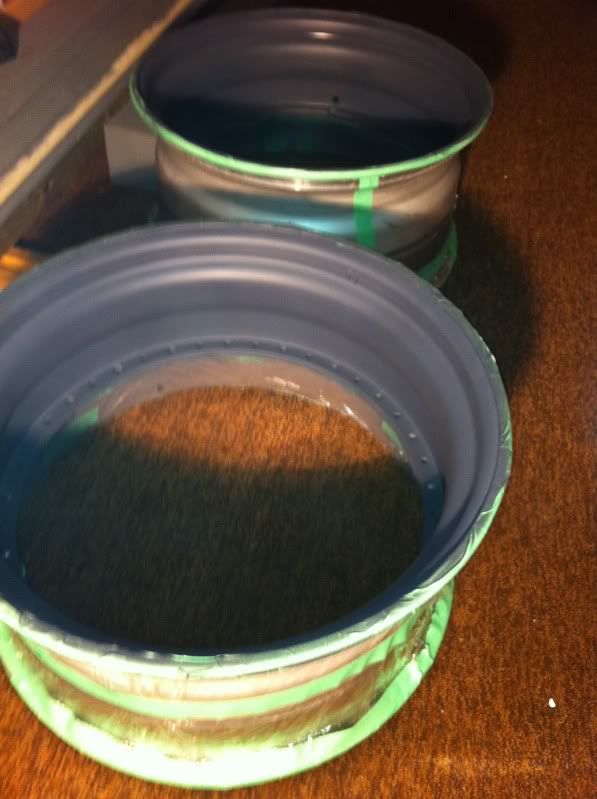
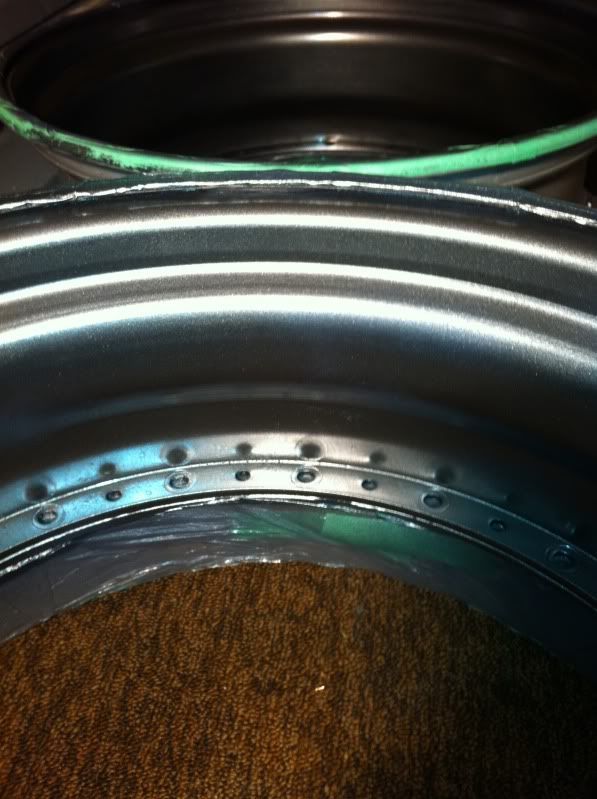
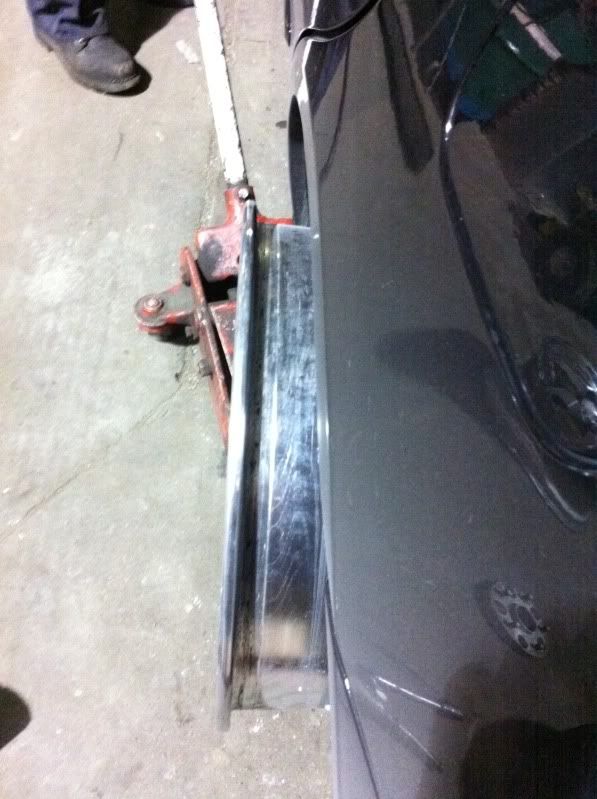
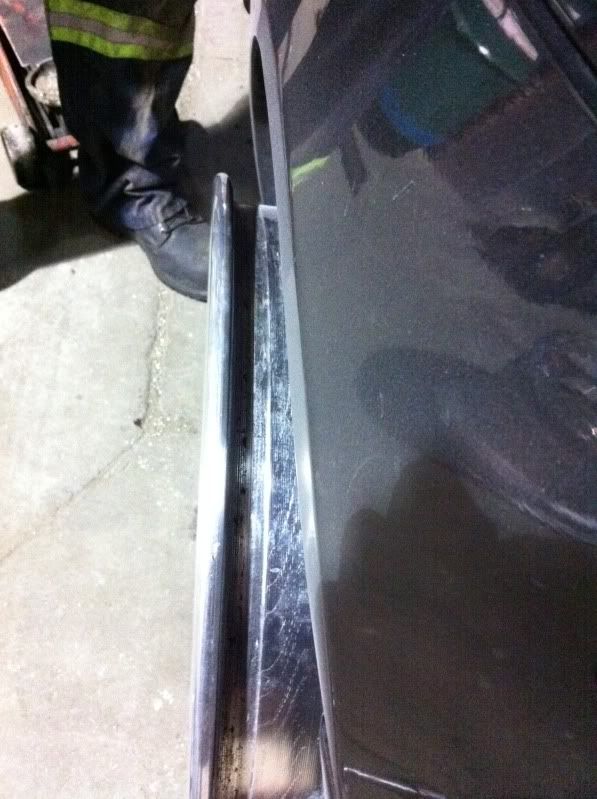
Step 3:
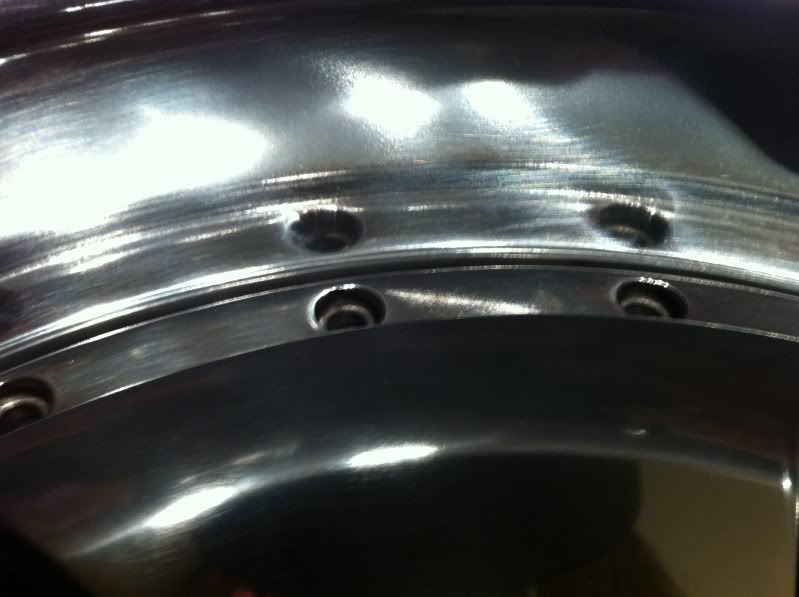
Split. As mentioned earlier, if using an oven to split the wheels, all you need is a rubber mallet and a few taps. Since an oven was no longer an option, I used a block of wood. I put a piece of cloth on top of the wood, and with a buddy, dropped the wheel onto the block of wood. It took two drops and the face popped off. Always make sure to have a buddy covering the faces of the wheels so when they pop off they do not hit you in the face. 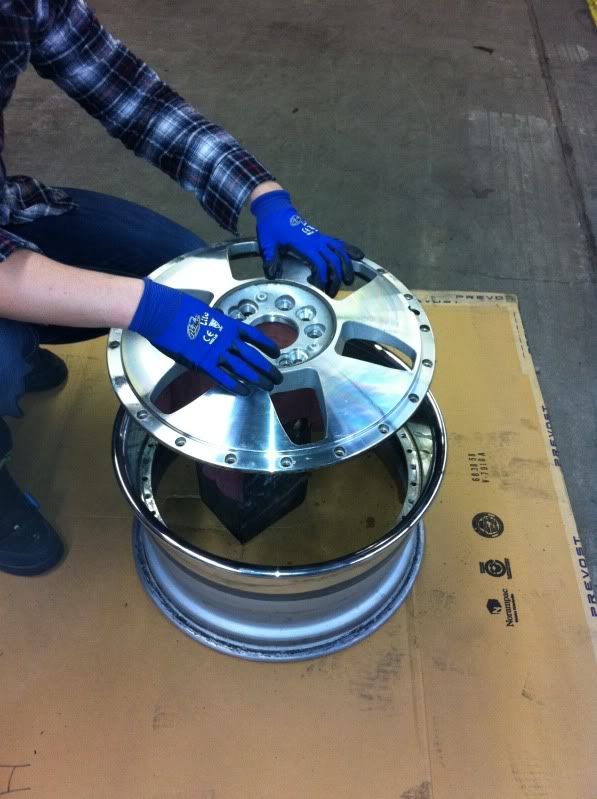

==================================================
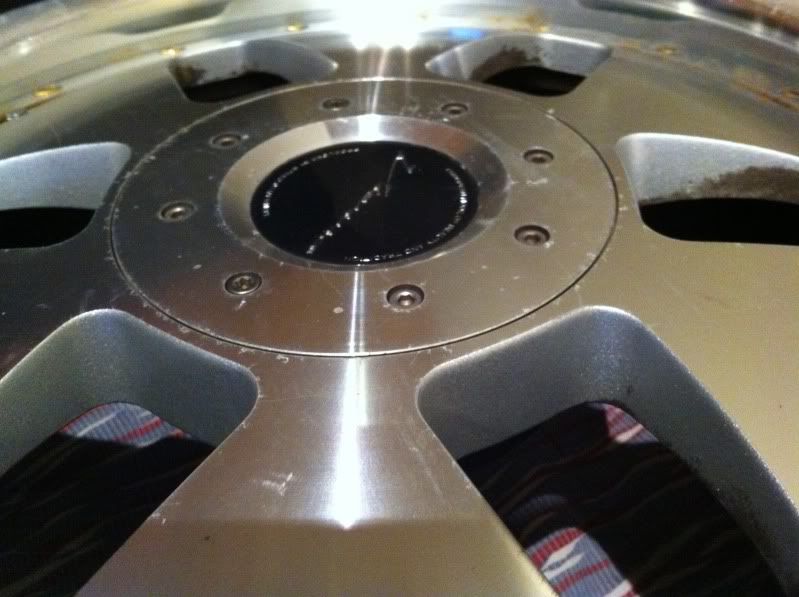
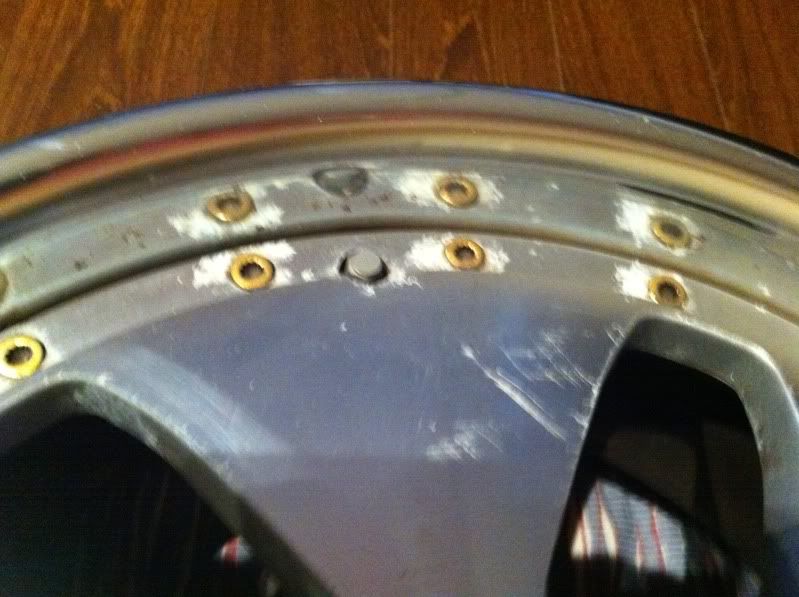
Nuts and Bolts: Ive decided to keep the original nuts and bolts that came with the wheels. I am planning to get the bolts polished up and cleaned just like the lips and faces.
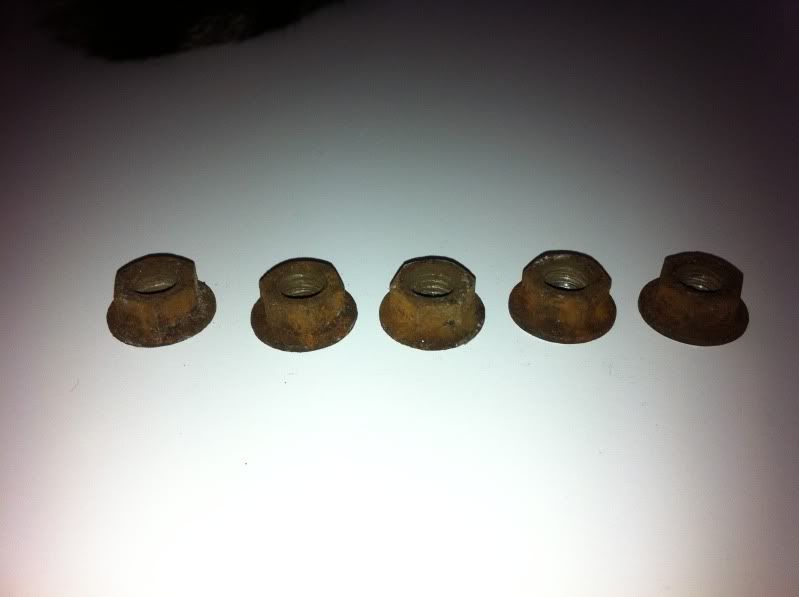
For the nuts, I decided to give them a little clean myself. They were on the wheels for a long time, so they were caked with brake dust, rust, oil, and other crap.
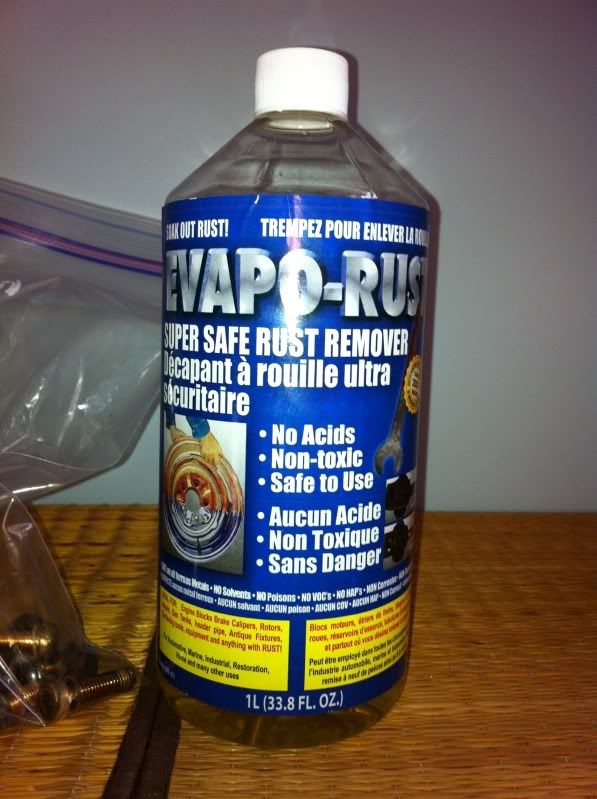
I find this solution at a local automotive parts store. I was skeptical at first, but gave it a try. On the bottle, it suggests to pre-clean, but I felt lazy so I just dipped them over night to see what would happen. Here are the results: Tools:
Evapo-Rust = $9.99
Lazyness = priceless
 Before:
 During:
After: 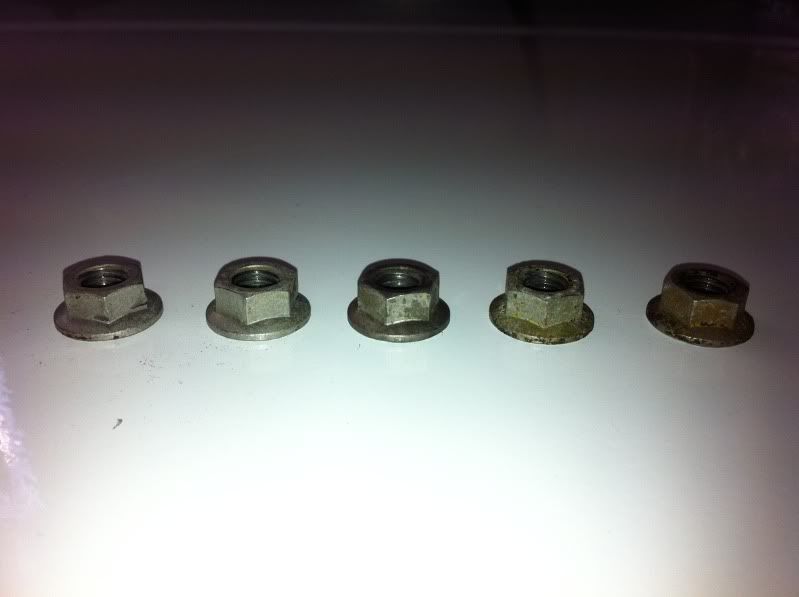 Results:
Not bad for leaving it overnight.
================================================== ===============
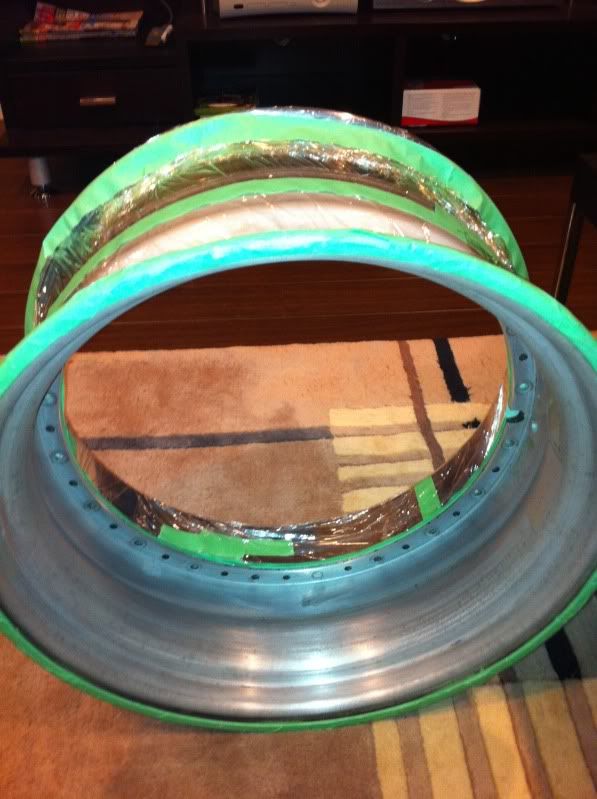
Update #2:
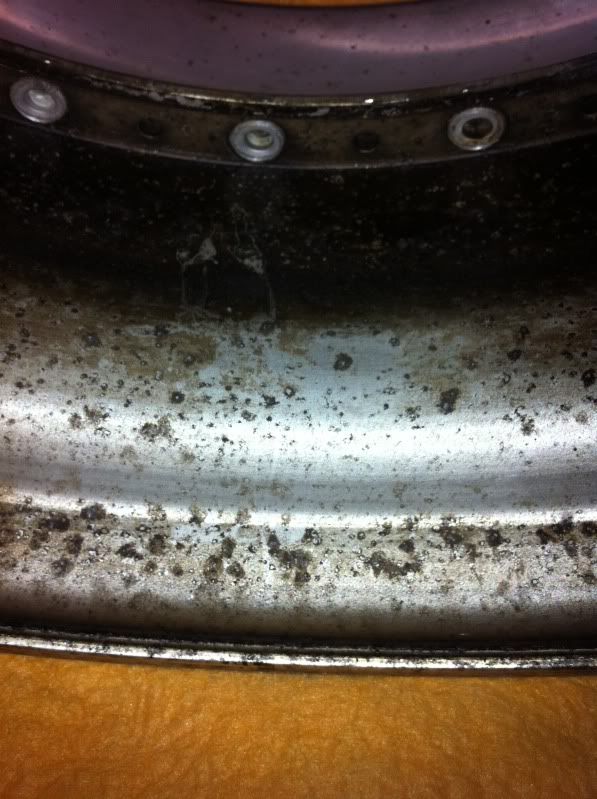
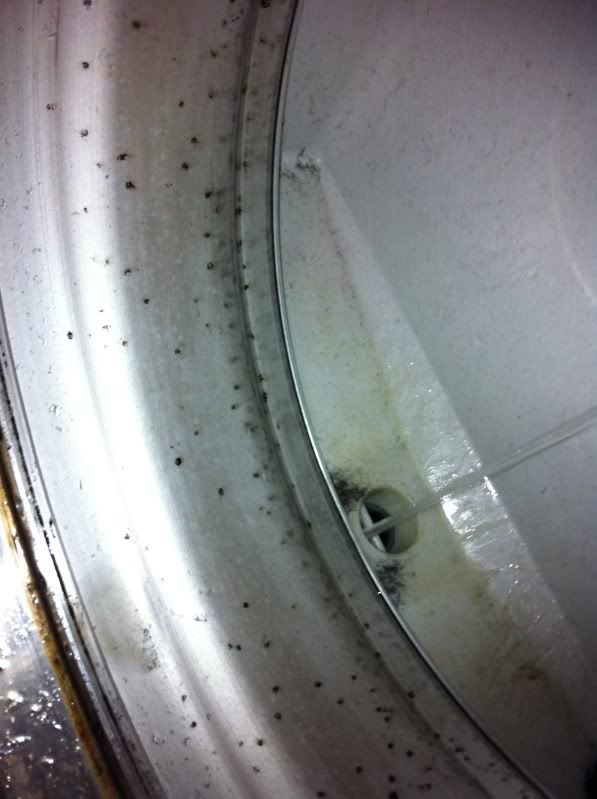
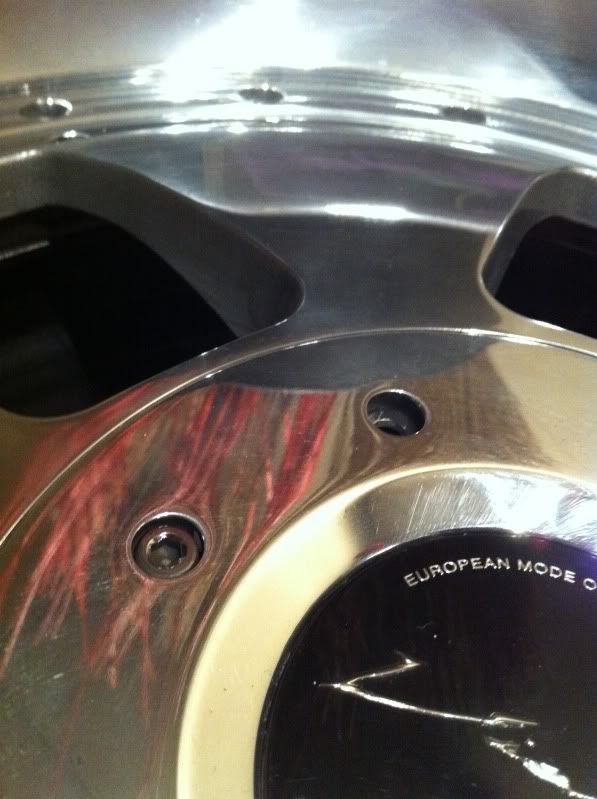
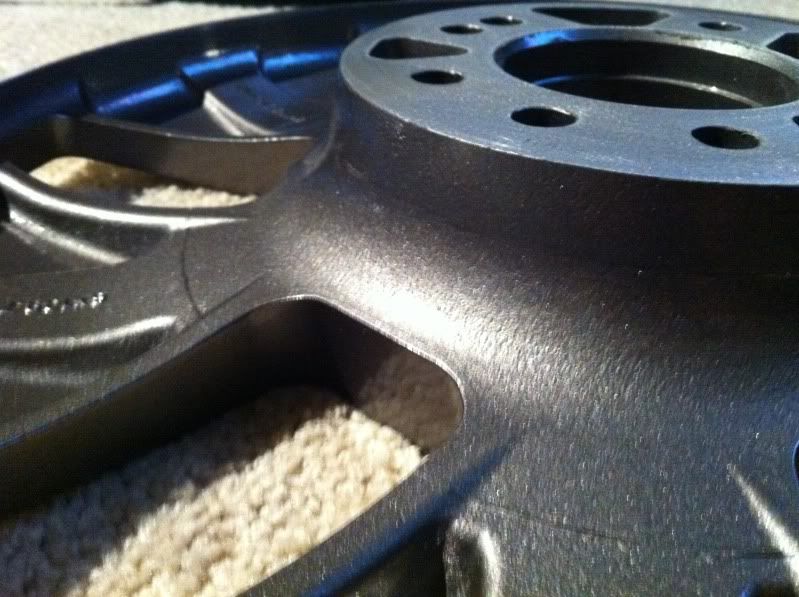
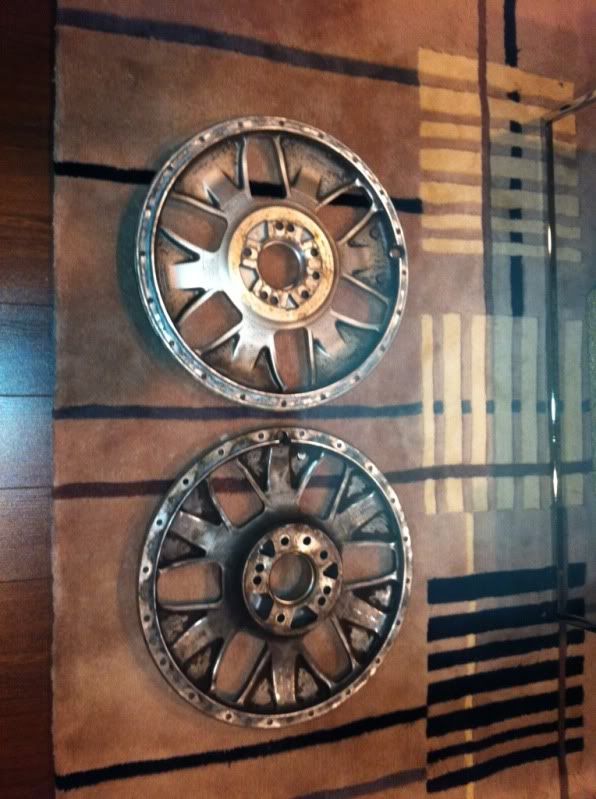
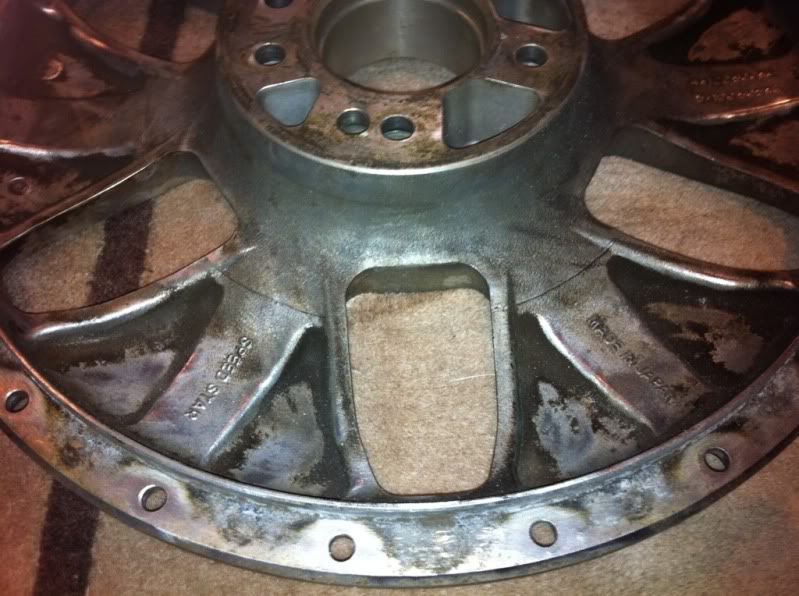
The inside of barrels are really bugging me, so I decided to do something about it.
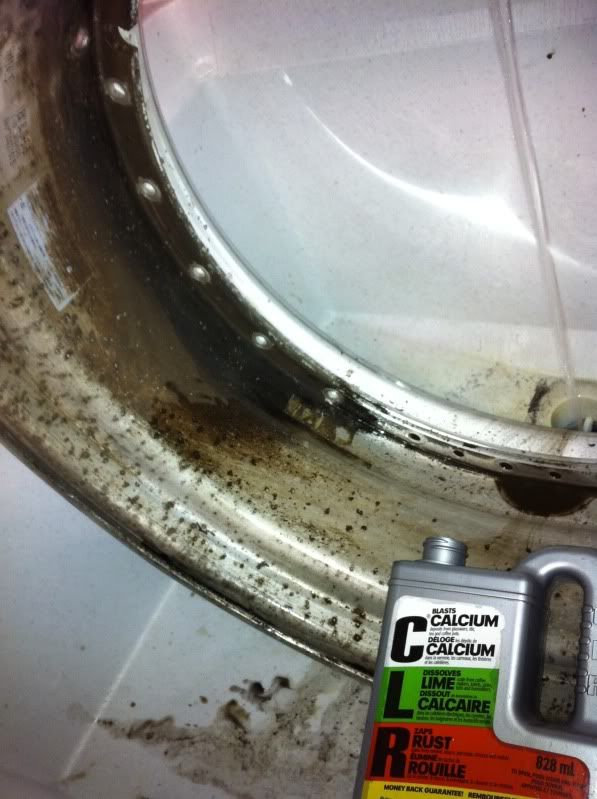
I got some CLR (still recall those annoying CLR commercials), steel wool, rubber gloves, and my muscles.
Before:
During:
After:
Not really looking forward to doing the rest, but has to be done.
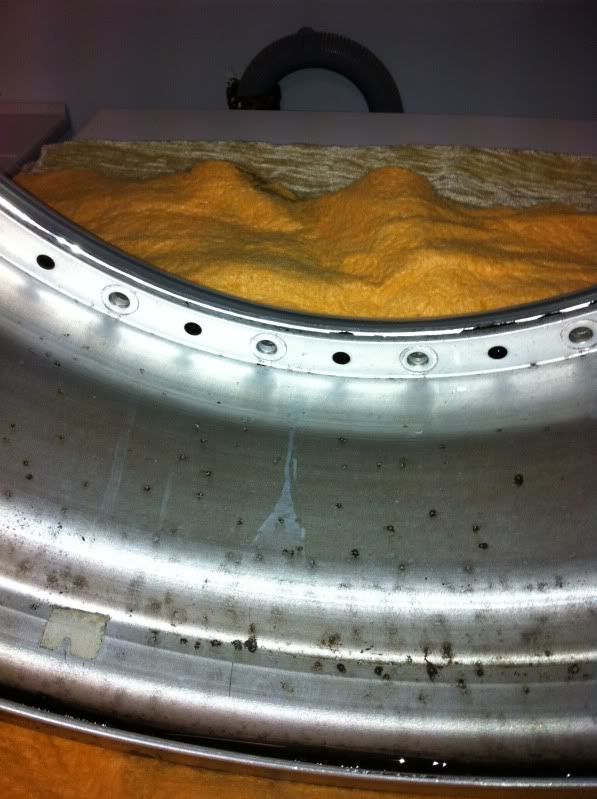
Next step, I am thinking about sanding down, priming, and panting the insides of the barrels.
================================================== =================================
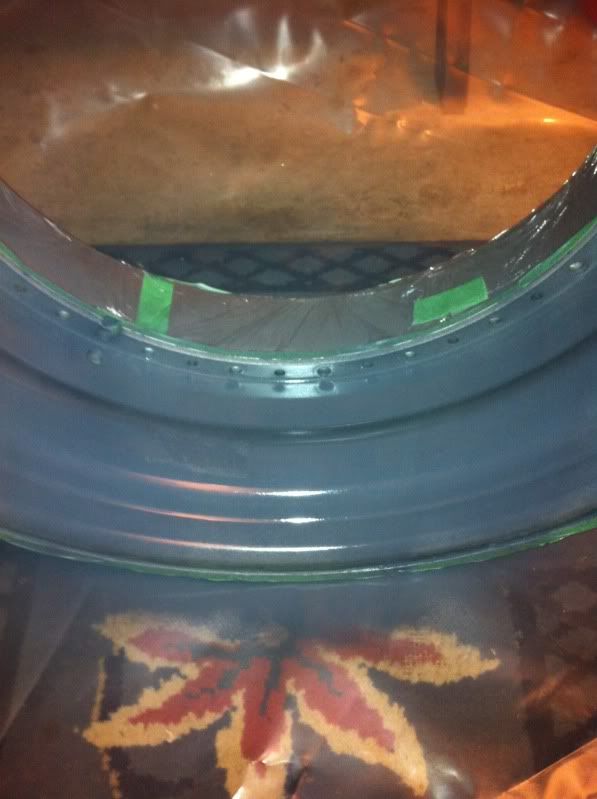
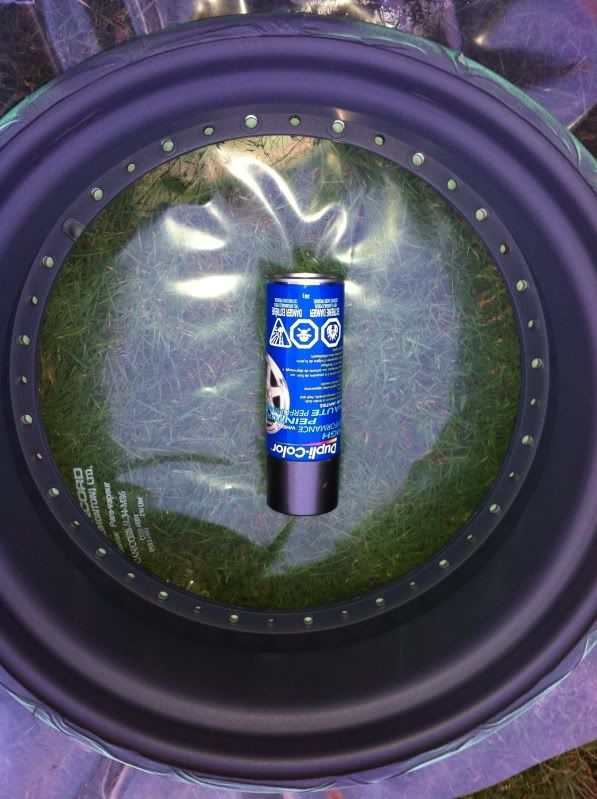
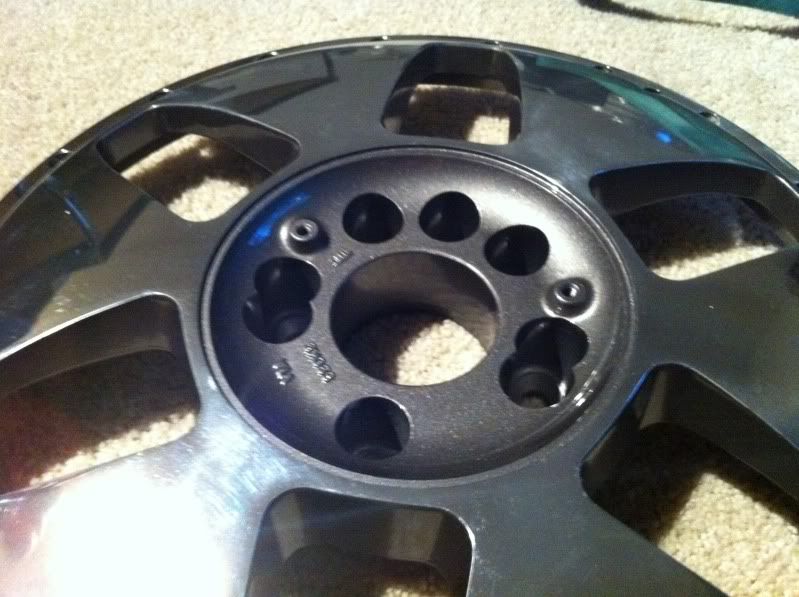
Update #2.5
Prepping for paint
Prepping for the painting of the barrels. This is the part I was not looking forward to. This step requires more scrubbing, cleaning, and lots of sanding.
It is more time consuming than actual painting, so that is I had to split up the job in two.
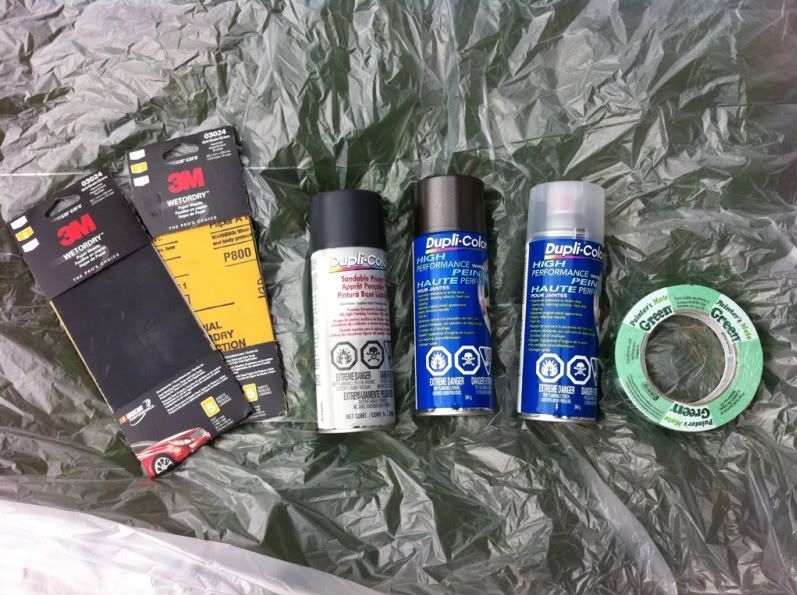
Tools:
3M Wet/Dry sanding sheets. I decided to buy the assorted pack because it had what I actually need (320, 400, 600, 800*)
(800* is only used when sanding down already primed barrels)
Tape. Obvious reasons
Sand-able Primer
Paint - decided on Graphite. Really like that color on the ISx50s.
Clear Coat
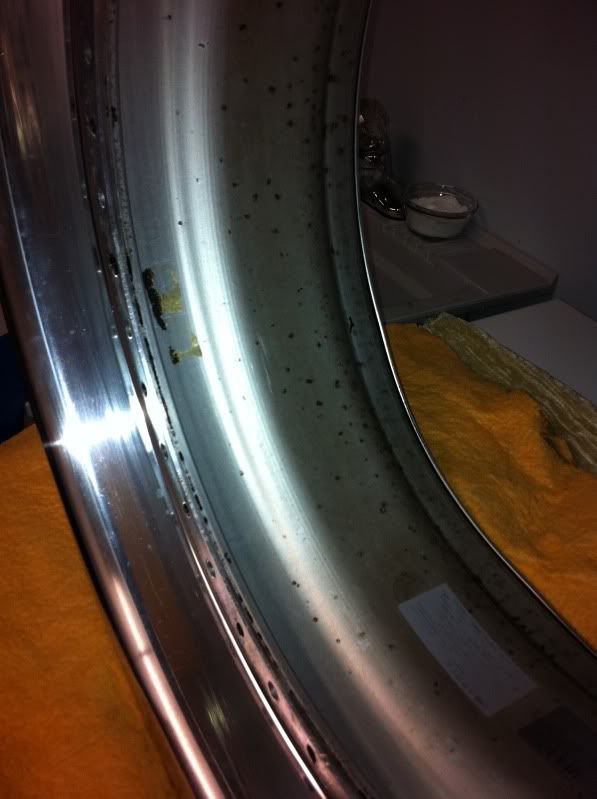
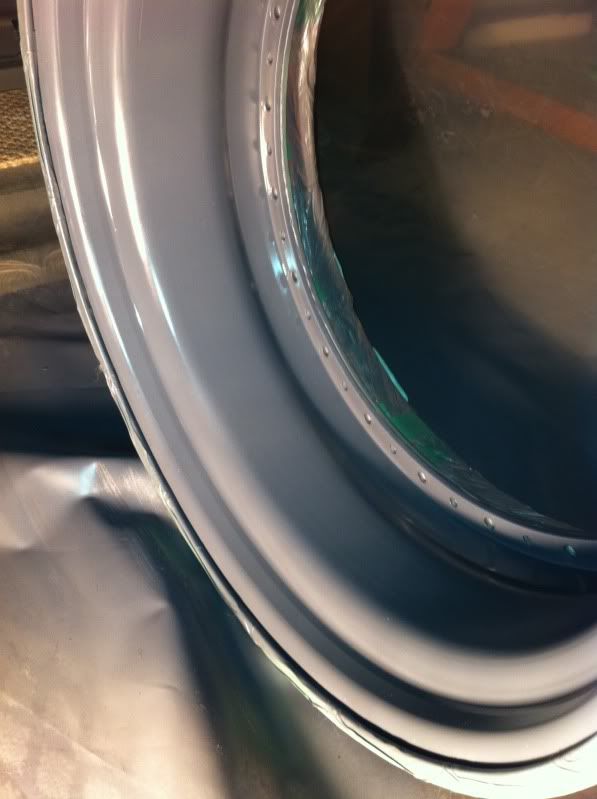
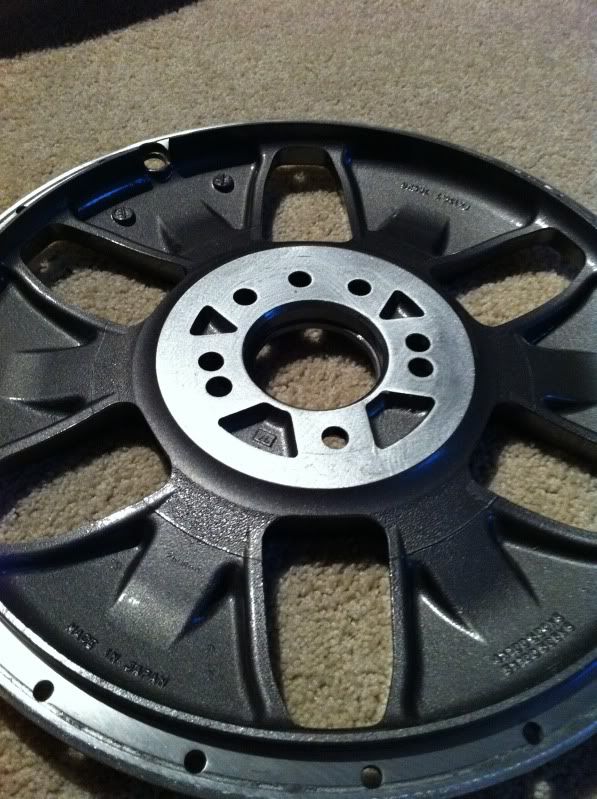
Started off with 320 grit, followed by 400, and 600. It is much easier to wet sand it. I poured some CLR into the water cup I was using, so it was sanding and cleaning at the same time.
Main body of the barrel: I tried using latex gloves at first, but found it better with a bare hand. Hands get dirty, but it is much easier to grip the sand paper.
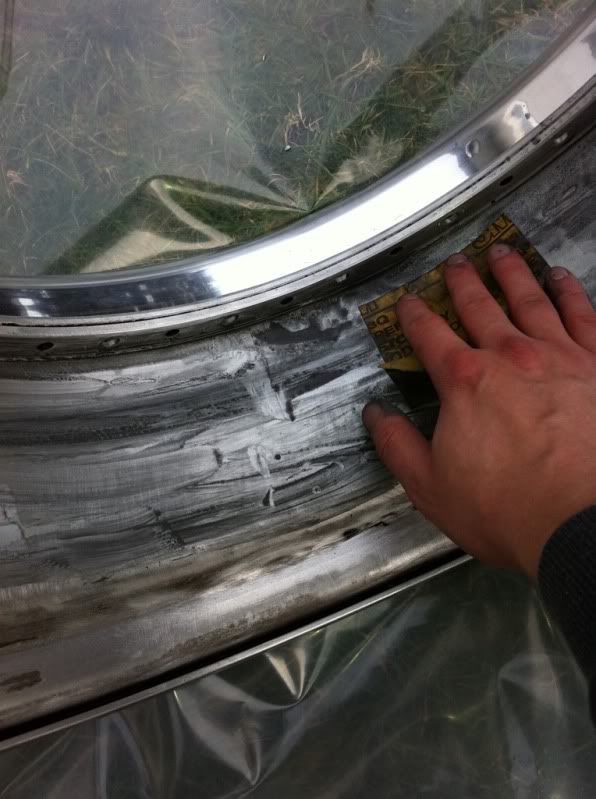
Close to the outer edge:
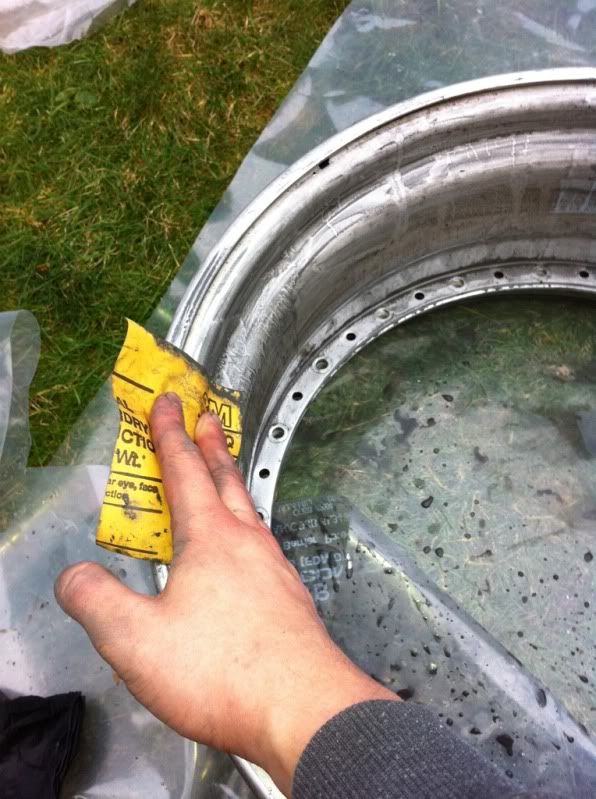
Final product:
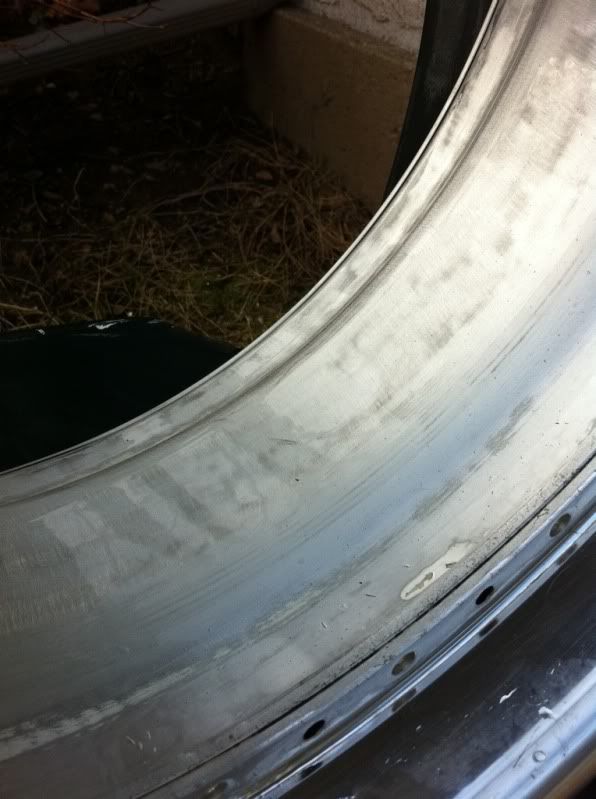 Tip:
Tip: Having done this, if I was to do it again, Id go rougher grit (start with 180, 320, finish with 400). I wasnt able to get out really deep scratches or glue marks from weights completely.
================================================== =========================
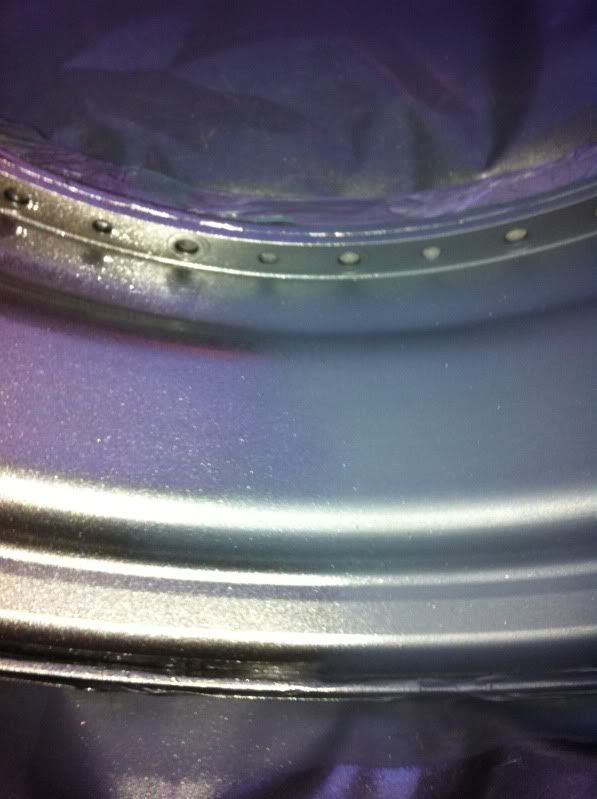
Update #3
Masking, Priming, Painting of the barrels
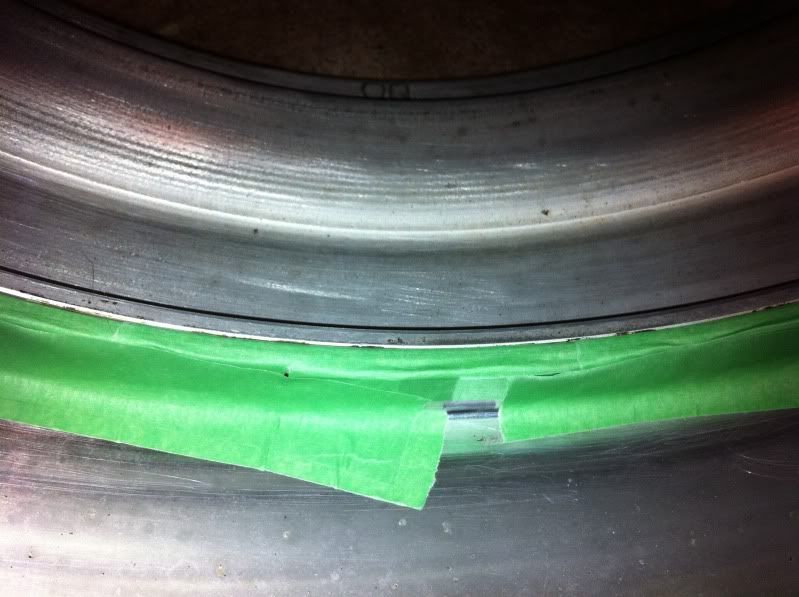
1. Masking the areas you
DO NOT want painted is no easy task. It is very time consuming. To do it right, take your time.
It will payoff at the end.
2. Prime. The weather wasnt trustworthy, so I had to do it my garage. I used the sanding priming in hopes to sand it down after a few coats. Changed my mind because of the masking job. Id have to do it all over again if I wanted to get a good sand job. So since its only the since of the wheel, I decided to do two coats of primer (the can only lasted 2 coats per 4 wheels). I let the wheels dry for 24 hours.
3. Paint. For some reason this can came with a different nozzle than the primer. It had the old school nozzle, not the easy spray. I wasnt sure if it was just the can I bought but the finger got sore after a few coats and it began to clog.
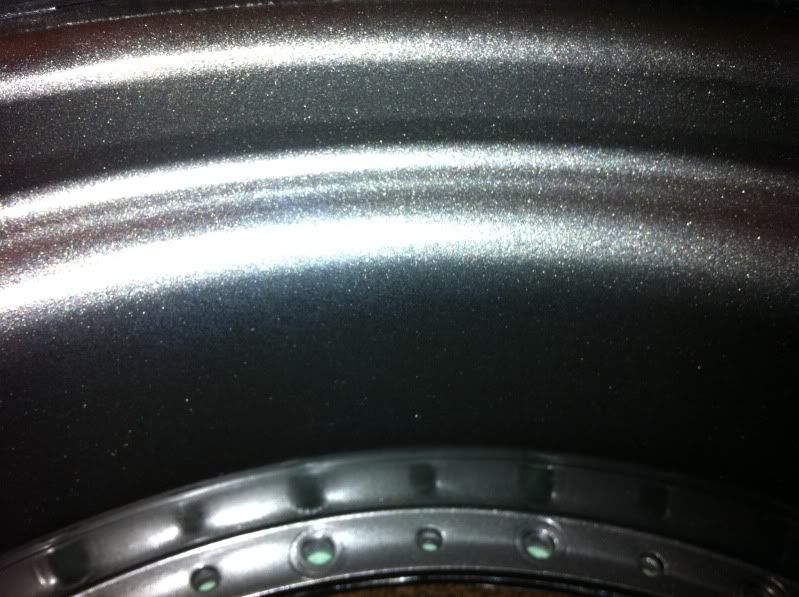
I only did one coat today. Ill let them dry for another 24 hours, and do a second coat tomorrow.
================================================== =====================
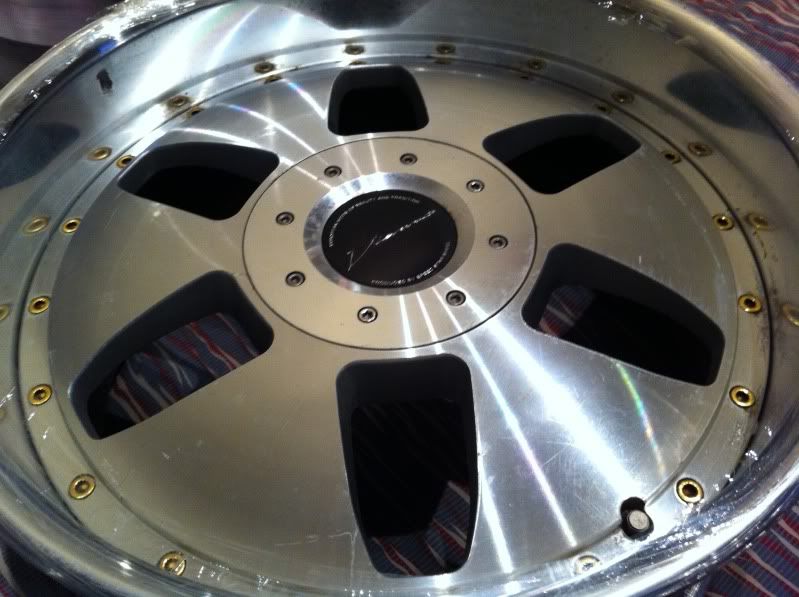
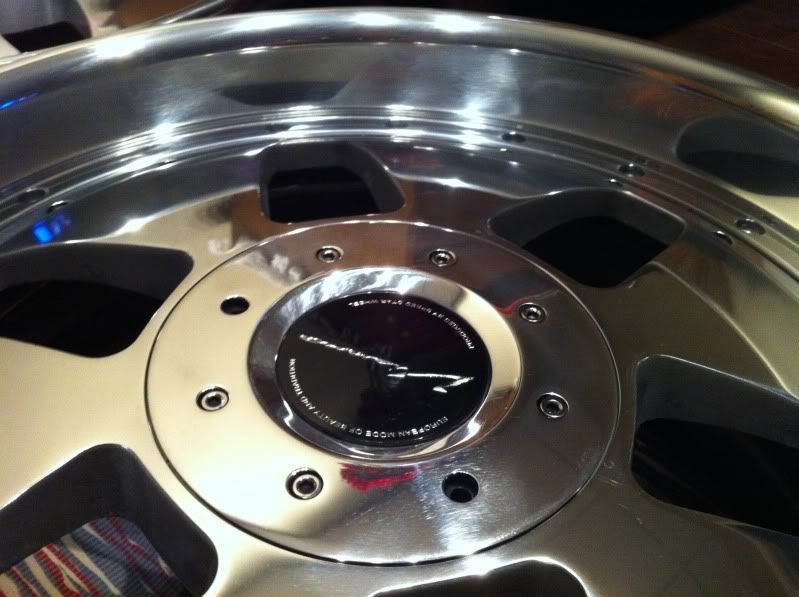
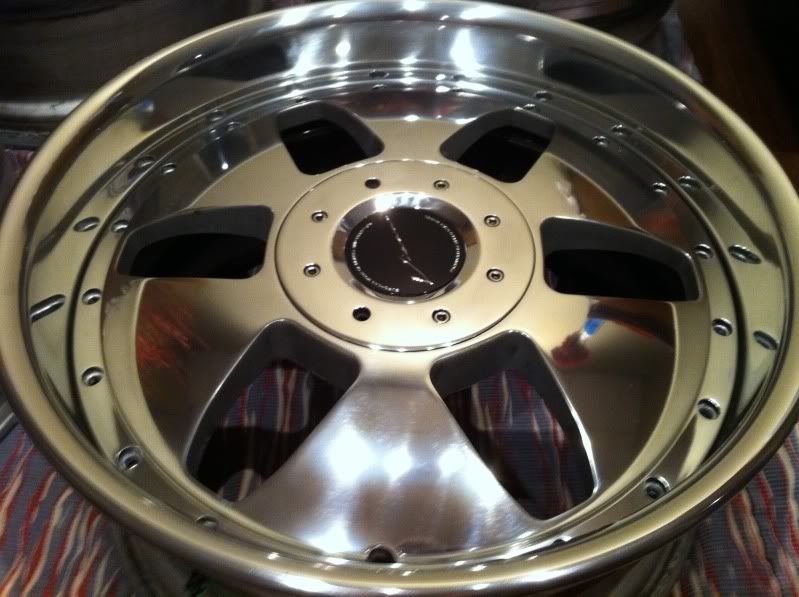
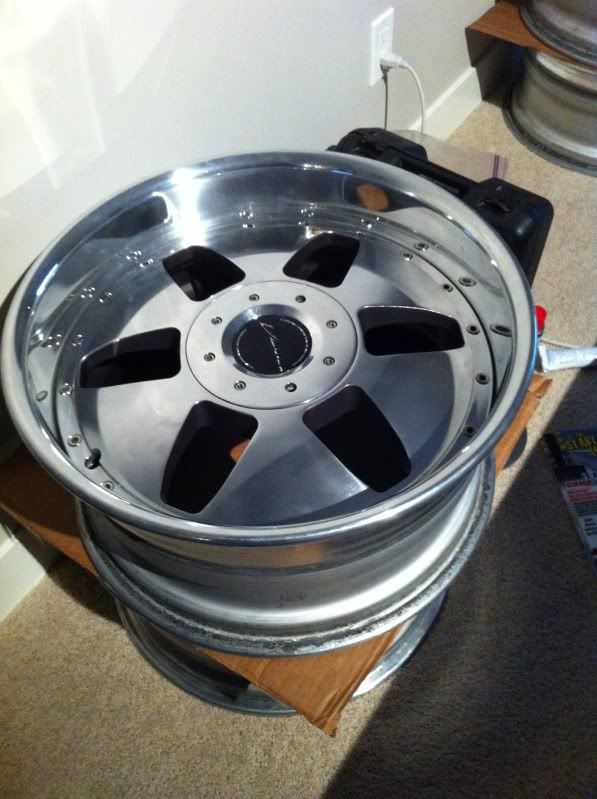
Update #4
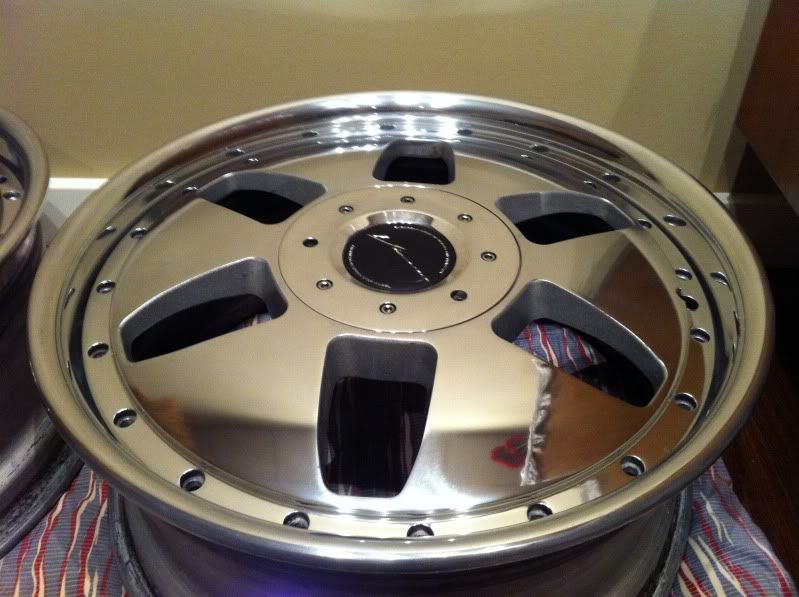
Ive decided to go with a polished look. I wasnt going to do it all myself, so I sent out the wheels to Shinez.ca to let the pros do it. They still need a final wash to get all the polish compound off. Here are some before and after pics:
Before:
After:
Before:
After:
Before:
After:
Before:

After:
Before:
After:
================================================== =============
Update: #5
Fronts:

Rears:
Fronts (no spacers):
Rears (10mm spacer):
Rears (no spacers):
===========================================
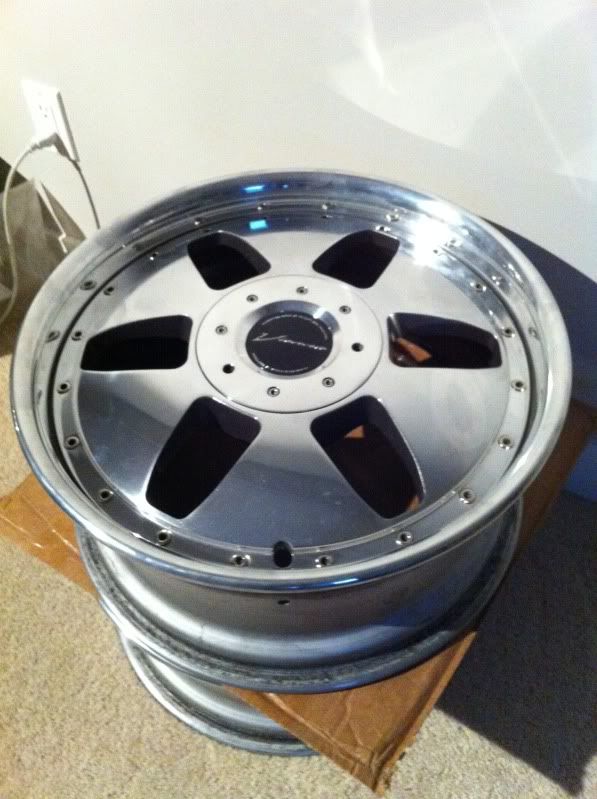
Update #6:
Inside of the center and backs of the centers painted graphite grey by Shinez.
This is what they looked like before:
Finally bolted together:
=============================================
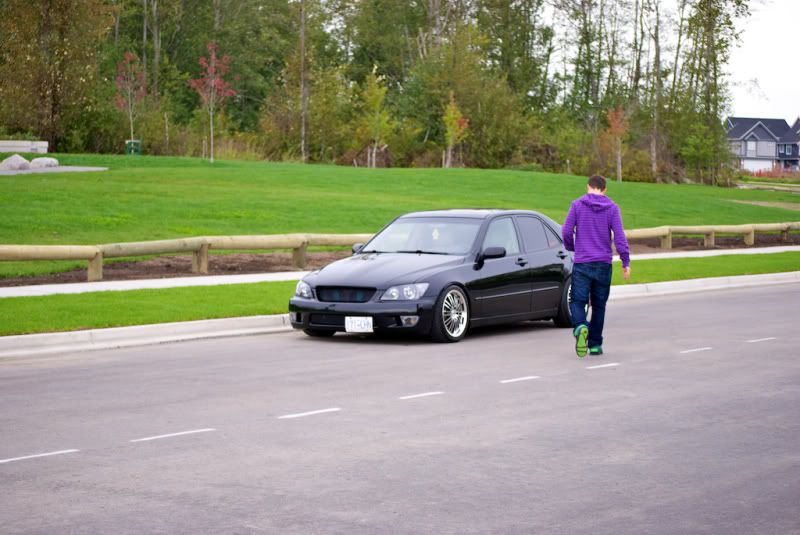
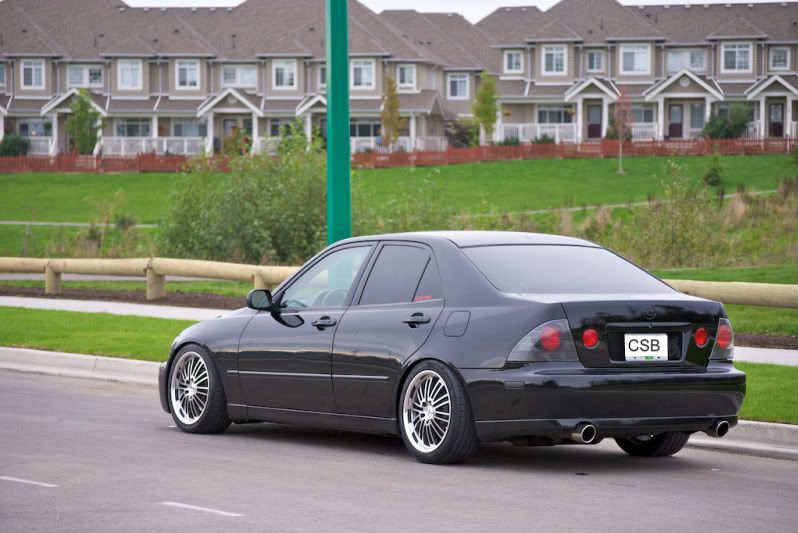
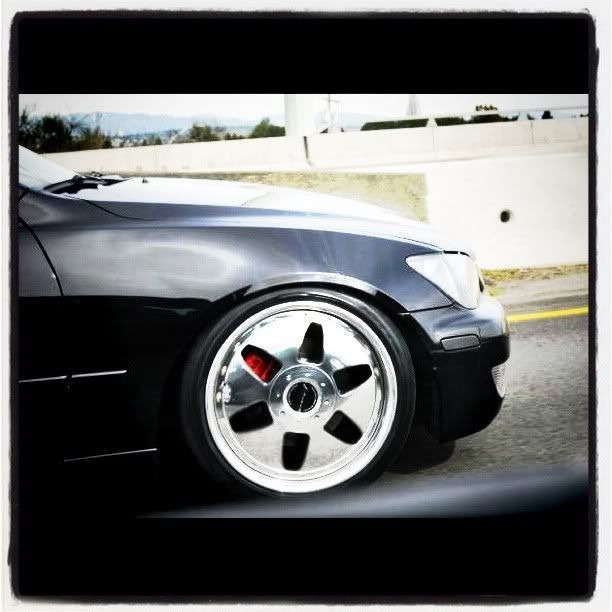
Update #7:
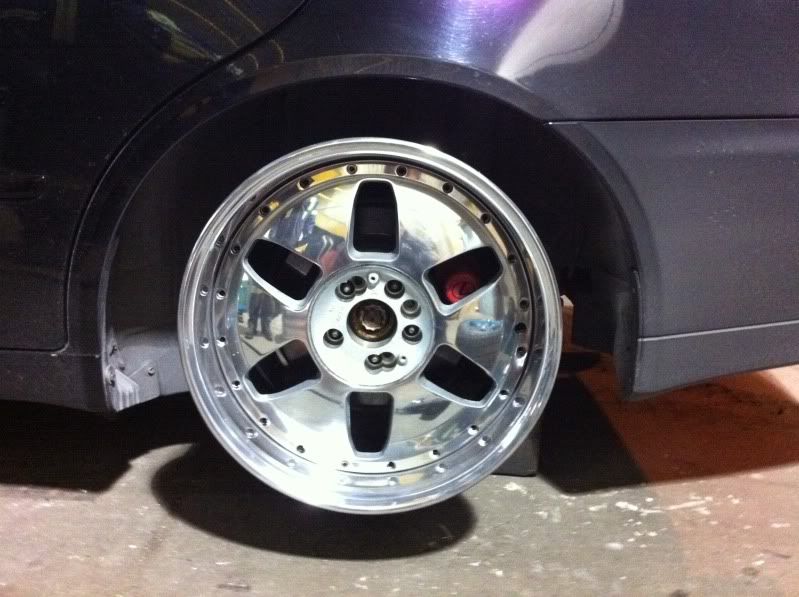
I got the wheels on the car right before the RS meet.
Had trouble with the rears where I needed a 5mm spacer to clear the brakes.
The fronts arent as flush as I want them, so Ill be putting 10mm on the fronts. The rears do not poke as much as I want, so 15mms will be put on in the next couple of months. Here's a pic from RS meet. Ill post more once theyre finished.
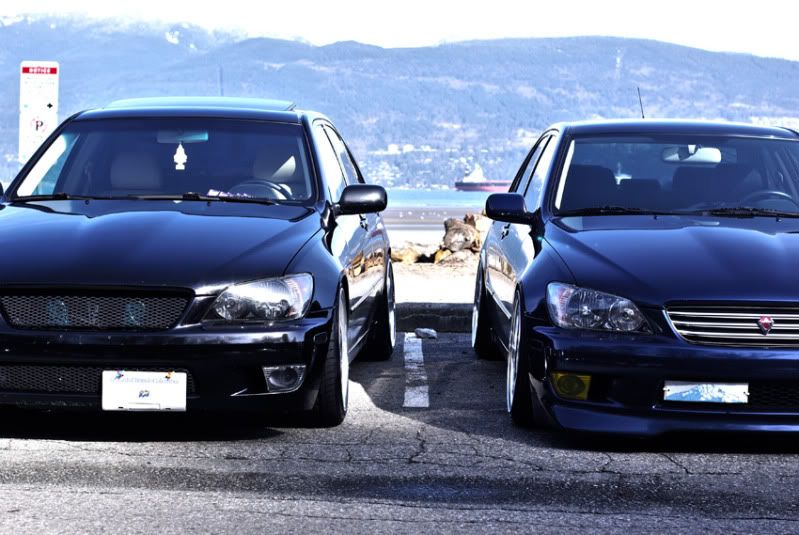
Moar pics shot with my phone. This is before 15mm spacers all around.

To be continued...  You are currently viewing our boards as a guest which gives you limited access to view most discussions and access our other features. By joining our free community you will have access to post topics, communicate privately with other members (PM), respond to polls, upload content and access many other special features. Registration is fast, simple and absolutely free so please, join our community today!
The banners on the left side and below do not show for registered users!
You are currently viewing our boards as a guest which gives you limited access to view most discussions and access our other features. By joining our free community you will have access to post topics, communicate privately with other members (PM), respond to polls, upload content and access many other special features. Registration is fast, simple and absolutely free so please, join our community today!
The banners on the left side and below do not show for registered users!