Well, a contract in January turned into another contract in February, and that turned into an event in March...and just like that, I'm almost three months down on car time :P
On the plus side, thanks to these contracts I've driven some absolutely incredible roads and crossed things off my bucket list. I've driven through Pennsylvania, Maryland, Virgina, North Carolina, South Carolina, Georgia, Florida, Alabama, Tennessee, Kentucky, Ohio and Michigan.
I've visited Barber Motorsports Park (including laps of the track, tour of the museum and a special tour of the museum workshop), BMW club of America's museum, The Lane Museum, Rick Hendrick's private collection, The Corvette Museum, The Amelia Island Concours and the Kennedy Space Centre.
I've been lucky to tour some pretty incredible automotive shops as well. The Creative Workshop in Florida was unbelievable. Wood floors, a hidden dyno, and cars you only dream of. Detroit speed builds some incredible muscle cars of the SEMA-type...but the sneak peak at this year's SEMA cars was pretty exciting. White Post Auto Restorations might be the oldest restoration shop in the USA and four generations have owned/worked/run the place. Duncan Imports is a car-guys dream where the warehouses of cars just goes on, and on, and on. How about a beetle with less than 30 miles on it? How about four of them...from three different decades. Unreal.
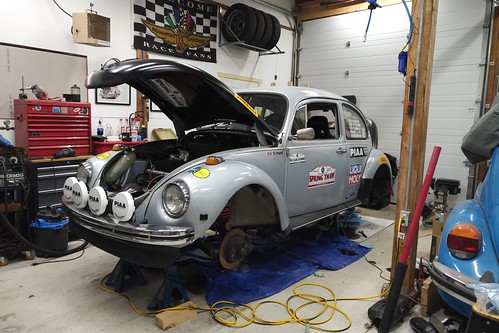
But alas, it means the poor Rally Bug has just sat without me. Having finally returned home, I've been crunching away on it as much as possible. Photos are limited, as I'm trying to get the work done vs. document it.
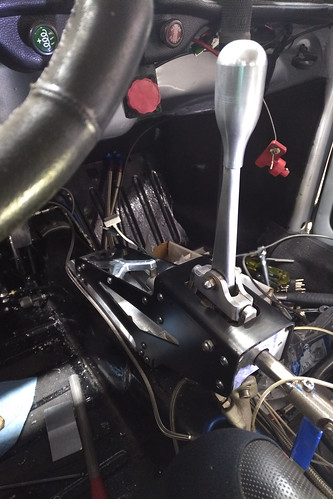
Moving the shifter back 2" resulted in some interesting issues. First off, the mount on the transmission tunnel suddenly had a tonne of flex in it. Previously each of the mounting bolts (three of them) were "boxed in", but the move back results in flex I definitely didn't anticipate. Fortunately the addition of two extra bolts, and a 2" gusset welded between mount and trans tunnel resulted in a flex-free install. The carbon shift rod I built needed to be shortened, which was a bit of a pain since I had to rescue the aluminum end I had bonded in originally. Without my buddies lathe, there was no way to whip up a new one. Managed to shorten the rod without shattering it...and then got to do it all over again as I cut it a 1/4" too long!
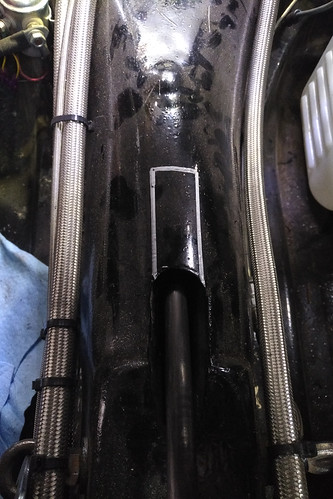
With everything installed in place, I discovered a new problem…the shift rod angle is just steep enough that it was hitting something in the tunnel. I ended up cutting out a little more than I wanted, but worked out it was the throttle cable tube (figures, the only one I CAN’T cut out). Ended up having to cut the tube so I could move it, and then weld in a section to keep it inline so the cable won’t get cut.
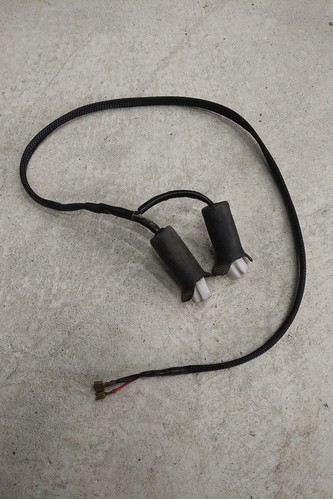
Extended the brake light harness, since the switches are now inside the cabin, in front of the shifter.
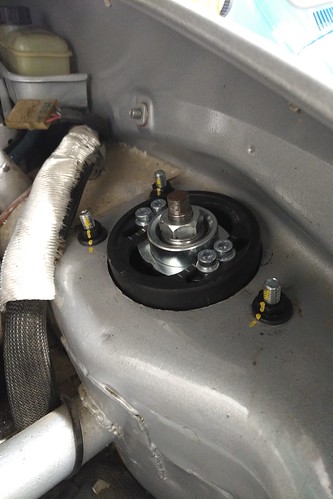
Suspension has been re-installed, with all new bushings…simply because I was in there.

Hmmm…it would seem this box was not the correct set of wheel studs. Where the heck are my 25mm studs!?!

And taking care of some details…trying to freshen it up a little.
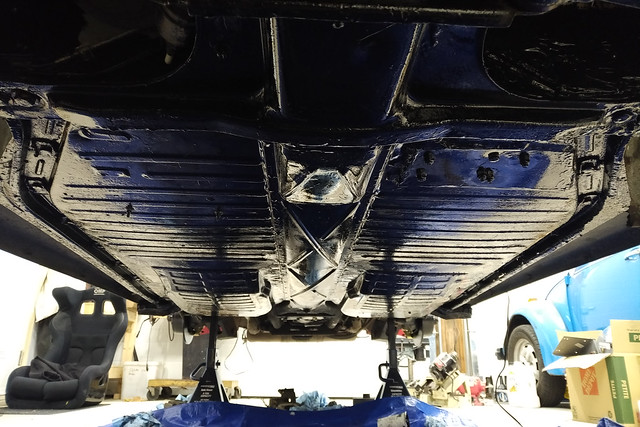
Fresh coat of black on the bottom of the chassis. I hate this job, but rather then patch some sections that needed it, I cleaned the whole chassis and painted it from front to back.
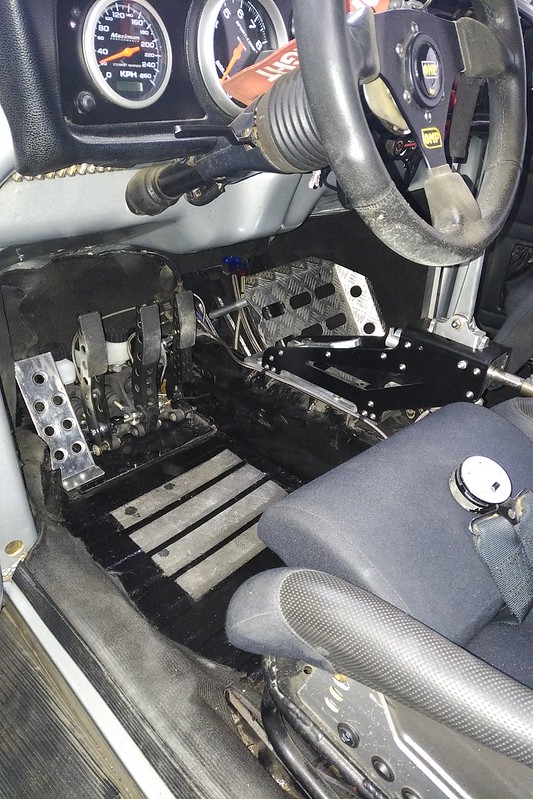
Under the dash is starting to look the business...
----

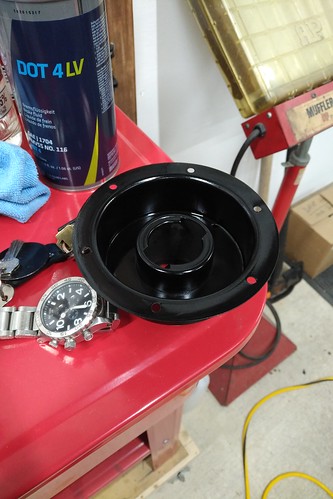
Top Tip! Before bleeding the clutch and brakes, confirm you actually installed everything tight and correctly...not just for test fitting. If you don't, you'll be figuring out how to pull the clutch pedal with it full of fluid so you can tighten the master cylinder to the mount. Oops.
After bleeding the brakes, I came to the conclusion that I also didn't consider that by doubling the rear brake pistons, I would need a larger handbrake master cylinder. Oops #2.
Having ordered the replacement parts, and them taking a while to get to me on the island...I figured I might as well take it out for a test drive.
First test drive with the car was, to be fair, less than exciting. The clutch is
VERY different from my last setup, and I actually think Tilton may have been incorrect with their master sizing suggestion. The pedal travel is very short, so a smaller master cylinder might be needed to get some pedal travel back in the action. The initial brake bleed was pretty terrible as well, but that is somewhat to be expected. I've always found I need to drive the car for a few km and rebleed to get the job done correctly.
After another bleed, the handbrake came back (fancy that), but still has a longer throw than I would like. The foot pedal, however, feels much better!
The first half of the second test drive was better, but honestly not that great. A race car that runs kinda poorly and the controls are all in slightly new places is not the type of experience I was hoping for out of the shop. About a third of the way through the test, however, I remembered that I didn't build this car for puttering around town...so off to some empty highway, where I put my foot down.
OOOOOOOHHHHH, riiiiiight. THIS is when the car is fun! My gosh it's a blast when driven properly. Before destroying the tires I thought I should return home and get my alignment tomorrow.
Motor oil leak is one of two things...I think. It's either leaking from one of the cylinder studs (at the head end), or the oil cooler seals are leaking...or both. I cleaned off all the oil with brake clean, and after my tests one of the studs is wet. I'll pull the stud, reseal the washer inside the head and try again. You know, presuming I don't wake up to a puddle of oil under the car.
-----
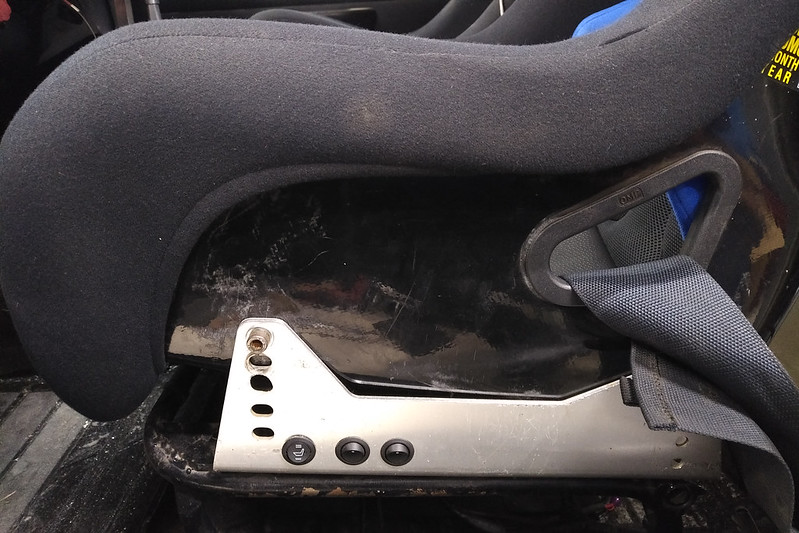
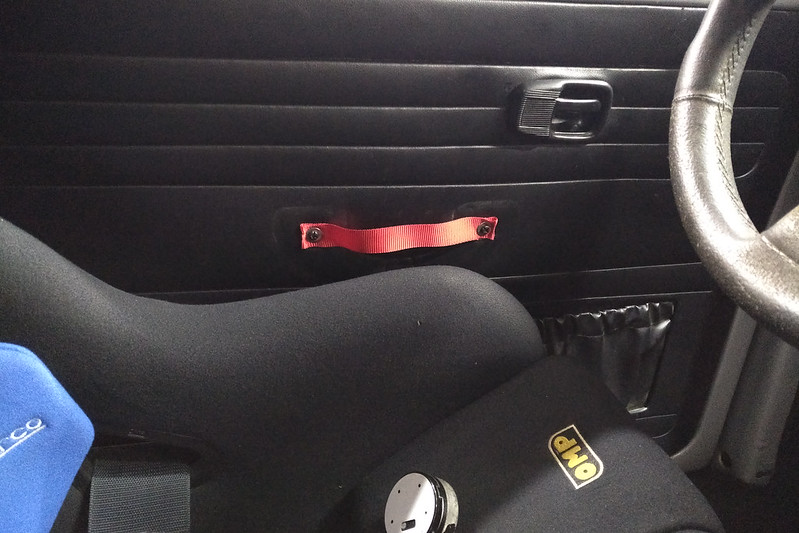
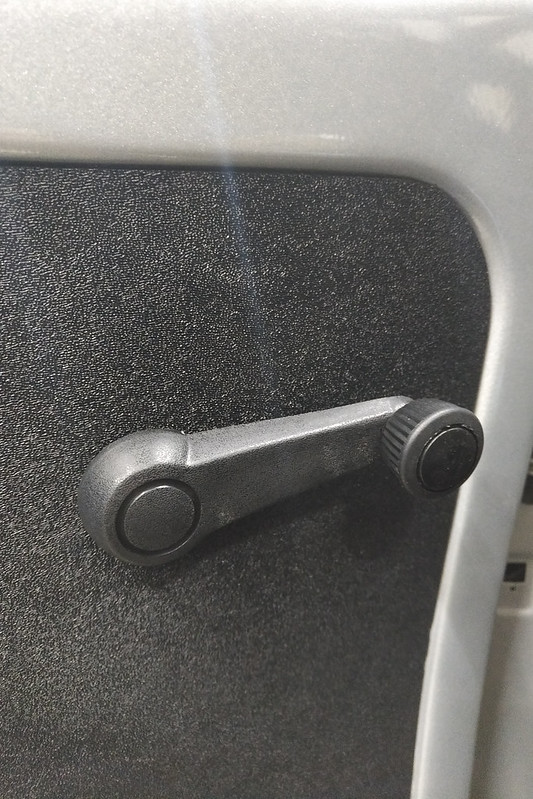
Changing the seat has created a new problem. I can no longer reach the switches mounted on the side mount...one of which controls the water sprayer for the oil cooler, so I need to be able to reach them!
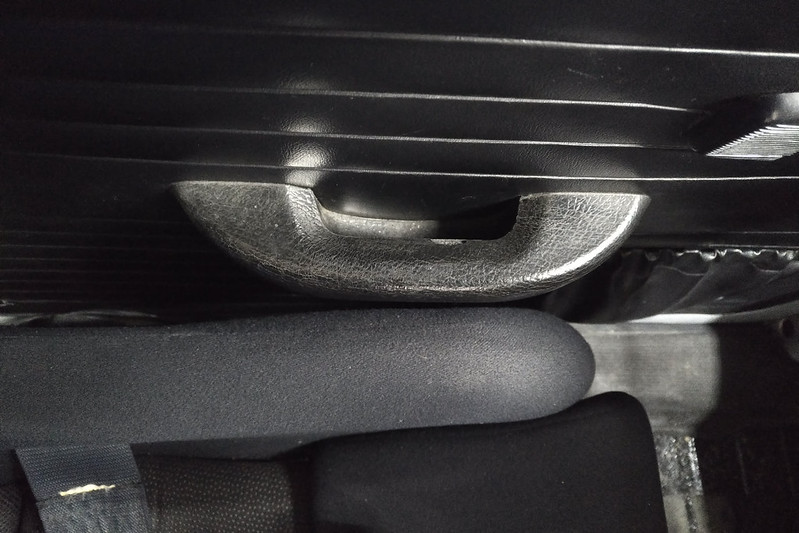
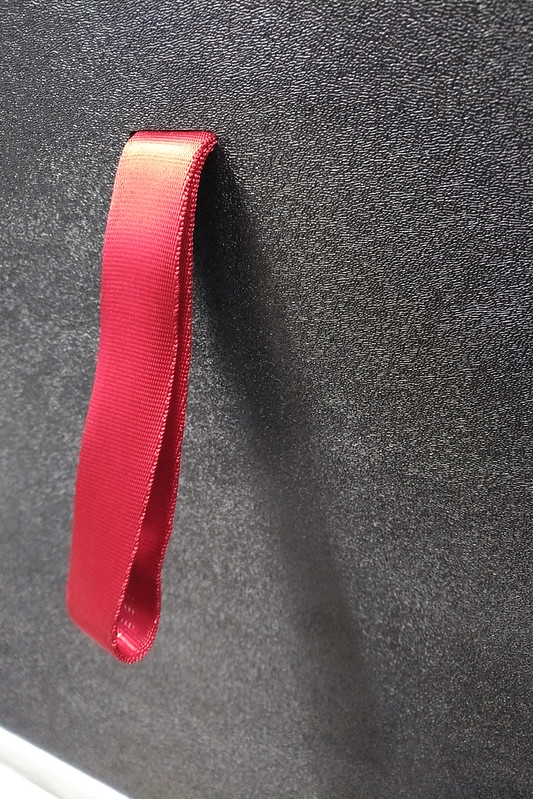
Figured I'd make a quick strap so I can close the door and lose the armrest. RS style pulls weren't really possible, since the door panels already have holes...so a simple strap it is.

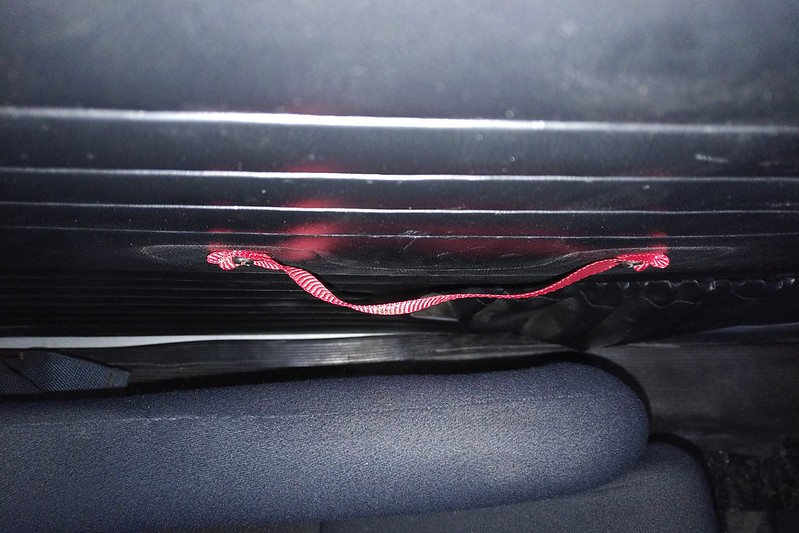
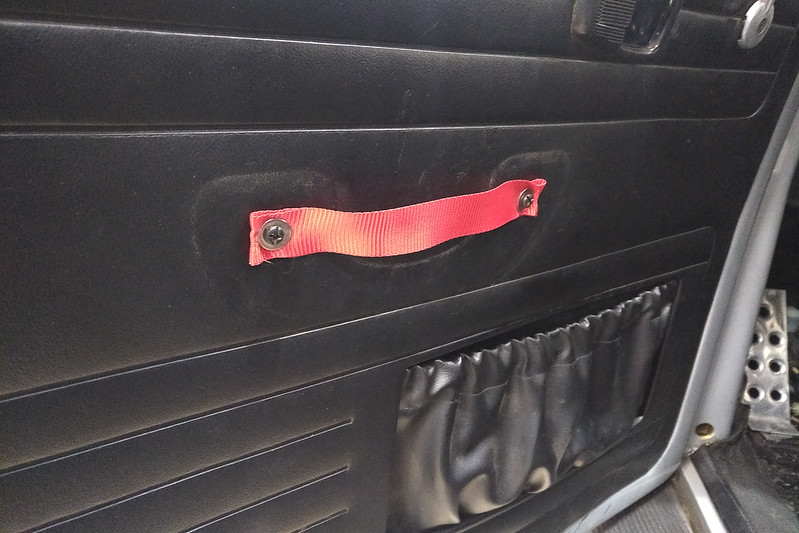
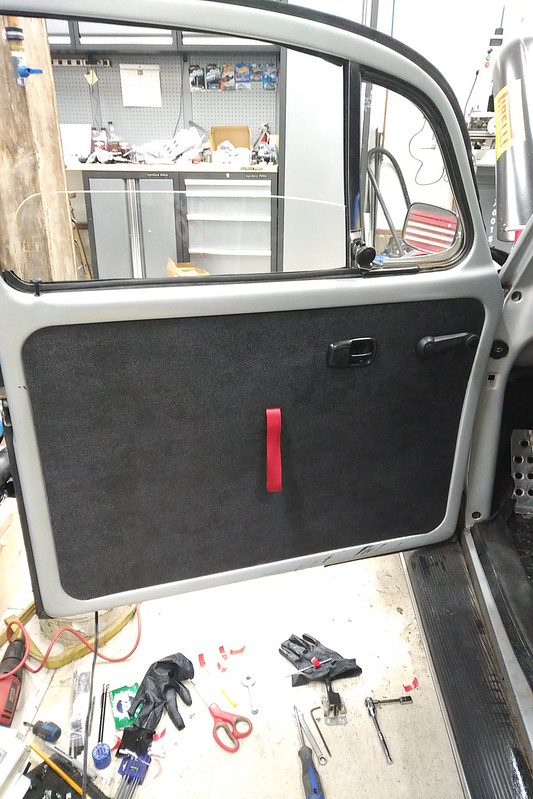
Ugh. That simply will not do. Can't have the door panels looking like crap...so it's off to the drawing board!

Need to head out of my small town tomorrow to see if I can get the material I want for the new door panels I've got planned. On the plus side, it hasn't been dumping oil anywhere!
----
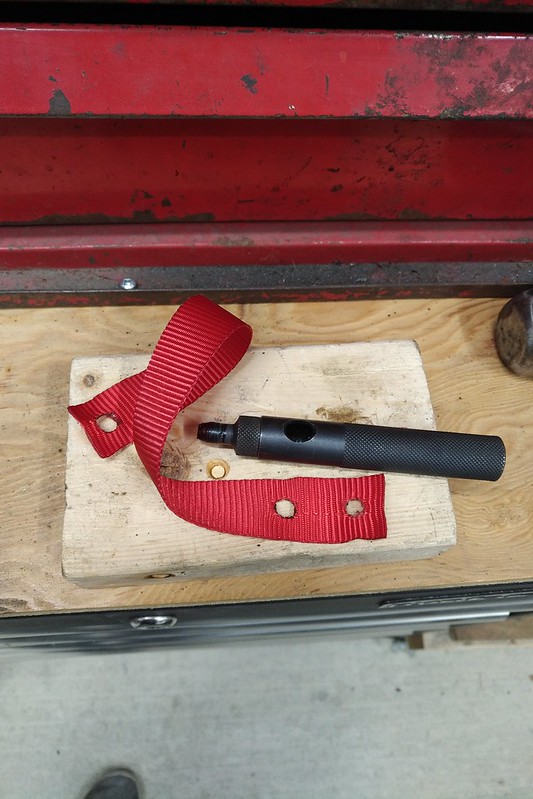
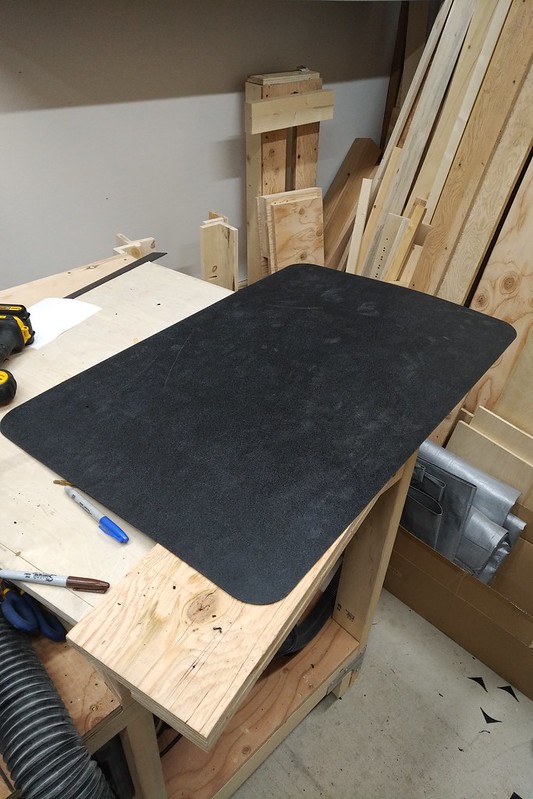
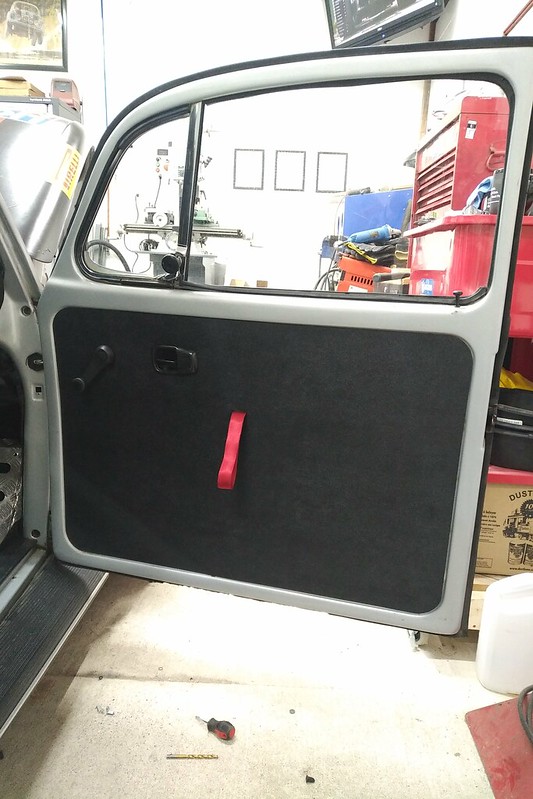
My solution for ugly door panels involves some ABS plastic sheet, some climbing webbing, and a couple hours of my time to get it all correct. 911RS inspired door panels!
-Dave