**edit** Ill add photos shortly, going for dog walk
Its all on the angle of the photo. I can give some point form of just food for thought of things Ive learned. CF is carbon, FG fibre glass
- carbon fibre is expensive. 50 wide is $50/yard for your pretty standard 2x2 twill. Same size fibreglass cloth is about $10.
- CF normally used epoxy resin, its strong but for 1L costs about $65. FG normally uses polyester resin, which is about $18/L. Massive difference. I chose to run the cheaper poly resin since Im just learning and I expect to make a lot of scrap material. Strength is correlated between the medium. Epoxy is like CF, poly is like FG.
- for resins there are waxed and unwaxed. Its confusing but the easiest way to figure it out is, If youre laminating multiple sheets or doing multiple pours, use unwaxed. If its a single coat. Or finishing top coat, or just a wet layup then waxed. Waxed means it air cures hard and without tack. But if you need to pour on top you must sand it down.
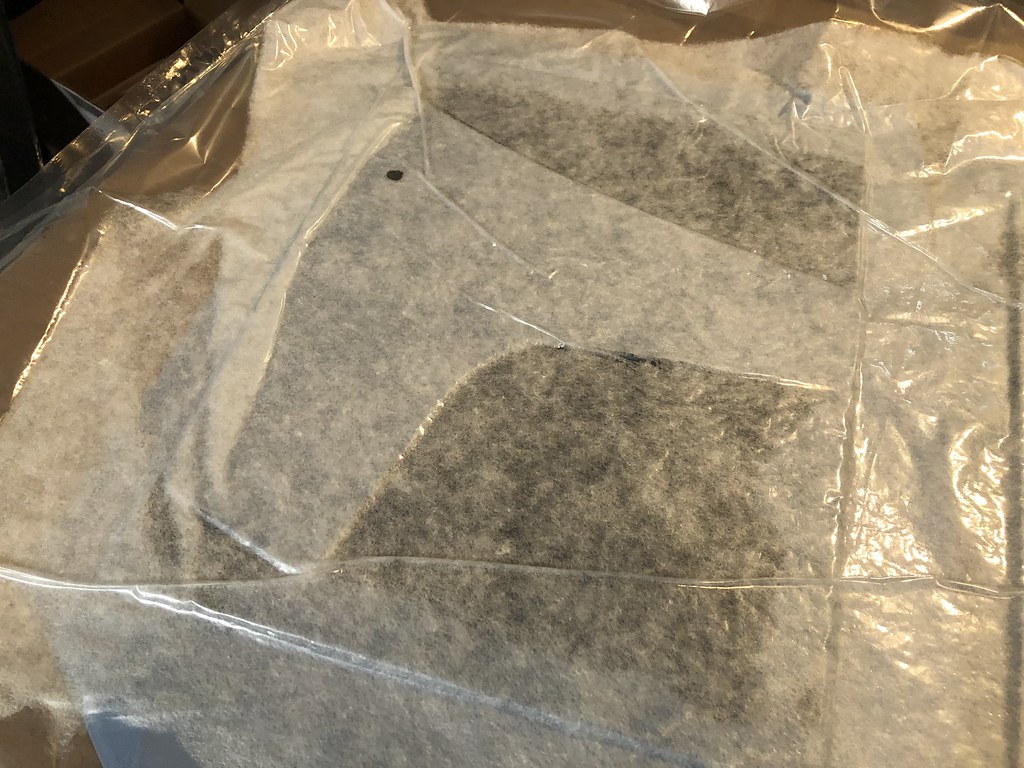
- a great budget setup is using the cheap vacuum storage bags from the dollar store meant for blankets etc and a shop vac. Its just about the right amount of vacuum to conform the peel ply/bleeder cloth to the part, but not enough to pull resin out of the part. Bonus is the smell is kept in the bag and its not nearly as noxious.
- use more resin than you think. I was too concerned with getting the right ratio between cloth to resin for weight and strength, but thats shooting for the stars. Mix more than you need and soak the shit out of your material. Its better to waste $2 in resin than scrap $100 worth of cf because it didnt saturate enough
- thinking ahead and prep-work is key. getting a quality finished product right the first time is way easier and cheaper than having to do a tonne of post work to make it passable.
My failures, there are lots.
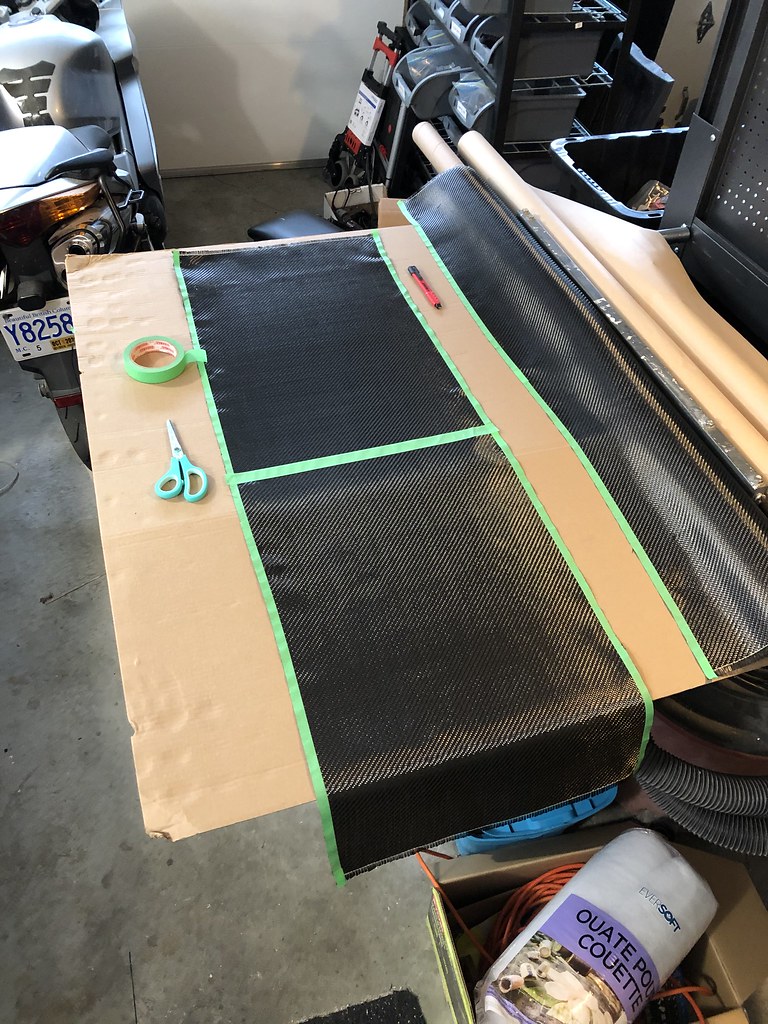
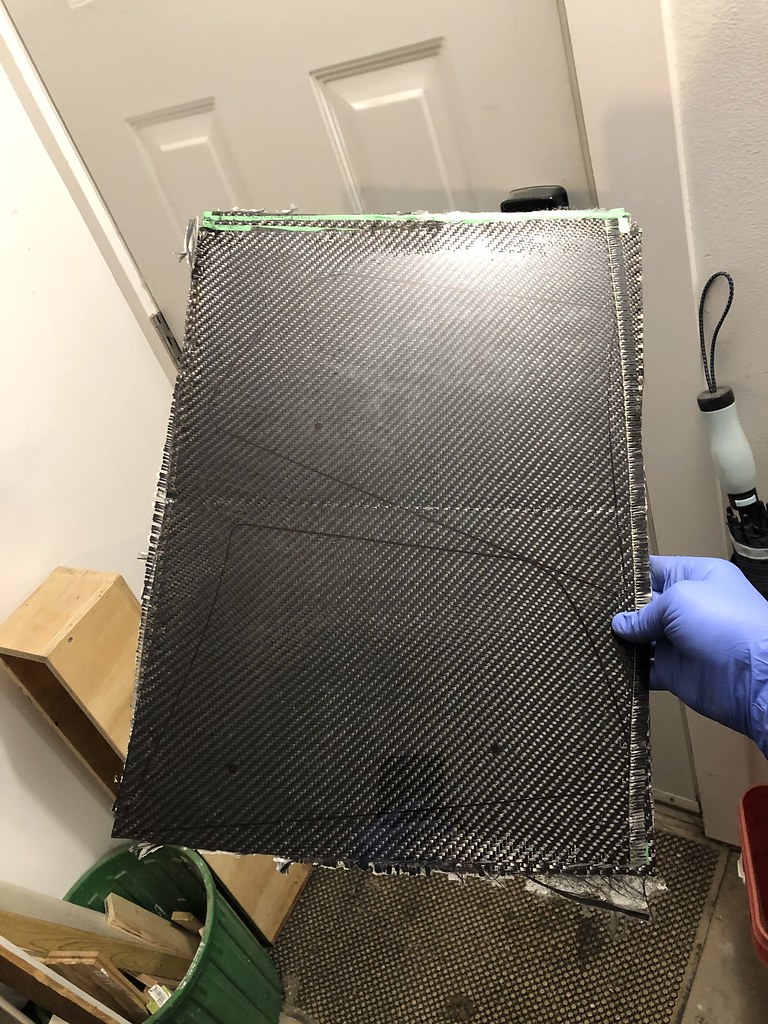
- first flat plate I made. 8 layers CF, super strong and 2.3mm thick. Laid up on two pieces of glass with some mold release. I didnt put enough resin down on the glass before my first layer of cf. it visually looked fully saturated but it wasnt. Once I pulled the part, the surface finish was great but I wasnt able to fully trace the parts I were planning on. Lesson learned, USE MORE RESIN. you can see from the photo that most the edges (easiest seen at 120'clock) did not get fully saturated. also, when trying to cut the cloth i heard of a tip online to just say use masking tape. i did, but i did not realize that YOU CANNOT PEEL THE TAPE OFF WITHOUT RUINING THE WEAVE!. so i just had to send it with the tape on. this is one of the reasons the edges didn't absorb resin. i also learned that pinching pennies by using as little cloth as possible is the wrong idea. yes its expensive, but just suck it up and use more material so you KNOW you can get your finished part out of it.
 Untitled
 by
320iCar, on Flickr
 Untitled
 by
320iCar, on Flickr
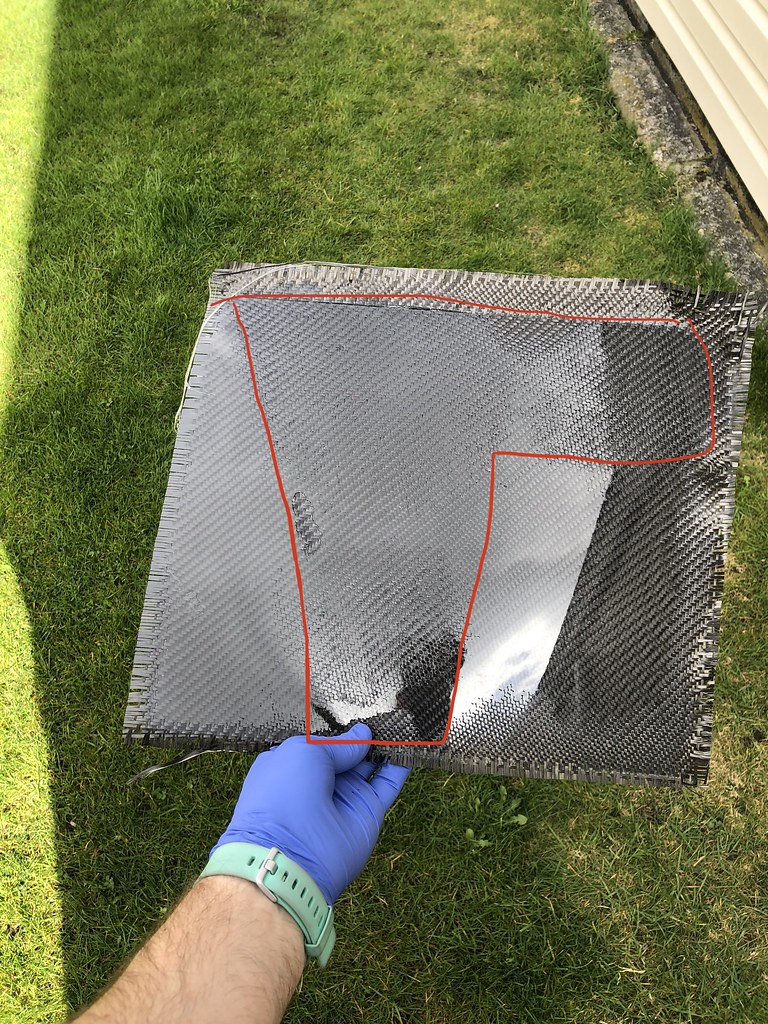
- second failure was another set of end plates. I couldnt find a piece of glass or mirror the right size. Found a cheapo picture frame with a plastic front piece. Looked online and info said if you wax it, you can pull off of plastic no problem. WELL, I totally forgot I wasnt using epoxy, I was using poly resin. Soooo the next day when I opened the vac bag, the sheet of plastic had melted with the texture of CF. Part was salvageable but surface finish was bunk. i did use the correct method for cutting straight lines though, you pull a strand out of the weave and it leaves a straight line through the entire cloth. cut and repeat! you can see the imprinted tecture on the plastic, which is pretty cool. i also need to learn to lay my weave down straighter. its sooo flexible im surprised. this was only 6 ply. still strong but i preferred the feeling of 8
 Untitled
 by
320iCar, on Flickr
 Untitled
 by
320iCar, on Flickr
 Untitled
 by
320iCar, on Flickr
- 3rd failure was I decided to skin the front of my second endplates. For some reason I had it in my head that I will use the vacuum setup again. So I laid a single sheet of cf on glass, soaked it, then laid my endplates on top and sealed it. WELL the pull was horrible. The resin never set properly because its unwaxed, and the resin that was suppose to glue to the endplate just pushed outwards and soaked into the breather. Ended up just peeling off. you can see on the image below how the resin was squeezed out from below the endplate. my brain didn't think ahead about how the pressure of the vacuum bag pushing down on the hard part would push the resin away.
 Untitled
 by
320iCar, on Flickr
 Untitled
 by
320iCar, on Flickr
 Untitled
 by
320iCar, on Flickr
 Untitled
 by
320iCar, on Flickr
 Untitled
 by
320iCar, on Flickr
- still had two precut pieces so I open air skinned the endplates again. Two pours of resin, but again its unwaxed so its not cured properly. It takes a little heat (sun is fine) and much more tire to cure vs waxed resin which will not tack up. Resin is now nice and thick but will need to be sanded down and polished to be level.
 Untitled
 by
320iCar, on Flickr
I have a bunch of CF parts on my car. I now have way more respect and now dont mind paying the extra cost for professionally made. but like ive said before, this is a learning process. you dont expect to make carbon fibre doors your first day, just like any new hobby. i will say with every failure ive learned a lesson. so over time i hope to make a bunch more parts